Aller au contenu principal
Dell Inspiron 1526 Keyboard Replacement

Dell Inspiron 1526 Keyboard Replacement

Joshua Busick

Joshua Busick et 3 autres contributeurs

Dernière mise à jour le May 7, 2024

45 minutes
Modérée

Before beginning the Dell Inspiron 1526 keyboard replacement guide, be sure that you have all of the tools listed. Because there are some small delicate steps involved, make sure that you are in an environment free of distractions that is well lit.

Ce dont vous avez besoin

Outils

Afficher plus…

  1. Dell Inspiron 1526 Keyboard Replacement, Battery: étape 1, image 1 de 3 Dell Inspiron 1526 Keyboard Replacement, Battery: étape 1, image 2 de 3 Dell Inspiron 1526 Keyboard Replacement, Battery: étape 1, image 3 de 3
    • Slide the unlock button to the left to release the battery.

    • Slide the battery away from the laptop to remove.

    • The unlock button is located on the bottom of the laptop.

  2. Dell Inspiron 1526 Keyboard Replacement, Keyboard: étape 2, image 1 de 1
    • Loosen the two 3.5mm Phillips #1 screws in the battery bay.

  3. Dell Inspiron 1526 Keyboard Replacement: étape 3, image 1 de 1
    • Flip the laptop over.

    • Lift the control cover by prying the right side of the cover with an iFixit opening tool.

  4. Dell Inspiron 1526 Keyboard Replacement: étape 4, image 1 de 1
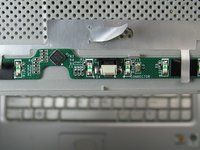
    • Carefully lift the control cover up and forward to reveal a single ribbon cable.

  5. Dell Inspiron 1526 Keyboard Replacement: étape 5, image 1 de 1
    Outil utilisé dans cette étape :
    Tweezers
    $4.99
    • Use tweezers to squeeze the tabs on the connector and remove the ribbon cable.

  6. Dell Inspiron 1526 Keyboard Replacement: étape 6, image 1 de 2 Dell Inspiron 1526 Keyboard Replacement: étape 6, image 2 de 2
    • Remove the control cover.

  7. Dell Inspiron 1526 Keyboard Replacement: étape 7, image 1 de 1
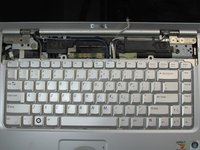
    • Remove the two 3mm Phillips #1 screws at the top of the keyboard where the control cover was.

  8. Dell Inspiron 1526 Keyboard Replacement: étape 8, image 1 de 1
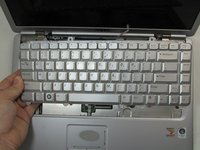
    • Lift the keyboard gently from the top, but do not remove completely.

    • Looking under the keyboard, towards the touch-pad in the center, lift up the black tab on the connector with tweezers for the keyboard ribbon cable.

  9. Dell Inspiron 1526 Keyboard Replacement: étape 9, image 1 de 2 Dell Inspiron 1526 Keyboard Replacement: étape 9, image 2 de 2
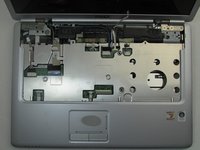
    • Remove the keyboard.

Conclusion

To reassemble your device, follow these instructions in reverse order.

Joshua Busick

Membre depuis le 09/17/19

291 Réputation

2 tutoriels rédigés

0 commentaires de tutoriel

Ajouter un commentaire

Nombre de vues :

Dernières 24 heures : 0

7 derniers jours : 0

30 derniers jours : 3

Total : 188