
Dell Inspiron 17-5749 Optical-Drive Connector Board Replacement

Introduction
Passez à l'étape 1If your Dell Inspiron 17-5749 is showing you read errors on a data CD, DVD, or degraded sound/video from an audio CD/DVD-Video disc, use this guide to replace the optical drive connector board
An optical drive is a device that uses laser beams to read and write data on optical discs, such as CDs, DVDs, and Blu-rays. They are commonly used for storing, backing up, and playing media files, as well as installing software and games.
If the Optical drive is stuck or won't open when you press the eject button, attempt removal through software or removal of the stuck disk/optical drive.
Removal through software: Save all documents and close all programs and apps. Restart your computer. Once restarted, hit the F2 key. This will allow the computer to enter the BIOS. Once in the BIOS, try to eject the disk drive. If this step does not work then try the step below.
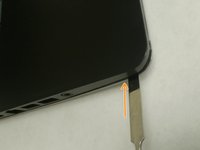
Remove the stuck disk/optical drive: Straighten out a paperclip and look for a small hole on the disk tray. Use the straightened paper clip to open the drawer.
Ce dont vous avez besoin


-
Outil utilisé dans cette étape :Anti-Static Wrist Strap$7.95
-
Turn off power to the laptop.
-
Unplug the charging cable from the laptop.
-
-
-
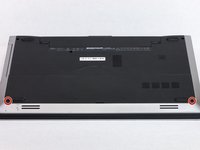
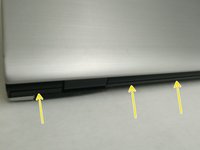
Remove the two 5.5mm screws that secure the base cover to the computer's base.
-
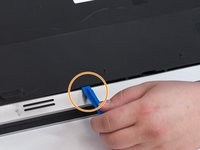
Using the plastic opening tool, carefully pry open the base cover starting from the center.
-
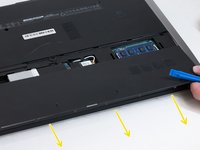
Lift the base cover upwards to remove and set it aside.
-
-
-
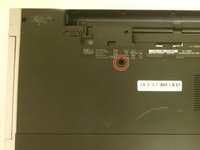
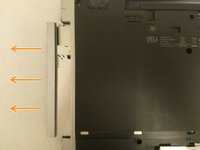
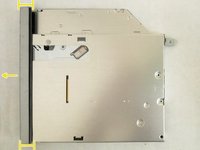
Remove the 5.5mm screw that secures the optical-drive assembly to the computer base
-
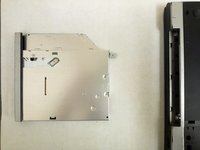
Using your fingertips, slide the optical-drive assembly out of the optical drive bay.
-
-
-
-
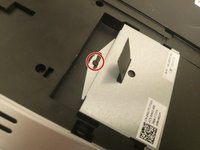
Remove the 2.5mm screw that secures the hard-drive assembly to the computer base.
-
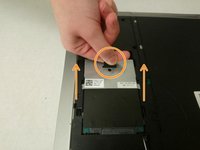
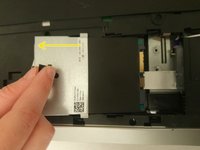
Using the pull tab, slide the hard-drive assembly to disconnect it from the system board.
-
Lift the hard-drive assembly off the computer base
-
-
-
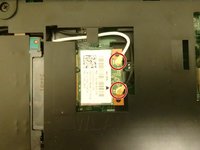
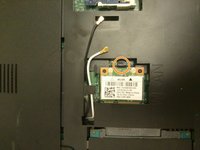
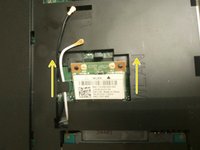
Disconnect the antenna cables from the wireless card.
-
Push the securing tab to release the wireless card.
-
Slide the wireless card out of the wireless-card slot.
-
-
-
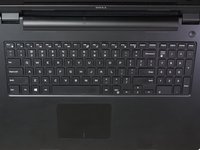
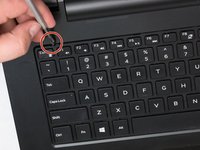
Turn the computer over and open the display as far as possible
-
Using a plastic opening tool, release the tabs that secure the keyboard to the palm-rest assembly.
-
-
-
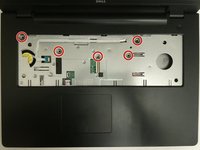
Remove the (5) 5.5mm screws that secure the palm rest to the system board.
-
Close the display and turn the computer over.
-
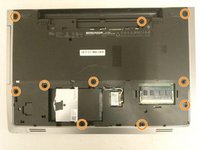
Remove the (10) 5.5mm screws that secure the palm rest to the computer base.
-
-
-
Turn the computer over and open the display as far as possible.
-
Lift the connector latches and disconnect the power-button board cable and the touch-pad cable from the system board.
-
Using a plastic scribe, gently lift and release the tabs on the palm rest around the computer base including the backside.
-
Lift the palm rest away from the display assembly.
-
-
-
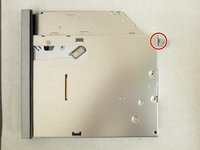
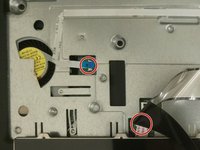
Remove the 2.5mm screw that secures the optical-drive connector board to the computer base.
-
Move wireless card wires covering the board away from the board.
-
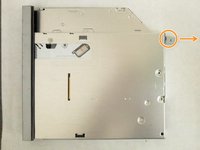
Slide the optical-drive connector board away from the computer base.
-
Lift the optical-drive connector board away from the computer base.
-


To reassemble your device, follow these instructions in reverse order.
To reassemble your device, follow these instructions in reverse order.

Équipe

Washington State, Team S1-G2, Lobnitz Spring 2018 Membre de l'équipe Washington State, Team S1-G2, Lobnitz Spring 2018
WSU-LOBNITZ-S18S1G2
6 membres
12 tutoriels rédigés