
Dell Inspiron E1705 Cooling System Replacement
Introduction
Passez à l'étape 1This requires some disassembly before you can access the cooling system. Once you have completed that, removing and replacing the fans is very quick and easy.
Ce dont vous avez besoin


-
-
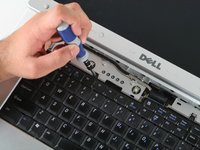
Remove the 12 Phillips #1 screws from the edges of the lower case.
-
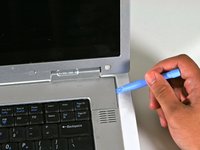
You may also need to remove the central screw next to the lock icon.
-
-
-
-
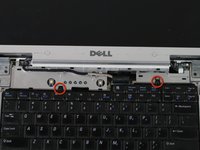
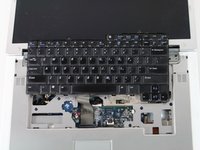
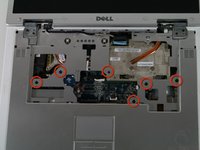
Using a Phillips head screwdriver, remove the screws shown in the image. They all have the letter "P" next to them.
-
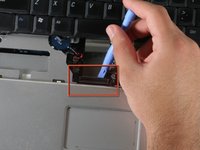
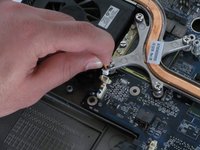
Carefully unplug the connections shown.
-
Also, the wireless cables on the right side may prevent moving the upper case out of the way.
-
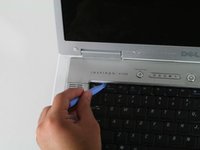
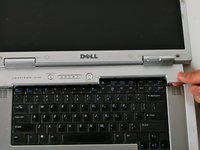
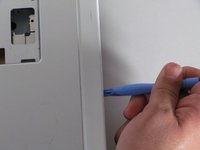
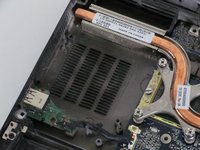
Once the screws have been removed and the connections unplugged, use the plastic opening tool to gently separate the panel from the lower case.
-
-
-
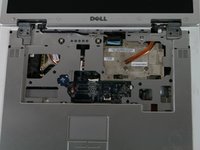
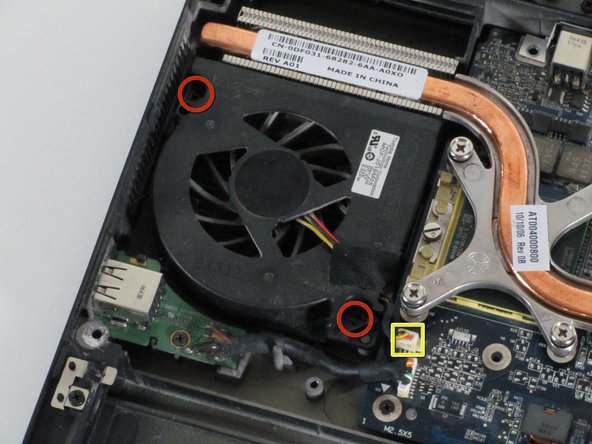
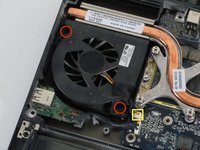
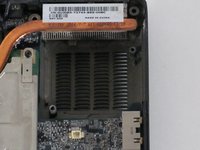
Locate the two fans as shown
-
We will begin by removing the left fan first
-


To reassemble your device, follow these instructions in reverse order.
To reassemble your device, follow these instructions in reverse order.
Annulation : je n'ai pas terminé ce tutoriel.
6 autres ont terminé cette réparation.
Équipe

Cal Poly, Team 22-5, Maness Fall 2010 Membre de l'équipe Cal Poly, Team 22-5, Maness Fall 2010
CPSU-MANESS-F10S22G5
4 membres
11 tutoriels rédigés
3 commentaires
My Dell Inspiron E1705's processor fan was making sad, dying, and most importantly loud sounds. I ordered the part numbers from Ebay and followed this guide. It worked!
A few notes : I ordered the part numbers from Ebay, and originally was going to replace both the GPU and CPU fan. I decided to only replace the Processor fan because while the part number for the GPU fan and the shape/look of the GPU fan was identical, the GPU fan from Ebay was manufactured by Toshiba.
When opening the case, something was attached the the upper right hand corner (maybe the wifi?) I managed to maneuver around and get to the fans without taking the case all the way out.
The new fan works very well. I couldn't have done it without the guide, very helpful! It took me about 15 minutes start to finish.
I replaced one of the fans, but didn't realize they were two different sizes. At any rate. I tried to reassemble so I could see if it was still working, but now it won't boot. I also have 4 small screws that don't fit into the outside case holes, so I must have mixed up some screws somewhere. Is there a way to tell what screws go in what holes? And what might I have forgotten to plug in to get this issue? Also, in step two, there is a small cover on the edge of the bottom. I took the cover off and there is a connecter in there. Does anyone know what that is for?