
Dell Inspiron N4110 Screen Replacement
Introduction
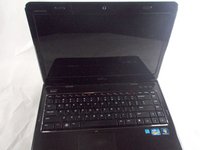
Passez à l'étape 1Is your laptop screen cracked or broken? This guide will help you to replace the screen in several easy steps.
Ce dont vous avez besoin


-
-
Locate the battery on the underside of the laptop.
-
Push the two battery clips following the direction of the arrows.
-
-


To reassemble your device, follow these instructions in reverse order.
To reassemble your device, follow these instructions in reverse order.
Annulation : je n'ai pas terminé ce tutoriel.
Une autre personne a terminé cette réparation.
Équipe

UMass Dartmouth, Team S5-G1, Peak Spring 2018 Membre de l'équipe UMass Dartmouth, Team S5-G1, Peak Spring 2018
UMASSD-PEAK-S18S5G1
3 membres
6 tutoriels rédigés