
Dell Inspiron n5050 Optical Drive Replacement

Introduction
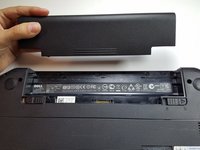
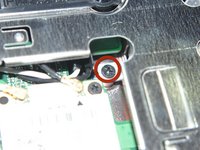
Passez à l'étape 1The optical drive is held in by a single screw. This guide will help you get to that screw and slide the optical drive out of its bay.
Ce dont vous avez besoin


-
-
-
Flip the laptop right side up. Open the laptop.
-
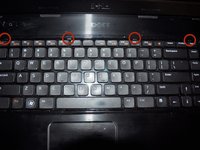
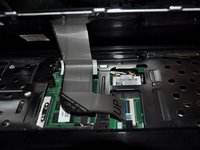
Gently press in the four retaining tabs along the top of the keyboard with a spudger, one at a time.
-
-
-
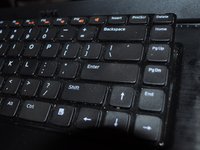
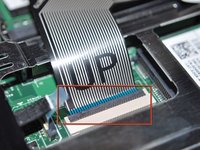
Gently flip the data cable latch away from the data cable with flat side of spudger.
-
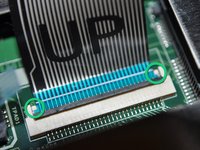
Lift the cable up and out.
-
When reinstalling cable, there are two retainer wings on the sides of the cable that the cable that lock onto the bottom of the cable latch area. When these are in place the cable is properly inserted.
-
-
-
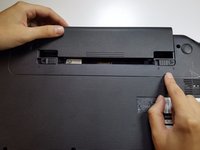
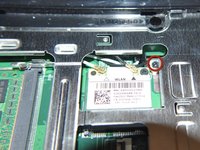
Stand laptop on its side.
-
Use the flat end of the spudger to unseat the optical drive.
-


To reassemble your device, follow these instructions in reverse order.
To reassemble your device, follow these instructions in reverse order.
Annulation : je n'ai pas terminé ce tutoriel.
5 autres ont terminé cette réparation.


2 commentaires
I am curious why the guide notes that you need to remove the keyboard ribbon? Removing and installing that cable weakens it and could damage it. I was able to remove the drive without taking out the ribbon cable; I just flipped the keyboard out of the way.
it says you don’t need
F2w -