
Dell Latitude E6510 Hard Drive Replacement
Introduction
Passez à l'étape 1This guide will show you how to remove and replace the hard drive in your Dell Latitude E6510 laptop.
Ce dont vous avez besoin
Outils

-
-
Locate the tabs that lock the battery in place.
-
Push tabs towards each other while simultaneously pushing the battery away from the device.
-
-


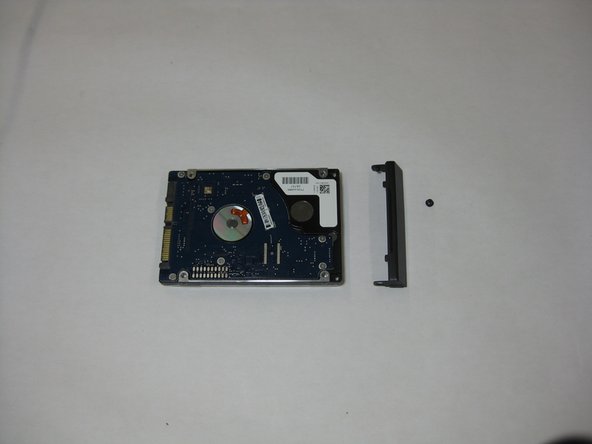
To reassemble your device, follow these instructions in reverse order. Make sure to reinsert the hard drive with the hard drive caddie angle such that it will be flush with the device when completely inserted
To reassemble your device, follow these instructions in reverse order. Make sure to reinsert the hard drive with the hard drive caddie angle such that it will be flush with the device when completely inserted
Équipe

The Citadel Military College of South Carolina, Team S2-G2, Eggleston Spring 2019 Membre de l'équipe The Citadel Military College of South Carolina, Team S2-G2, Eggleston Spring 2019
CMCSC-EGGLESTON-S19S2G2
2 membres
2 tutoriels rédigés