Aller au contenu principal
Dell Precision 7560 Keyboard Replacement

Dell Precision 7560 Keyboard Replacement

Jack Allred

Jack Allred et 2 autres contributeurs

Dernière mise à jour le June 6, 2023

10 - 15 minutes
Modérée

The guide shows how to remove the keyboard from a Dell Precision 7560. The keyboard is a core component of the computer, so keeping on top of its maintenance is vital. If the issue with the keyboard isn't merely debris keeping a key from functioning, then this guide will assist you in replacing the keyboard entirely.

Ce dont vous avez besoin

Outils

  1. Dell Precision 7560 Keyboard Replacement, Battery: étape 1, image 1 de 3 Dell Precision 7560 Keyboard Replacement, Battery: étape 1, image 2 de 3 Dell Precision 7560 Keyboard Replacement, Battery: étape 1, image 3 de 3
    • The screws holding the back cover in place can not be removed.

    • Use a Phillips #0 screwdriver to loosen the the eight 5 mm captive screws in the bottom cover.

    • Remove the back cover by lifting at the corners.

  2. Dell Precision 7560 Keyboard Replacement: étape 2, image 1 de 3 Dell Precision 7560 Keyboard Replacement: étape 2, image 2 de 3 Dell Precision 7560 Keyboard Replacement: étape 2, image 3 de 3
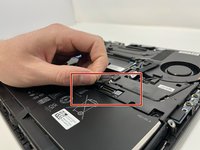
    • Unscrew and remove the five 2 mm screws that secure the battery.

    • Locate the battery connector.

  3. Dell Precision 7560 Keyboard Replacement: étape 3, image 1 de 3 Dell Precision 7560 Keyboard Replacement: étape 3, image 2 de 3 Dell Precision 7560 Keyboard Replacement: étape 3, image 3 de 3
    • Pull the connector towards you to disconnect it.

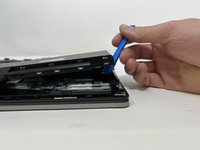
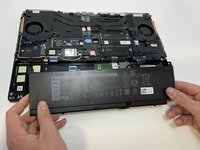
    • Use your fingers or a plastic opening tool to pry the battery up and remove it from the laptop.

  4. Dell Precision 7560 Keyboard Replacement, Keyboard: étape 4, image 1 de 3 Dell Precision 7560 Keyboard Replacement, Keyboard: étape 4, image 2 de 3 Dell Precision 7560 Keyboard Replacement, Keyboard: étape 4, image 3 de 3
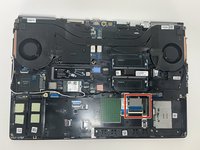
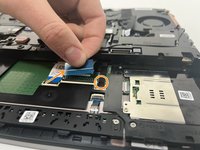
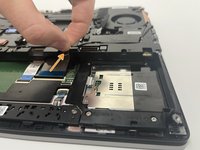
    • With the back cover and battery removed, locate the ribbon cables connected to the keyboard.

    • Pulling from the tab, carefully remove the connector.

  5. Dell Precision 7560 Keyboard Replacement: étape 5, image 1 de 3 Dell Precision 7560 Keyboard Replacement: étape 5, image 2 de 3 Dell Precision 7560 Keyboard Replacement: étape 5, image 3 de 3
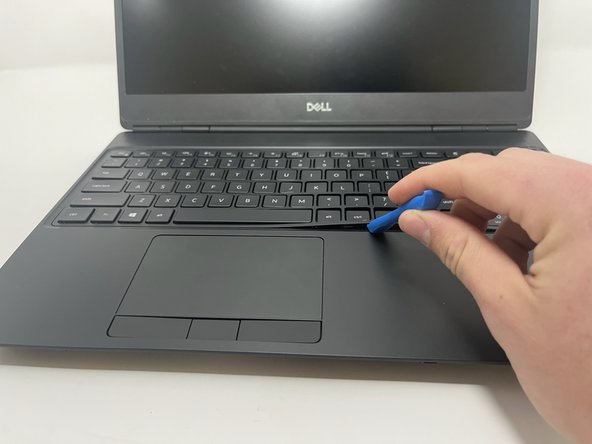
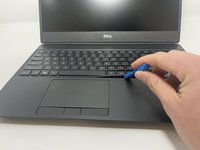
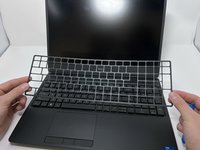
    • Turn the device over and open the screen to expose the keyboard.

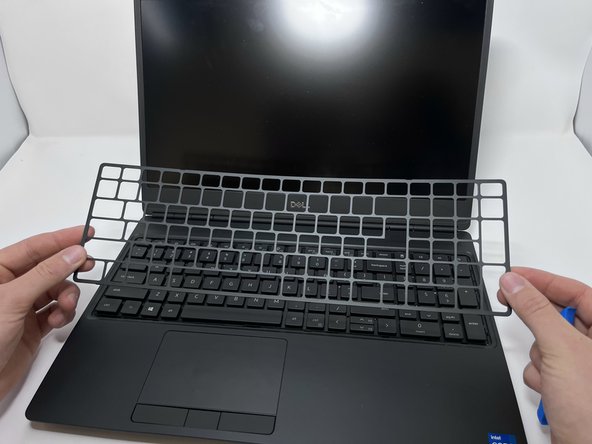
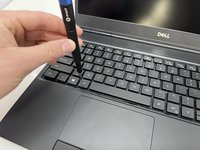
    • Using an opener tool, pry along the edges of the keyboard to remove the keyboard's plate cover.

  6. Dell Precision 7560 Keyboard Replacement: étape 6, image 1 de 3 Dell Precision 7560 Keyboard Replacement: étape 6, image 2 de 3 Dell Precision 7560 Keyboard Replacement: étape 6, image 3 de 3
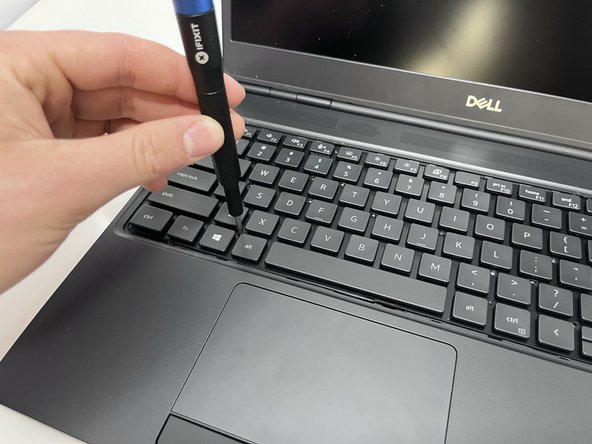
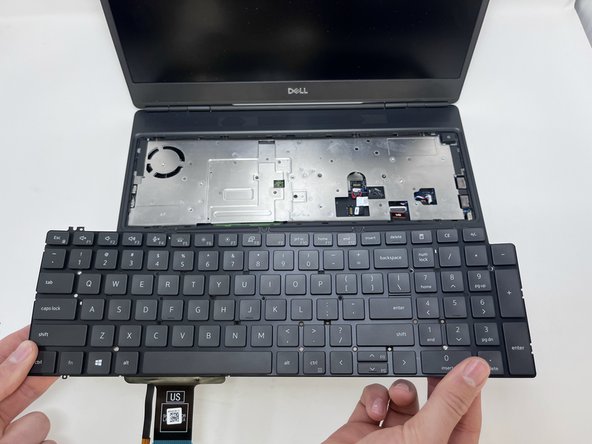
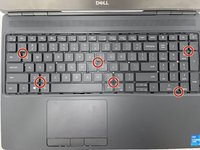
    • With the plate cover removed, use the screwdriver to remove each of the six 2 mm screws.

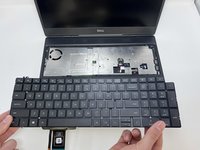
    • Carefully remove the keyboard from the device.

Conclusion

To reassemble your device, follow these instructions in reverse order.

2 autres ont terminé cette réparation.

Jack Allred

Membre depuis le 02/09/23

345 Réputation

2 tutoriels rédigés

Équipe

Utah Tech University, Team 1-1, McMurrin Spring 2023 Membre de l'équipe Utah Tech University, Team 1-1, McMurrin Spring 2023

UTAHTECH-MCMURRIN-S23S1G1

3 membres

6 tutoriels rédigés

Un commentaire

Guide is close, but not completely correct. Just need a little more attention to detail.

Barry Todd - Réponse

Ajouter un commentaire

Nombre de vues :

Dernières 24 heures : 0

7 derniers jours : 11

30 derniers jours : 53

Total : 1,055