
Dell Vostro 1400 Screen Replacement
Introduction
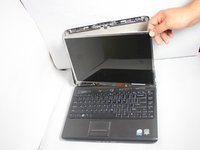
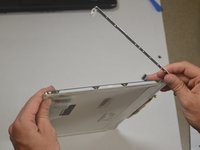
Passez à l'étape 1This guide will show you the proper steps to replace your screen on your Dell Vostro 1400
Ce dont vous avez besoin
Outils

-
-
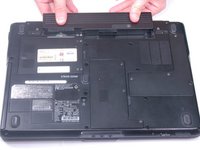
After flipping over the laptop, the battery is on the bottom side of the laptop.
-
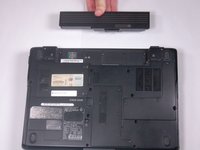
Find the tabs on both the left and right side of the battery.
-
-


To reassemble your device, follow these instructions in reverse order.
To reassemble your device, follow these instructions in reverse order.
Annulation : je n'ai pas terminé ce tutoriel.
2 autres ont terminé cette réparation.
Équipe

Texas Tech, Team S8-G2, Bennett Spring 2017 Membre de l'équipe Texas Tech, Team S8-G2, Bennett Spring 2017
TTU-BENNETT-S17S8G2
4 membres
5 tutoriels rédigés