Aller au contenu principal
Dell Vostro 5510 Back Cover Replacement

Dell Vostro 5510 Back Cover Replacement

Ky Vang

Ky Vang et un autre contributeur

Dernière mise à jour le January 25, 2024

3 minutes
Facile

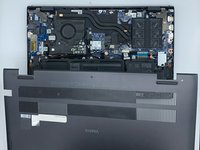
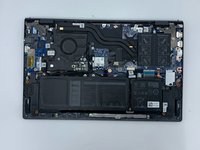
The first step in any replacement of the internal components of the Dell Vostro 15 5510 is to remove its back cover. To complete this guide, you will need a Phillips #0 screwdriver head and a plastic opening tool. This guide also is necessary for accessing most of the internal components of the laptop.

Ce dont vous avez besoin

Outils

  1. Dell Vostro 5510 Back Cover Replacement, Back Cover: étape 1, image 1 de 1
    • Power off your laptop before beginning disassembly.

    • Place the laptop so the bottom cover is facing upwards.

  2. Dell Vostro 5510 Back Cover Replacement: étape 2, image 1 de 1
    • Remove the remaining (M2x4mm) screws with the screwdriver.

    • Loosen the two captive (M2x7.5mm) corner screws with the screwdriver.

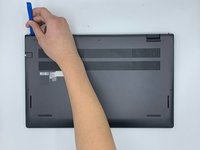
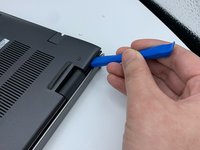
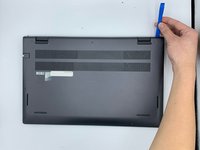
  3. Dell Vostro 5510 Back Cover Replacement: étape 3, image 1 de 3 Dell Vostro 5510 Back Cover Replacement: étape 3, image 2 de 3 Dell Vostro 5510 Back Cover Replacement: étape 3, image 3 de 3
    • Pry open the top left corner of the cover with the opening tool.

    • Pry open the top right corner of the cover with the opening tool.

    • Pry the rest of the cover with the opening tool, working in a clockwise motion until it is completely loosened.

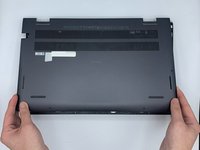
  4. Dell Vostro 5510 Back Cover Replacement: étape 4, image 1 de 3 Dell Vostro 5510 Back Cover Replacement: étape 4, image 2 de 3 Dell Vostro 5510 Back Cover Replacement: étape 4, image 3 de 3
    • Lift the cover to remove it from the rest of the laptop.

Conclusion

To reassemble your device, follow these instructions in reverse order.

Une autre personne a terminé cette réparation.

Ky Vang

Membre depuis le 09/28/21

378 Réputation

3 tutoriels rédigés

Équipe

0 commentaires

Ajouter un commentaire

Nombre de vues :

Dernières 24 heures : 0

7 derniers jours : 0

30 derniers jours : 10

Total : 385