
Disassembling Canon PowerShot SD1100 IS Camera Lens
Introduction
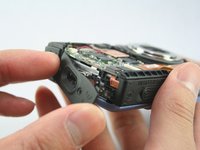
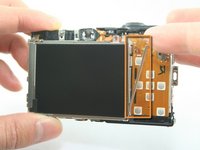
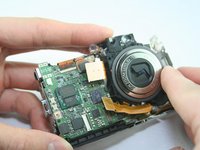
Passez à l'étape 1Use this guide to remove the camera lens piece.
Ce dont vous avez besoin
Outils

-
-
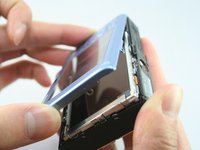
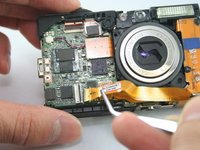
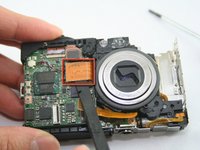
Remove the top-left screw above the LCD screen (0.100 in).
-
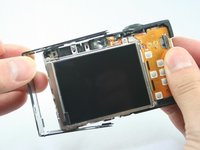
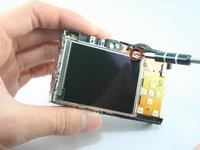
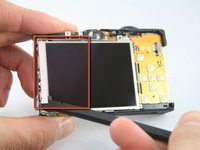
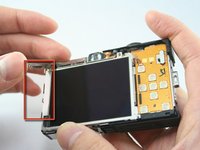
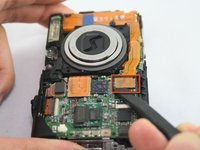
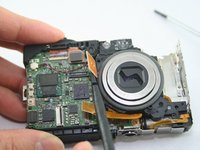
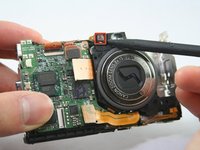
Remove the C-shaped plate from the side of the LCD screen.
-
-


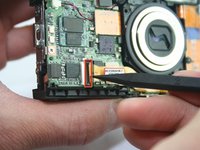


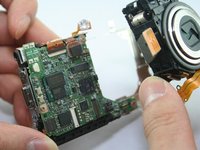

To reassemble your device, follow these instructions in reverse order.
To reassemble your device, follow these instructions in reverse order.
Annulation : je n'ai pas terminé ce tutoriel.
17 autres ont terminé cette réparation.
Équipe

Cal Poly, Team 3-32, Regan Winter 2011 Membre de l'équipe Cal Poly, Team 3-32, Regan Winter 2011
CPSU-REGAN-W11S3G32
3 membres
8 tutoriels rédigés