
Disassembling Nest Outdoor Camera

Introduction
Passez à l'étape 1The steps here describe the process to disassemble the original Nest Outdoor camera.
Ce dont vous avez besoin


-
-
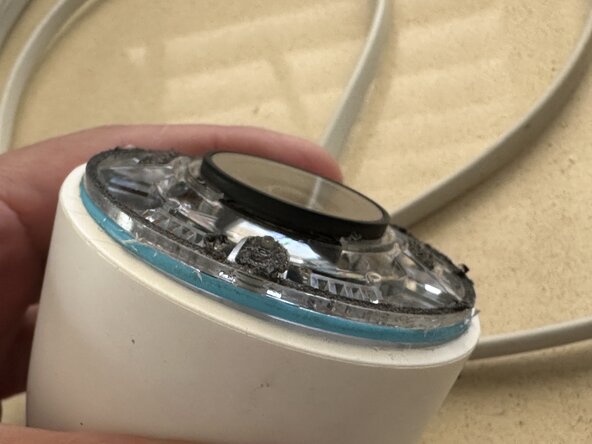
The camera's "black" front panel is held in place with foam tape.
-
Slowly work in the picks with a metal spudger until the perimeter lifts up.
-
The foam tape around the perimeter separates easily as do the addition foam tape tabs situated around the panel.
-
-
-
With a think Philips screwdriver, remove the four screws.
-
With the metal spudger, work it in between the white plastic housing and the clear body to raise the clear body out. Careful to not damage the blue o-ring.
-
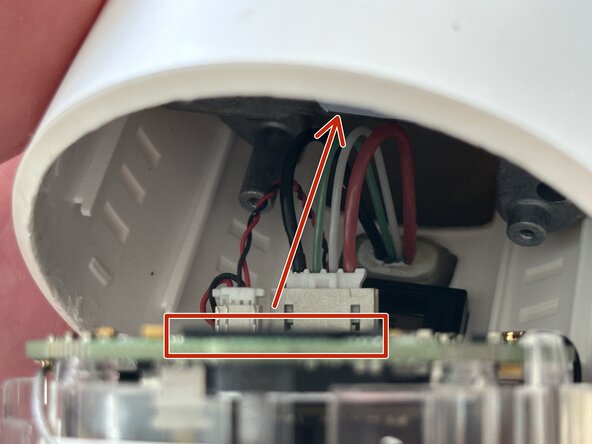
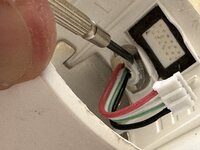
With the inner body loose, carefully disconnect the speaker connector and USB connector from the PCB.
-
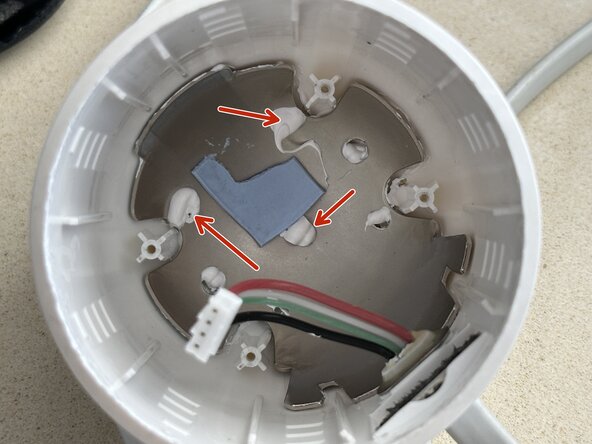
Note the two thermal pads for the chips on the PCB may remain on the heat sink.
-
-
-
-
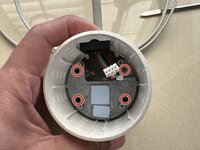
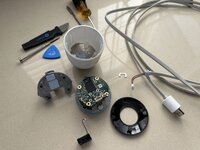
The heat sink block is easily removed after the four Philips screws are removed.
-
Note that the heat sink has an additional thermal pad located on the back between it and cupped metal plate. Cupped metal plate seems to be another heat sink held in place with plastic stays and fluid thermal paste.
-
-
-
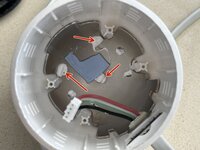
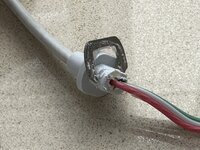
The USB cable is attached to the white plastic outer body by means of a plastic fixture that is help in place with a large metal c-clip.
-
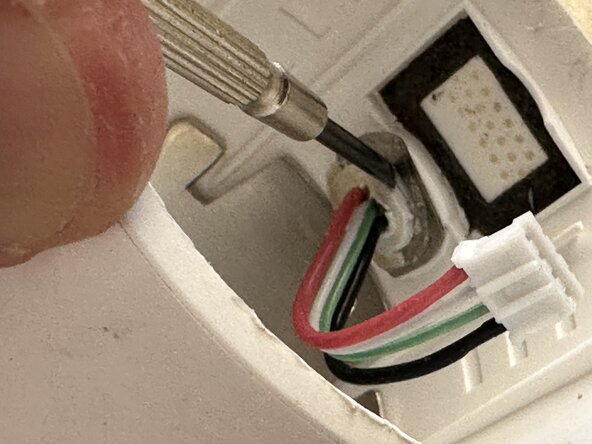
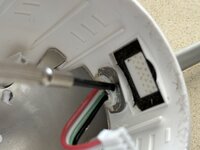
The plastic fixture is covered in hot glue that must be scraped off.
-
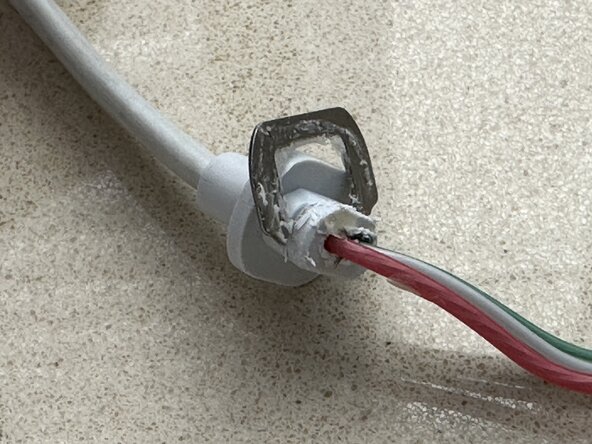
Once the hot glue is removed, the c-clips can be slipped off.
-
With the c-clip removed, the plastic fixture can be pulled back out of the outer body. The 4 USB cable wires and connector can then be slipped out through the outer body opening.
-
-
-
Note the "black" front panel is actually a semitransparent dark blue.
-


To reassemble your device, follow these instructions in reverse order.
To reassemble your device, follow these instructions in reverse order.
