Aller au contenu principal

Epson PowerLite 822 Plus Projector Lens Replacement

Ce dont vous avez besoin

  1. Epson PowerLite 822 Plus Projector Lens Replacement, Motherboard: étape 1, image 1 de 1
    • Flip the projector over.

    • Remove all 8 screws on the bottom of the projector.

  2. Epson PowerLite 822 Plus Projector Lens Replacement: étape 2, image 1 de 2 Epson PowerLite 822 Plus Projector Lens Replacement: étape 2, image 2 de 2
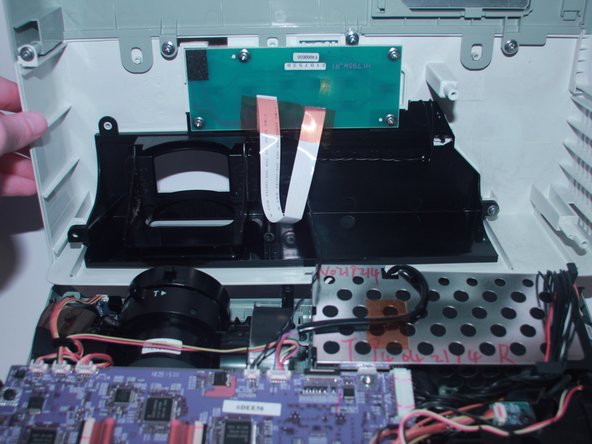
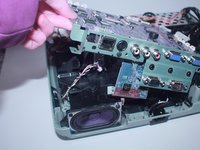
    • Now, flip the projector back over and pry the top of it open revealing the inside of the projector.

  3. Epson PowerLite 822 Plus Projector Lens Replacement: étape 3, image 1 de 2 Epson PowerLite 822 Plus Projector Lens Replacement: étape 3, image 2 de 2
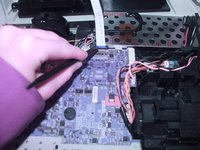
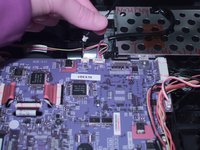
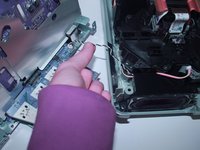
    • Use the spudger to disconnect it from the motherboard.

  4. Epson PowerLite 822 Plus Projector Lens Replacement: étape 4, image 1 de 2 Epson PowerLite 822 Plus Projector Lens Replacement: étape 4, image 2 de 2
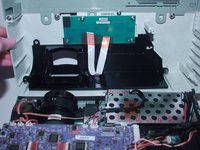
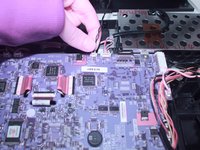
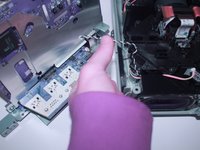
    • Using your finger gently move back and forth the JST cable that connects the top to the motherboard.

    • Now completely take off the top of the projector.

  5. Epson PowerLite 822 Plus Projector Lens Replacement: étape 5, image 1 de 2 Epson PowerLite 822 Plus Projector Lens Replacement: étape 5, image 2 de 2
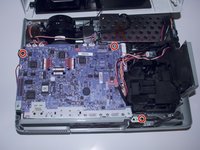
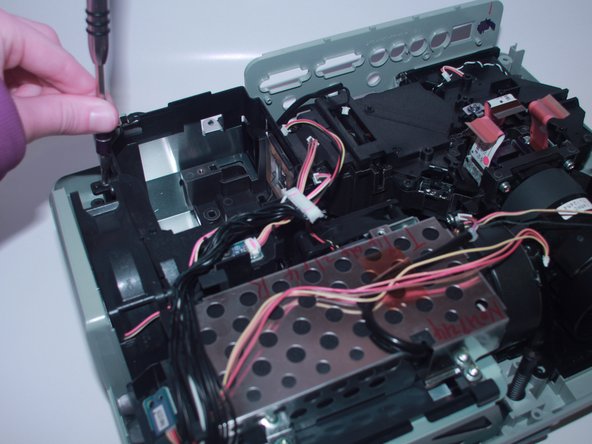
    • Remove the 3 screws that secure the motherboard in place.

  6. Epson PowerLite 822 Plus Projector Lens Replacement: étape 6, image 1 de 3 Epson PowerLite 822 Plus Projector Lens Replacement: étape 6, image 2 de 3 Epson PowerLite 822 Plus Projector Lens Replacement: étape 6, image 3 de 3
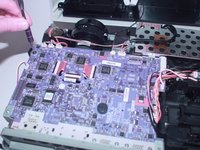
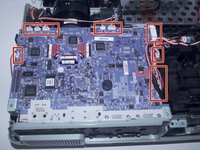
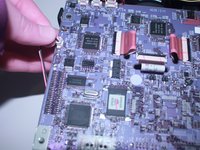
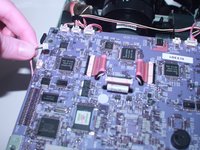
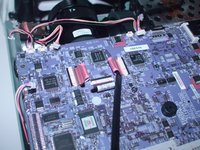
    • Gently move back and forth the 11 JST connectors until they come out.

  7. Epson PowerLite 822 Plus Projector Lens Replacement: étape 7, image 1 de 2 Epson PowerLite 822 Plus Projector Lens Replacement: étape 7, image 2 de 2
    • With the spudger lift the red plastic tabs from their connectors.

  8. Epson PowerLite 822 Plus Projector Lens Replacement: étape 8, image 1 de 3 Epson PowerLite 822 Plus Projector Lens Replacement: étape 8, image 2 de 3 Epson PowerLite 822 Plus Projector Lens Replacement: étape 8, image 3 de 3
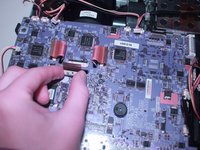
    • Lift the motherboard and disconnect the JST connector underneath.

  9. Epson PowerLite 822 Plus Projector Lens Replacement: étape 9, image 1 de 1
    • Now, the motherboard is completely removed from the projector and you are ready to replace it.

  10. Epson PowerLite 822 Plus Projector Lens Replacement, Projector Lens: étape 10, image 1 de 3 Epson PowerLite 822 Plus Projector Lens Replacement, Projector Lens: étape 10, image 2 de 3 Epson PowerLite 822 Plus Projector Lens Replacement, Projector Lens: étape 10, image 3 de 3
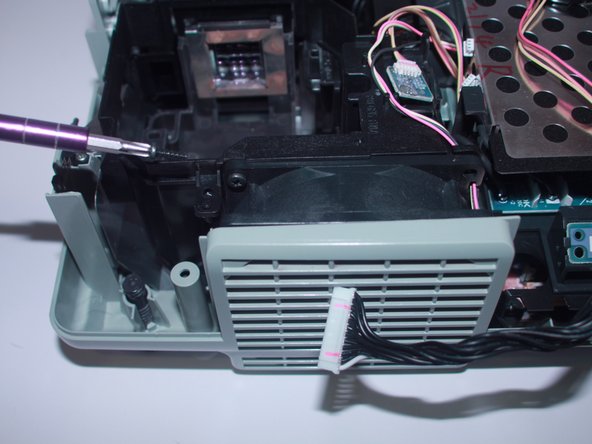
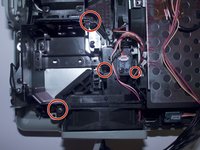
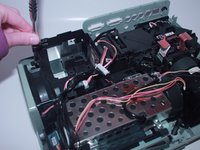
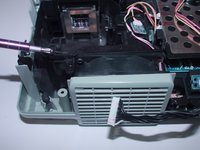
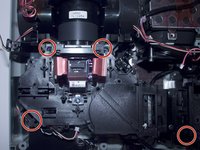
    • Use a Phillips #2 screwdriver to remove the four 6 mm screws that hold together the fan bracket.

  11. Epson PowerLite 822 Plus Projector Lens Replacement: étape 11, image 1 de 2 Epson PowerLite 822 Plus Projector Lens Replacement: étape 11, image 2 de 2
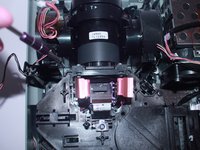
    • Use a Phillips #2 screwdriver to remove the four 6 mm screws that secure the projector.

  12. Epson PowerLite 822 Plus Projector Lens Replacement: étape 12, image 1 de 2 Epson PowerLite 822 Plus Projector Lens Replacement: étape 12, image 2 de 2
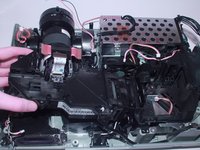
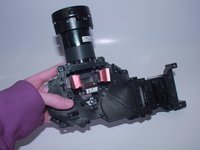
    • Pull out the loose projector and it is ready to be replaced.

Conclusion

To reassemble your device, follow these instructions in reverse order.

Emma Richey

Membre depuis le 03/21/22

915 Réputation

5 tutoriels rédigés

Équipe

0 commentaires

Ajouter un commentaire

Nombre de vues :

Dernières 24 heures : 0

7 derniers jours : 1

30 derniers jours : 8

Total : 84