
Fujifilm FinePix T500 LCD Screen Replacement
15 - 20 minutes
Facile
Introduction
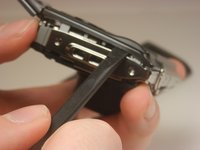
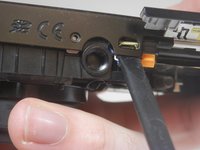
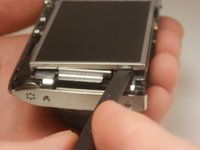
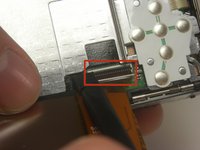
Passez à l'étape 1The LCD screen on the Fujifilm FinePix T500 is a crucial component that facilitates viewing images, configuring settings, and selecting various modes. This guide is designed to assist you in replacing the LCD screen, allowing you to extend the life of your camera without having to purchase a new one.
Ce dont vous avez besoin


Presque terminé !
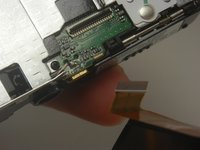
To reassemble your device, follow these instructions in reverse order.
Conclusion
To reassemble your device, follow these instructions in reverse order.
Équipe

USF Tampa, Team 19-3, Blackwell Winter 2015 Membre de l'équipe USF Tampa, Team 19-3, Blackwell Winter 2015
USFT-BLACKWELL-W15S19G3
4 membres
10 tutoriels rédigés