
HP EliteBook 840 G7 keyboard Replacement
Introduction
Passez à l'étape 1Use this guide to replace the keyboard on a HP EliteBook 840 G7


-
-
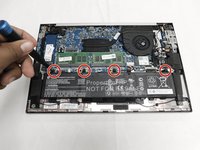
Use the Phillips # 1 screwdriver to remove the five 1.2 mm screws from the back cover of the laptop.
Den Phillips #1 Schraubenzieher benutzen um die fünf schrauben auf der Rückseite des Laptops zu entfernen
-
-
-
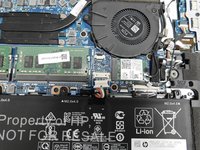
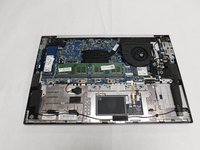
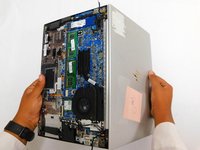
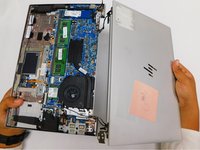
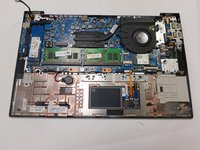
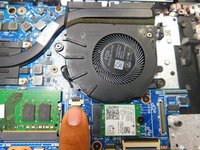
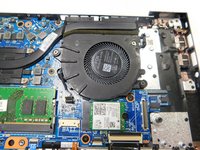
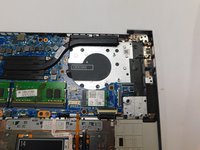
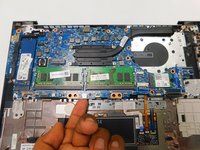
Remove the back cover to expose the hardware.
-
-
-
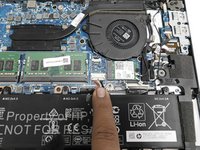
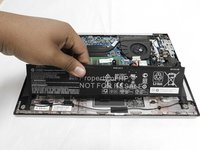
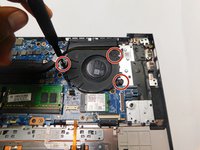
Use your Phillips #1 screwdriver and remove the four 1.2 mm screws that secures the battery into place.
-
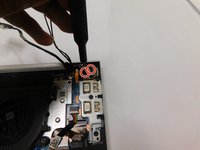
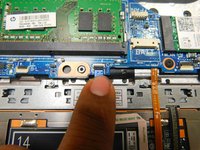
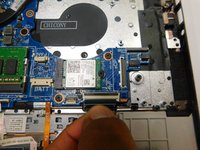
Remove the connector that connects the battery to the motherboard.
-
-
-
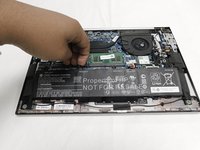
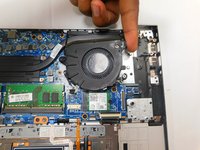
Lift up the battery with you hands or tools.
-
-
-
-
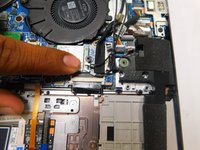
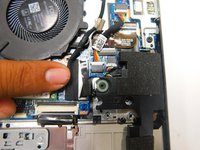
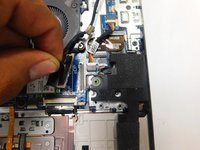
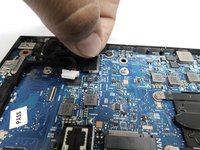
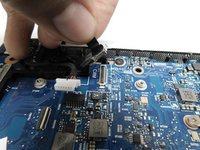
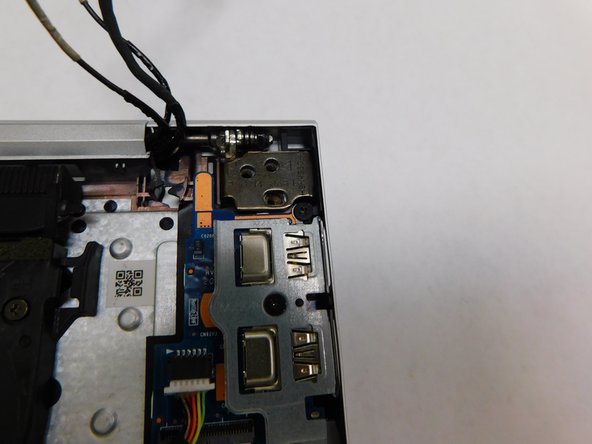
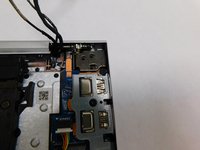
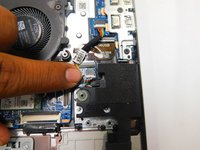
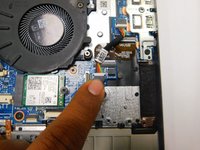
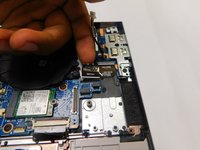
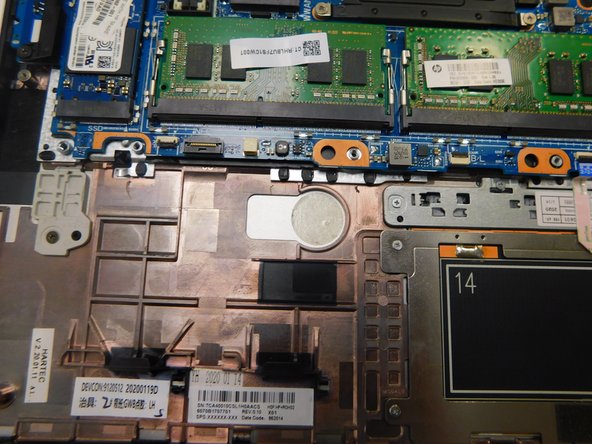
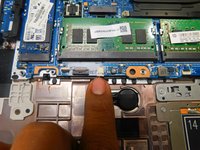
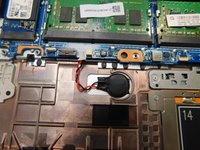
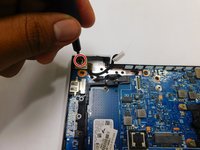
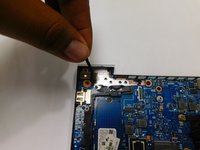
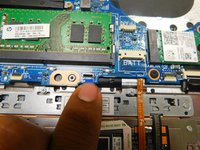
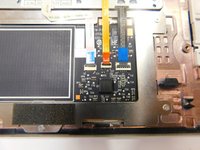
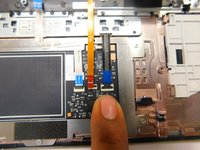
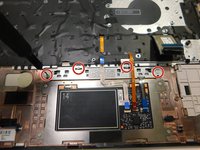
Pull on the bundled connector to remove.
-
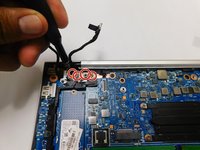
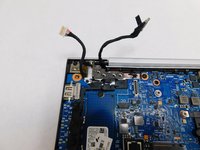
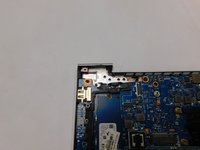
Remove the speaker system from the board.
-
-
-
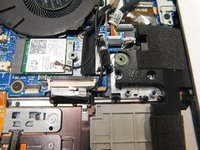
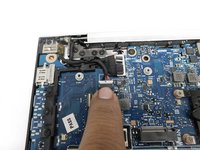
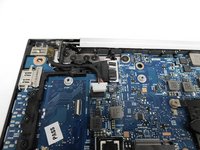
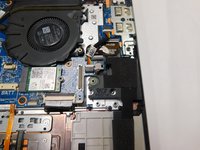
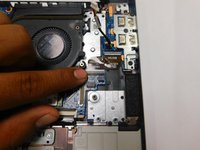
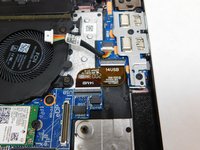
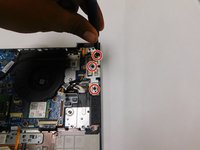
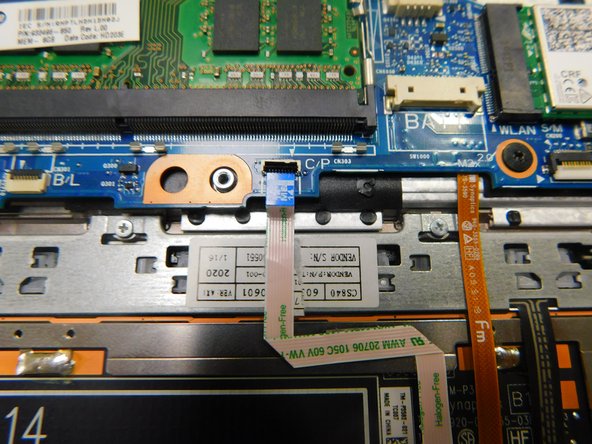
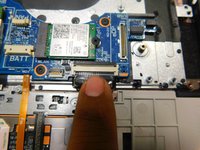
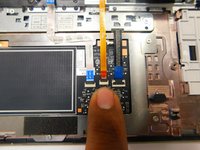
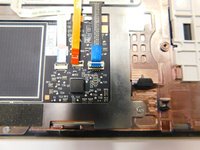
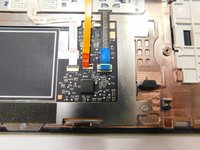
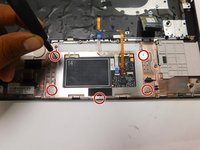
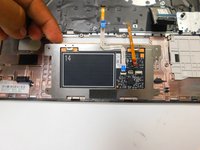
Use your Phillips #000 screwdriver to remove the five 1 mm screws.
-
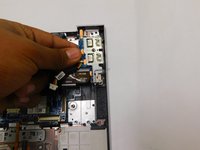
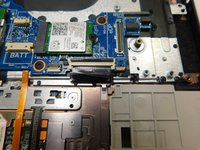
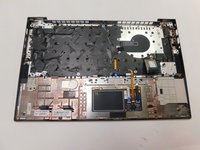
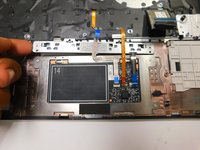
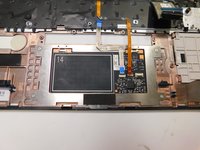
Lift the touchpad to remove.
-


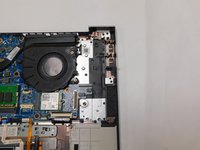


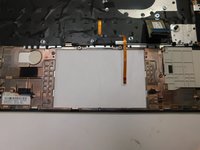
To reassemble your device, follow these instructions in reverse order.
To reassemble your device, follow these instructions in reverse order.
Annulation : je n'ai pas terminé ce tutoriel.
7 autres ont terminé cette réparation.
Équipe

Gateway, Team 1-1, Pee Spring 2022 Membre de l'équipe Gateway, Team 1-1, Pee Spring 2022
GCC-PEE-S22S1G1
4 membres
12 tutoriels rédigés
4 commentaires
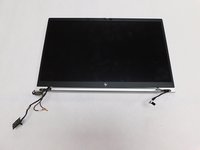
the keyboard is part of the top shell and is rivetted in, you need to replace the whole part
Recommended parts are wrong
Auf den Rücken drehen
Luis-Oliver Bota - Réponse