Aller au contenu principal
HP Pavilion 11-n010dx Hard Drive Replacement

HP Pavilion 11-n010dx Hard Drive Replacement

Joseph Lintz

Joseph Lintz et 2 autres contributeurs

Dernière mise à jour le September 29, 2024

10 - 20 minutes
Modérée

The hard drive of your device is where all of the information is kept. Issues with your hard drive can cause a slower moving device, PC errors and lack of free space on your device. Replacing this item will solve these problems. Be sure the device is turned off and disconnected from all power sources.

Ce dont vous avez besoin

Kits de réparation

Ces kits contiennent toutes les pièces et tous les outils nécessaires à la réalisation du tutoriel.

Pièces

Outils

Afficher plus…

  1. HP Pavilion 11-n010dx Hard Drive Replacement, Battery: étape 1, image 1 de 2 HP Pavilion 11-n010dx Hard Drive Replacement, Battery: étape 1, image 2 de 2
    • Use the nylon spudger to remove the rubber pads near the hinge of the screen, then remove the screws under the pads.

    • Use the Phillips #0 to remove four 9mm screws.

    • Use the Phillips #0 to remove seven 6mm screws.

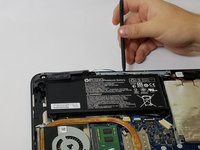
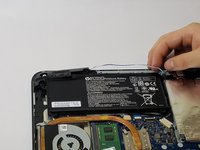
  2. HP Pavilion 11-n010dx Hard Drive Replacement: étape 2, image 1 de 3 HP Pavilion 11-n010dx Hard Drive Replacement: étape 2, image 2 de 3 HP Pavilion 11-n010dx Hard Drive Replacement: étape 2, image 3 de 3
    • Use the nylon spudger to pry the back casing near the hinges for the screen.

    • Continue to pry along the edge of the back case until the back is ready to be removed.

    • Careful when beginning to remove the case. There is a cable attached between the bottom case and the motherboard that must be properly disconnected.

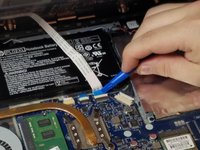
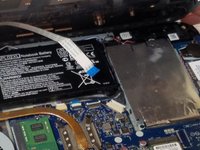
  3. HP Pavilion 11-n010dx Hard Drive Replacement: étape 3, image 1 de 2 HP Pavilion 11-n010dx Hard Drive Replacement: étape 3, image 2 de 2
    • Use the blue plastic opening tool to lift up on the white tab that is holding the cable in place on the motherboard.

    • Now carefully pull the cable out of place and remove the entire back casing.

  4. HP Pavilion 11-n010dx Hard Drive Replacement: étape 4, image 1 de 1
    • Remove the five 6mm screws that hold the battery in place using the Phillips #0.

  5. HP Pavilion 11-n010dx Hard Drive Replacement: étape 5, image 1 de 2 HP Pavilion 11-n010dx Hard Drive Replacement: étape 5, image 2 de 2
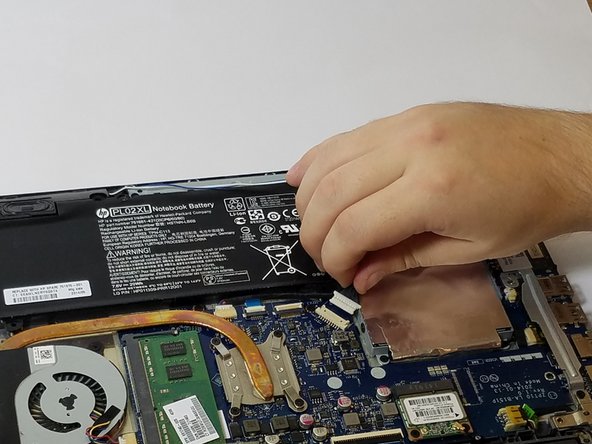
    • Use the nylon spudger to pry away the blue/white wire that is positioned near your battery.

  6. HP Pavilion 11-n010dx Hard Drive Replacement: étape 6, image 1 de 2 HP Pavilion 11-n010dx Hard Drive Replacement: étape 6, image 2 de 2
    • Disconnect the battery cable from the motherboard by carefully pulling on the black wire at the point closest to the white tab.

  7. HP Pavilion 11-n010dx Hard Drive Replacement: étape 7, image 1 de 1
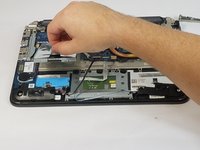
    • Remove the battery from your device.

  8. HP Pavilion 11-n010dx Hard Drive Replacement, Hard Drive: étape 8, image 1 de 1
    • Use the Phillips #0 to remove the three 3mm screws holding the hard drive in place.

  9. HP Pavilion 11-n010dx Hard Drive Replacement: étape 9, image 1 de 2 HP Pavilion 11-n010dx Hard Drive Replacement: étape 9, image 2 de 2
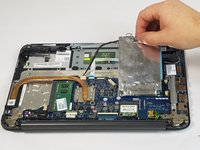
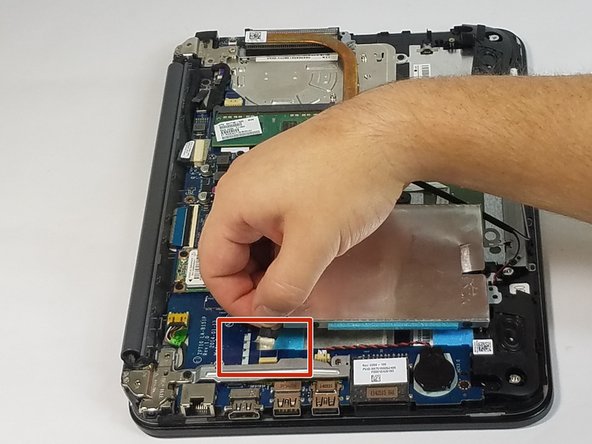
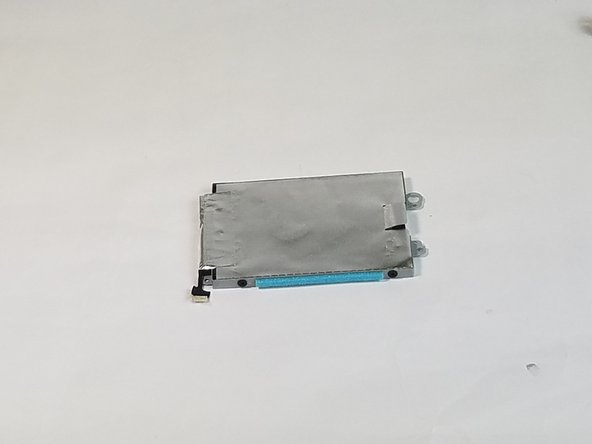
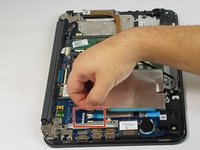
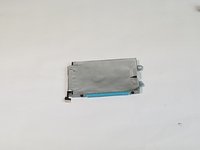
    • Carefully lift the hard drive out of place using the tag.

  10. HP Pavilion 11-n010dx Hard Drive Replacement: étape 10, image 1 de 3 HP Pavilion 11-n010dx Hard Drive Replacement: étape 10, image 2 de 3 HP Pavilion 11-n010dx Hard Drive Replacement: étape 10, image 3 de 3
    • Gently pull on the cable connector to disconnect the hard drive from your device.

Conclusion

To reassemble your device, follow these instructions in reverse order.

6 autres ont terminé cette réparation.

Joseph Lintz

Membre depuis le 09/15/16

939 Réputation

5 tutoriels rédigés

Équipe

USF Tampa, Team 11-5, Blackwell Fall 2016 Membre de l'équipe USF Tampa, Team 11-5, Blackwell Fall 2016

USFT-BLACKWELL-F16S11G5

3 membres

10 tutoriels rédigés

2 commentaires

Thanks a lot Joseph ! Works well for the model 11-n000nf !

Nicolas - Réponse

Thanks Joseph-I was able to get it open, disconnect the battery and ordered a new battery. We’ll see if this corrects the problem. Computer was sleeping for over a year. Thank you for your pictures and easy to follow instructions.

Beverlyn - Réponse

Ajouter un commentaire

Nombre de vues :

Dernières 24 heures : 0

7 derniers jours : 4

30 derniers jours : 27

Total : 5,723