Aller au contenu principal
HP Pavilion g4-1117dx Fan Replacement

HP Pavilion g4-1117dx Fan Replacement

Robert Hamilton

Robert Hamilton et un autre contributeur

Dernière mise à jour le May 25, 2018

10 minutes
Modérée
Nécessite plus d'images

The fan is one of the more tedious components of your device to remove. It has several prerequisite guides, but when you get to the fan, it is very easy to remove.

Ce dont vous avez besoin

  1. HP Pavilion g4-1117dx Fan Replacement, Battery: étape 1, image 1 de 1
    • Slide pill shaped tab to the other side of the channel.

    • Remove battery while keeping the tab to the side.

  2. HP Pavilion g4-1117dx Fan Replacement, L-Shaped Back Panel: étape 3, image 1 de 1
    • Unscrew the two screws JIS #0 located on opposites sides of the panel.

    • Screws are attached to the panel and will not fully come out.

  3. HP Pavilion g4-1117dx Fan Replacement: étape 4, image 1 de 1
    • Carefully pry off the L-shaped panel.

  4. HP Pavilion g4-1117dx Fan Replacement, Hard Drive: étape 5, image 1 de 1
    • Pull out and unplug the tab on the right hand side.

  5. HP Pavilion g4-1117dx Fan Replacement, Larger Back Panel: étape 6, image 1 de 1
    • Unscrew all nine 6.0mm JIS #0 screws located on the border of the back panel.

  6. HP Pavilion g4-1117dx Fan Replacement: étape 7, image 1 de 1
    • Remove 3 screws located where the battery previously was.

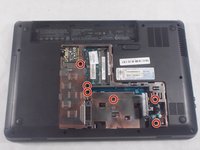
  7. HP Pavilion g4-1117dx Fan Replacement: étape 8, image 1 de 2 HP Pavilion g4-1117dx Fan Replacement: étape 8, image 2 de 2
    • Remove 6 screws located under the spot where the smaller L-shaped panel was located.

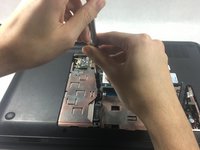
  8. HP Pavilion g4-1117dx Fan Replacement: étape 9, image 1 de 1
    • Slowly pry off the keyboard from the back panel.

    • Between the back panel and the keyboard there are two ribbon wires.

    • Remove slowly to not break the back panel. If it does not come off easily, check to see if all screws are removed.

  9. HP Pavilion g4-1117dx Fan Replacement: étape 10, image 1 de 1
    • Unplug wires connecting back panel to keyboard.

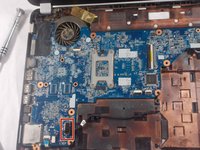
  10. HP Pavilion g4-1117dx Fan Replacement, Motherboard: étape 11, image 1 de 2 HP Pavilion g4-1117dx Fan Replacement, Motherboard: étape 11, image 2 de 2
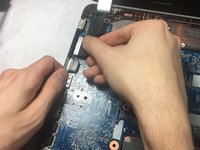
    • In lower left hand corner, pull on black tab to unplug the disc drive.

  11. HP Pavilion g4-1117dx Fan Replacement: étape 12, image 1 de 2 HP Pavilion g4-1117dx Fan Replacement: étape 12, image 2 de 2
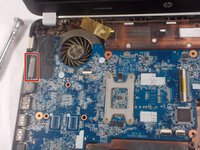
    • In upper left hand corner, unplug the large black electrical tape covered laptop plug.

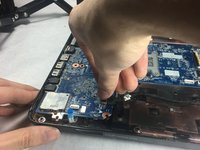
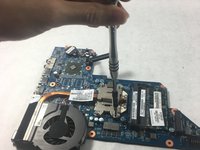
  12. HP Pavilion g4-1117dx Fan Replacement, Fan: étape 13, image 1 de 2 HP Pavilion g4-1117dx Fan Replacement, Fan: étape 13, image 2 de 2
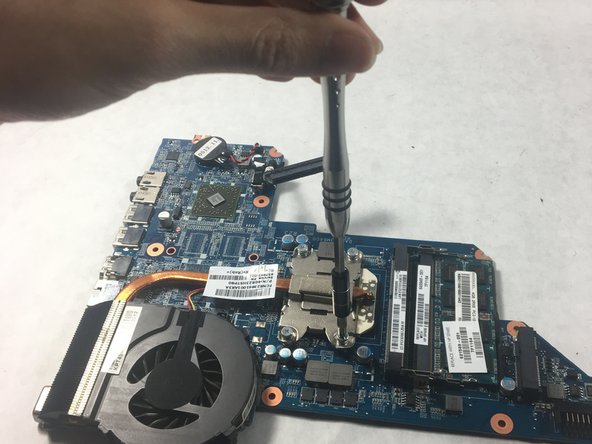
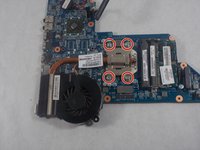
    • Unscrew the four screws JIS #0 screws on the back side of the motherboard.

    • Screws will loosen but do not come completely out.

    • The screws are the only thing keeping the fan attached to the motherboard.

Conclusion

To reassemble your device, follow these instructions in reverse order.

Robert Hamilton

Membre depuis le 03/01/18

1 165 Réputation

10 tutoriels rédigés

Équipe

UMass Dartmouth, Team S2-G7, Simcock Spring 2018 Membre de l'équipe UMass Dartmouth, Team S2-G7, Simcock Spring 2018

UMASSD-SIMCOCK-S18S2G7

4 membres

10 tutoriels rédigés

0 commentaires

Ajouter un commentaire

Nombre de vues :

Dernières 24 heures : 0

7 derniers jours : 7

30 derniers jours : 28

Total : 2,124