
HTC Radar 4G Touch Digitizer Replacement
Introduction
Passez à l'étape 1This guide shows you how to replace your HTC Radar 4G’s touch digitizer.
If your phone isn’t properly registering your touch, you might need to replace the touch digitizer, which turns your finger actions into digital actions.
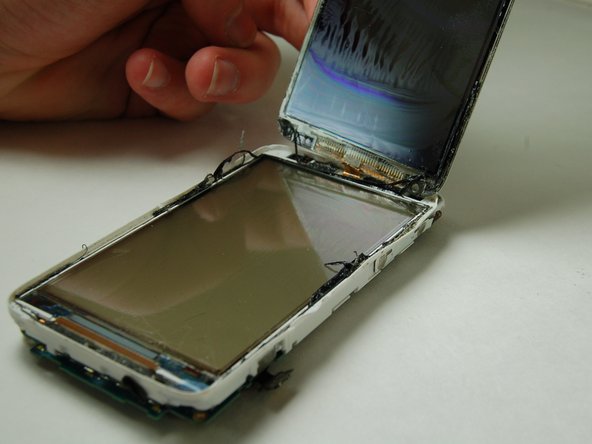
The digitizer is a thin layer of plastic film that is capable of converting analog touch comments into digital signals.
Before using this guide, please determine whether the LCD screen or the digitizer doesn't work, because a broken LCD screen may also perform the infectiveness of touching. As well as it, be sure to check the version of your HTC device since other versions can have the outermost glass of the screen glued to the digitizer, making it impossible to replace it amateurly.
Ce dont vous avez besoin


-
-
Slide the lower plastic panel off of the phone.
-
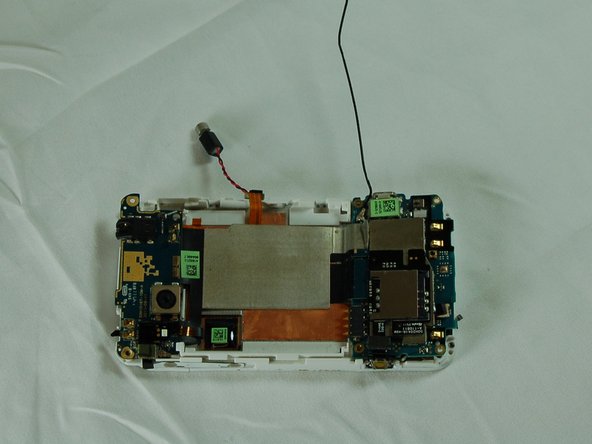
Remove the four screws from the white plastic cover of the phone using the T5 Torx screwdriver.
-
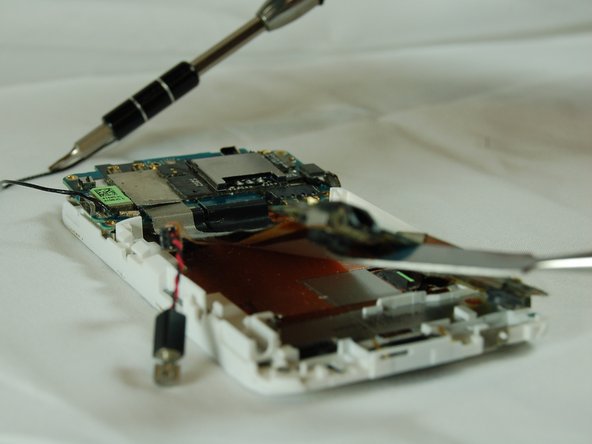
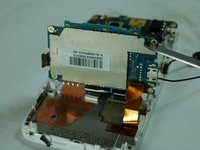
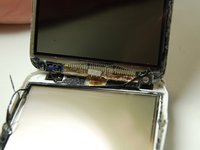
Remove the two black screws from the silver frame.
-
-


To reassemble your device, follow these instructions in reverse order.
To reassemble your device, follow these instructions in reverse order.
Équipe

Texas Tech, Team 12-5, Bennett Fall 2016 Membre de l'équipe Texas Tech, Team 12-5, Bennett Fall 2016
TTU-BENNETT-F16S12G5
4 membres
2 tutoriels rédigés