Aller au contenu principal
HTC Touch Pro 2 Camera Replacement

HTC Touch Pro 2 Camera Replacement

Melinda Phan

Melinda Phan et 10 autres contributeurs

Dernière mise à jour le May 7, 2024

4 - 8 minutes
Facile
Étudiant en action

If your HTC Touch Pro 2 Camera isn’t turning on, a possible issue may be with the camera lens. Follow this guide to learn how to replace your HTC Touch Pro 2 Camera. After the lens is replaced the quality of picture should be restored to its original state. This guide requires a T5 screwdriver and some tweezers.

Use caution when replacing the lens if the glass of the lens is shattered to avoid injury.

Ce dont vous avez besoin

Outils

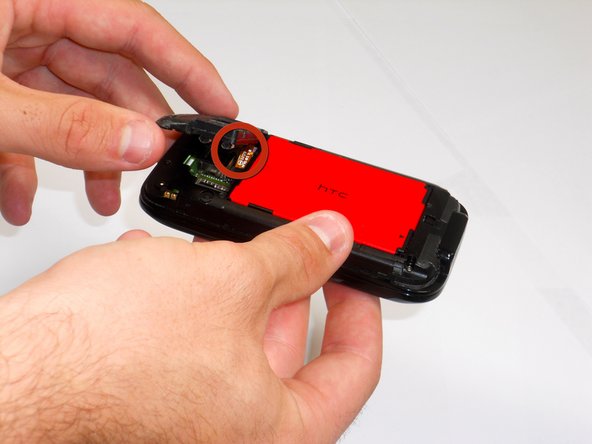
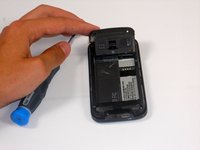
  1. HTC Touch Pro 2 Camera Replacement, Battery: étape 1, image 1 de 3 HTC Touch Pro 2 Camera Replacement, Battery: étape 1, image 2 de 3 HTC Touch Pro 2 Camera Replacement, Battery: étape 1, image 3 de 3
    • Apply pressure and slide upward to remove back cover.

    • Lift the back cover up away from the phone.

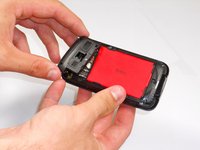
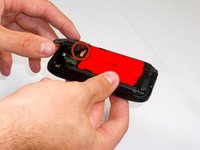
  2. HTC Touch Pro 2 Camera Replacement: étape 2, image 1 de 2 HTC Touch Pro 2 Camera Replacement: étape 2, image 2 de 2
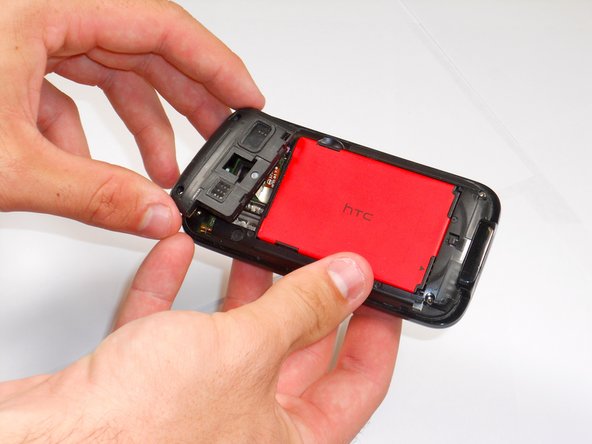
    • Lift battery upward on the upper right-hand side to remove it.

    • Check the battery to make sure there's no bent corners

  3. HTC Touch Pro 2 Camera Replacement, Camera: étape 3, image 1 de 2 HTC Touch Pro 2 Camera Replacement, Camera: étape 3, image 2 de 2
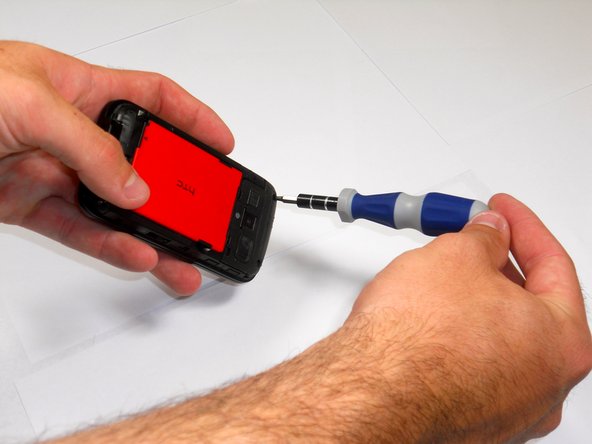
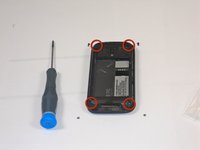
    • Remove the four screws from the corners of the phone using a T5 Torx screwdriver.

  4. HTC Touch Pro 2 Camera Replacement: étape 4, image 1 de 3 HTC Touch Pro 2 Camera Replacement: étape 4, image 2 de 3 HTC Touch Pro 2 Camera Replacement: étape 4, image 3 de 3
    • Lift the top segment of the phone frame off.

    • Be cautious with the ribbon on the back of this part.

  5. HTC Touch Pro 2 Camera Replacement: étape 5, image 1 de 2 HTC Touch Pro 2 Camera Replacement: étape 5, image 2 de 2
    Outil utilisé dans cette étape :
    Tweezers
    $4.99
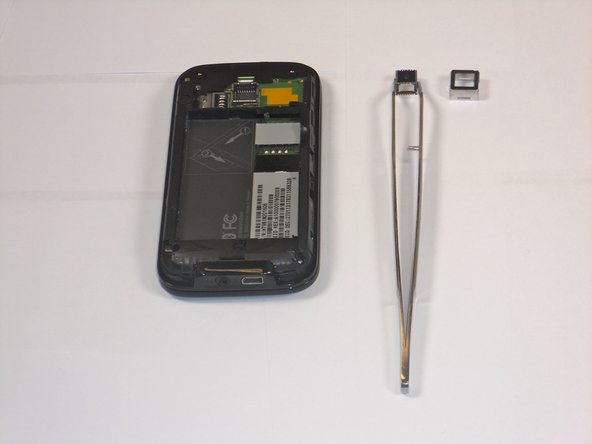
    • Use the tweezers to pull the camera cover up and away from the phone. Repeat for the camera underneath.

Conclusion

To reassemble your device, follow these instructions in reverse order.

Une autre personne a terminé cette réparation.

Melinda Phan

Membre depuis le 04/17/11

438 Réputation

9 tutoriels rédigés

Équipe

Cal Poly, Team 9-64, Walters Spring 2011 Membre de l'équipe Cal Poly, Team 9-64, Walters Spring 2011

CPSU-WALTERS-S11S9G64

5 membres

18 tutoriels rédigés

0 commentaires de tutoriel

Ajouter un commentaire

Nombre de vues :

Dernières 24 heures : 0

7 derniers jours : 0

30 derniers jours : 19

Total : 2,525