Aller au contenu principal
How to Assemble Sigrow Soil Pro Mini

How to Assemble Sigrow Soil Pro Mini

Sigrow

Sigrow et 2 autres contributeurs

Dernière mise à jour le August 6, 2024

5 minutes
Facile
Tutoriel réalisé par la communauté
  1. How to Assemble Sigrow Soil Pro Mini, Necessary parts: étape 1, image 1 de 1
    • Make sure you have all the necessary parts to assemble the Soil Pro Mini.

    • Soil sensor

    • Battery

    • PCB

    • Wireless charger

  2. How to Assemble Sigrow Soil Pro Mini, Prepare the wireless charger: étape 2, image 1 de 3 How to Assemble Sigrow Soil Pro Mini, Prepare the wireless charger: étape 2, image 2 de 3 How to Assemble Sigrow Soil Pro Mini, Prepare the wireless charger: étape 2, image 3 de 3
    • Carefully fold the wireless charger just above the words "Wireless Charger".

    • There are two parts inside the wireless charger. The fold is placed inbetween these two parts.

  3. How to Assemble Sigrow Soil Pro Mini, Connect parts to the PCB: étape 3, image 1 de 3 How to Assemble Sigrow Soil Pro Mini, Connect parts to the PCB: étape 3, image 2 de 3 How to Assemble Sigrow Soil Pro Mini, Connect parts to the PCB: étape 3, image 3 de 3
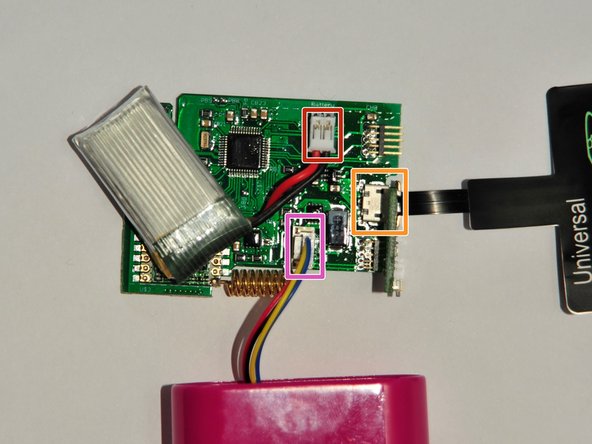
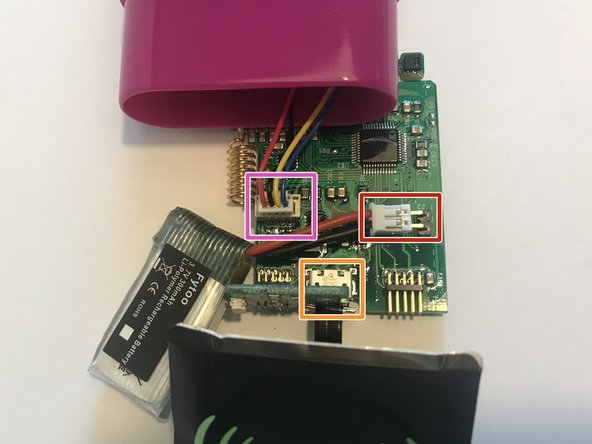
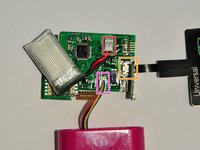
    • The soil sensor, battery and wireless charger all need to be connected to the PCB.

    • Battery

    • Make sure to connect the red wire to the plus (+) side as marked on the PCB. In this photo, the positive side is on the left.

    • Wireless charger

    • Soil sensor

    • When connecting the soil sensor and the PCB, you should hear a *click*.

  4. How to Assemble Sigrow Soil Pro Mini, Insert the PCB into the case: étape 4, image 1 de 3 How to Assemble Sigrow Soil Pro Mini, Insert the PCB into the case: étape 4, image 2 de 3 How to Assemble Sigrow Soil Pro Mini, Insert the PCB into the case: étape 4, image 3 de 3
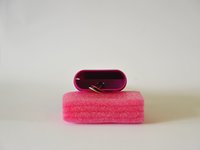
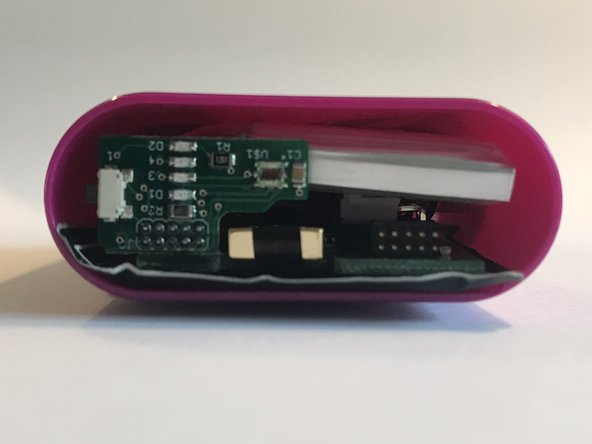
    • The PCB and the wireless charger are inserted into the deep pocket of the soil sensor.

    • Make sure that the Wireless Charger logo is facing towards the outside of the case.

    • Assembly is easiest when the PCB is inserted at a slight angle.

    • Push the wireless charged in behind the PCB.

    • The PCB and wireless charger should be at the same height, but not inserted all the way.

  5. How to Assemble Sigrow Soil Pro Mini, Insert the battery: étape 5, image 1 de 3 How to Assemble Sigrow Soil Pro Mini, Insert the battery: étape 5, image 2 de 3 How to Assemble Sigrow Soil Pro Mini, Insert the battery: étape 5, image 3 de 3
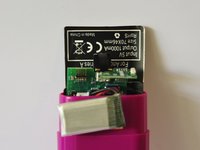
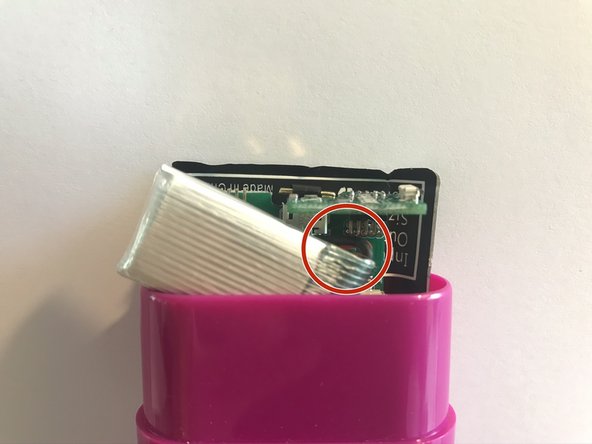
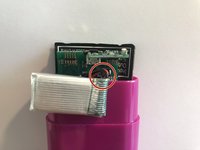
    • The battery should be placed in front of the PCB. This is easiest when diagonally inserted.

    • The battery wires are in the upper righthand corner.

  6. How to Assemble Sigrow Soil Pro Mini, Complete assembly: étape 6, image 1 de 3 How to Assemble Sigrow Soil Pro Mini, Complete assembly: étape 6, image 2 de 3 How to Assemble Sigrow Soil Pro Mini, Complete assembly: étape 6, image 3 de 3
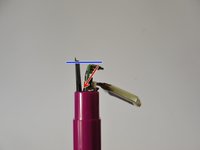
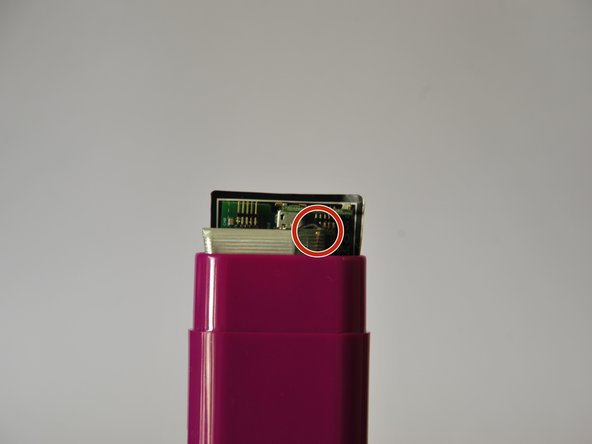
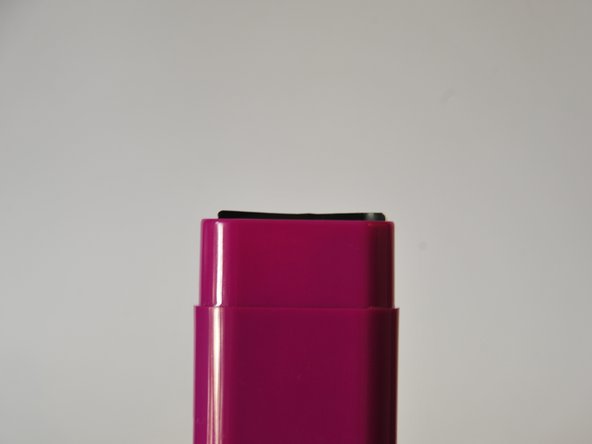
    • The components can now be pressed in all the way.

    • The PCB must be below the edge of the soil sensor. The wireless charger is allowed to stick out a little bit.

  7. How to Assemble Sigrow Soil Pro Mini, Packaging: étape 7, image 1 de 2 How to Assemble Sigrow Soil Pro Mini, Packaging: étape 7, image 2 de 2
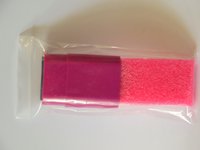
    • Put the assembled Soil Pro Mini back in the bag.

    • Place 20 assembled Soil Pro Minis back in the box.

    • There shoud be two rows of nine sensors in the box. Two sensors can be placed between the rows.

Ligne d'arrivée

Une autre personne a terminé cette réparation.

Sigrow

Membre depuis le 05/14/20

1 075 Réputation

5 tutoriels rédigés

Équipe

Sigrow Membre de l'équipe Sigrow

Community

3 membres

5 tutoriels rédigés

0 commentaires de tutoriel

Ajouter un commentaire

Nombre de vues :

Dernières 24 heures : 0

7 derniers jours : 0

30 derniers jours : 6

Total : 131