
How to Fix Cracked Glassware with Food Safe Resin

Introduction
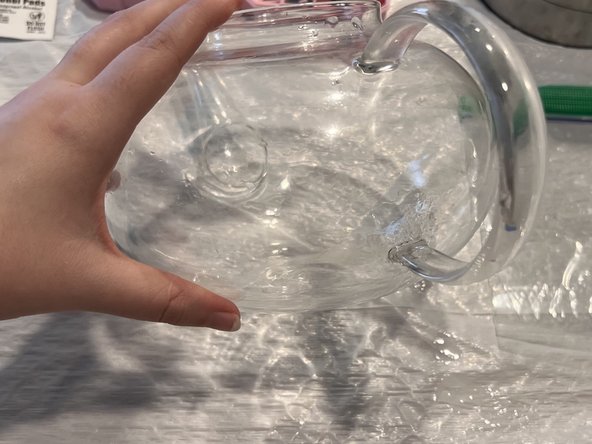
Passez à l'étape 1This guide is intended to show users how to repair broken glassware using non-toxic, food-safe resin to maintain its food-safe functionality. The object used in this guide is a glass tea infuser, but this tutorial is versatile and can be used with other glassware.
It's important to work in a well-ventilated area to avoid breathing the resin fumes. It is essential to use resin marked as food-grade. Use caution when handling materials such as resin, glass shards, craft blades, and hot water.
Ce dont vous avez besoin
Outils


Afficher plus…
-
-
Lay a garbage bag out on your workstation and put on disposable gloves.
-
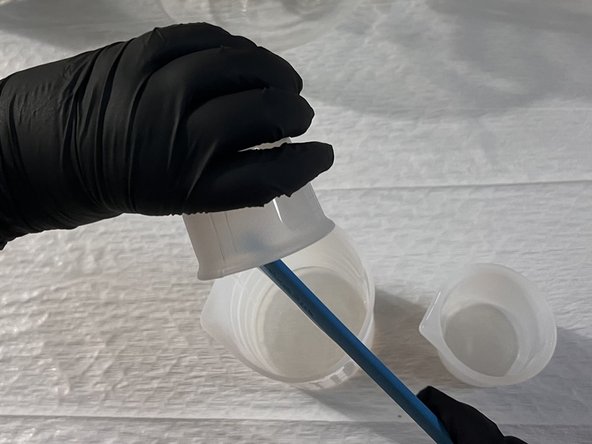
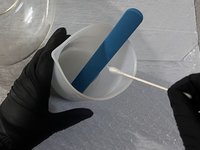
Using separate cups, measure the resin and hardener to an exact 1:1 ratio.
-
-
-
-
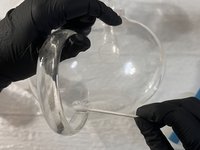
Dip one end of the Q-Tip into the resin mixture. Submerging is not necessary; ensure the tip is coated enough to cover the surface of the crack.
-
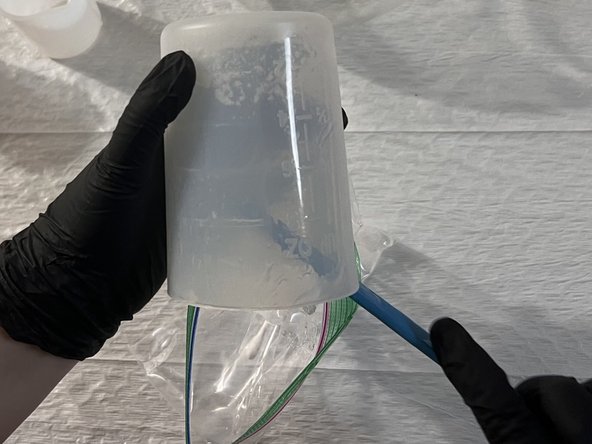
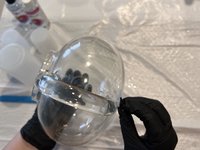
Apply the resin mixture to the affected area(s), covering the crack completely. Cover both the inside and outside of the crack if necessary.
-


Équipe

Austin Community College, Team 29-6, Watkins Fall 2024 Membre de l'équipe Austin Community College, Team 29-6, Watkins Fall 2024
AUSTINCC-WATKINS-F24S29G6
1 membre
1 tutoriel rédigé