
How to Repair a Broken Windowsill

Introduction
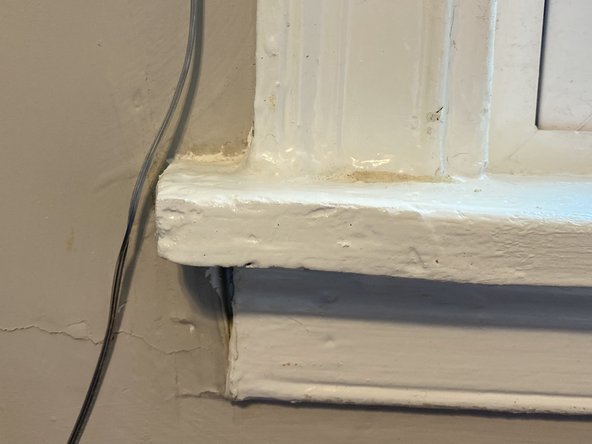
Passez à l'étape 1If your windowsill (otherwise known as the windowsill stool) is broken, chipped, or scratched, follow this guide to repair the damaged wood.
The windowsill is a decorative piece of trim installed beneath the window. The windowsill is located inside of the house and is meant to accentuate the window.
Before using this guide, inspect the windowsill for any termite damage, mold, or fungus. Damage caused by pests or mold fall outside of the scope of this repair.
Ensure that children and pets are a safe distance from the repair in process. The wood filler should not be ingested at any time.
Ce dont vous avez besoin
Pièces
Outils


Afficher plus…
-
-
Remove any loose, splintered, or jagged wood by hand.
-
-


Once the paint dries, the project is complete.
Once the paint dries, the project is complete.

Équipe

University of Memphis, Team S52-G2, Kim Spring 2021 Membre de l'équipe University of Memphis, Team S52-G2, Kim Spring 2021
UM-KIM-S21S52G2
1 membre
1 tutoriel rédigé