
How to Unclog a Shark Rocket Deluxe Pro Vacuum
Introduction
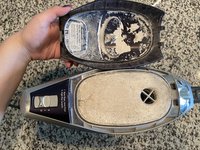
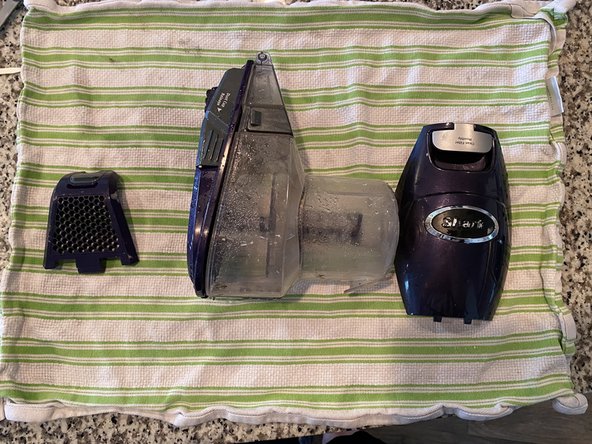
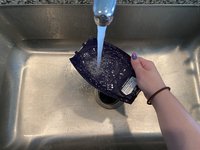
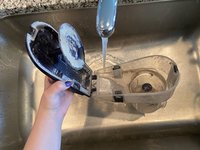
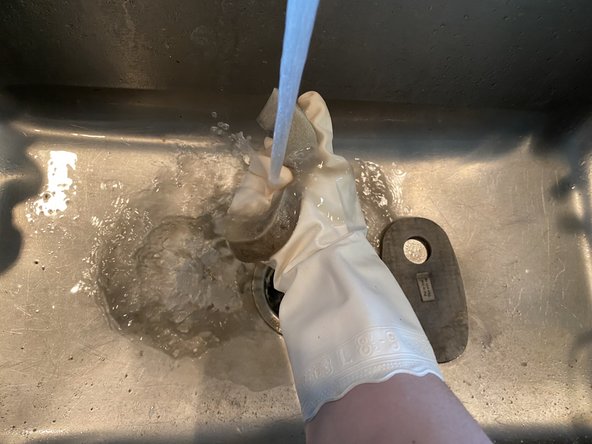
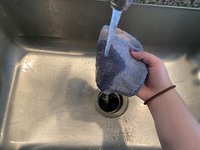
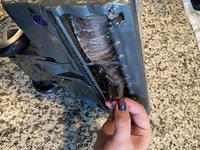
Passez à l'étape 1If your Shark Rocket Deluxe Pro Vacuum (model number HV322) isn’t rolling or sucking, chances are there’s a clog inside the vacuum. Not all clogs are easy to see, so this guide will show how to troubleshoot all the major areas clogs can occur; inside the filters, the rollers, the dustbin, and the tube.
Ce dont vous avez besoin


-
-
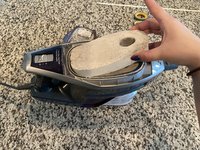
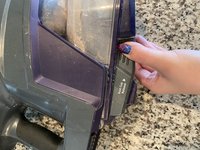
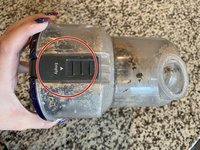
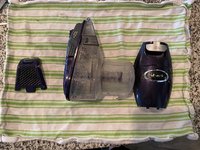
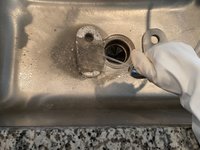
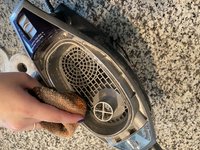
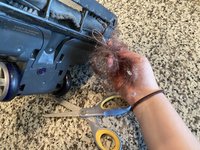
Press the wand release button to remove the vacuum body from the roller brush and wand.
-
-


To reassemble your device, follow these instructions in reverse order.
To reassemble your device, follow these instructions in reverse order.
Équipe

Idaho State University, Team S1-G4, Watkins Summer 2021 Membre de l'équipe Idaho State University, Team S1-G4, Watkins Summer 2021
ISU-WATKINS-SU21S1G4
1 membre
1 tutoriel rédigé