
Jazz UltraTab C1059-HL Screen Replacement
Introduction
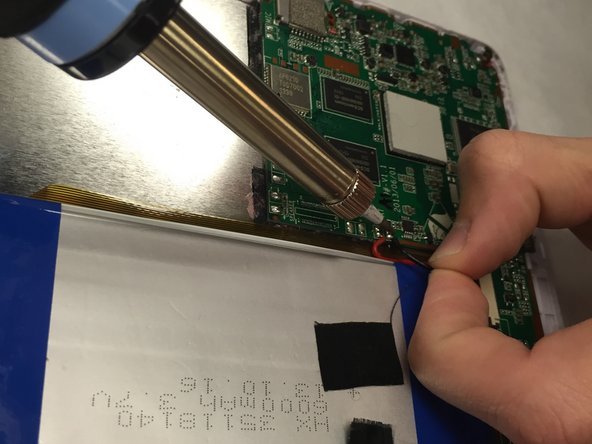
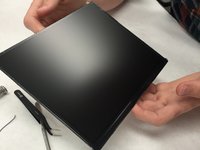
Passez à l'étape 1This guide will guide the user to effectively remove and replace the screen. This replacement is the most time consuming. However, if the guide is followed to the letter, the task will be accomplished with minimal damage to the device.
Ce dont vous avez besoin


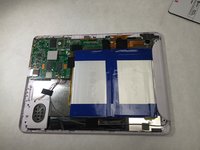

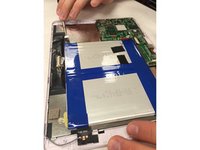


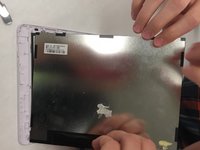

To reassemble your device, follow these instructions in reverse order.
To reassemble your device, follow these instructions in reverse order.
Annulation : je n'ai pas terminé ce tutoriel.
Une autre personne a terminé cette réparation.
Équipe

IUPUI, Team 1-3, Wilson Fall 2015 Membre de l'équipe IUPUI, Team 1-3, Wilson Fall 2015
IUPUI-WILSON-F15S1G3
4 membres
6 tutoriels rédigés