
LG Optimus T Button Replacement
Introduction
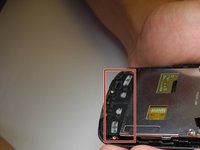
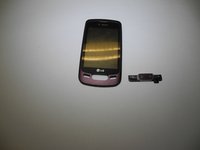
Passez à l'étape 1This guide provides instructions on how to replace your broken home key and power & volume buttons on your LG Optimus T.
Ce dont vous avez besoin


-
-
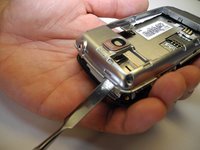
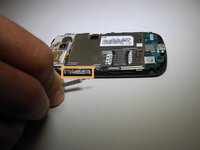
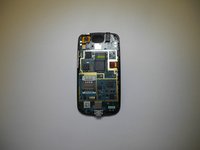
Using a prying device, such as a Spudger, remove the phone's back cover. At the top of the phone, there's an indentation to put the Spudger into to pop the case off.
-
-


To reassemble your device, follow these instructions in reverse order.
To reassemble your device, follow these instructions in reverse order.
Annulation : je n'ai pas terminé ce tutoriel.
Une autre personne a terminé cette réparation.
Équipe

Ohio State, Team 1-3, Wilder Spring 2017 Membre de l'équipe Ohio State, Team 1-3, Wilder Spring 2017
OSU-WILDER-S17S1G3
4 membres
5 tutoriels rédigés