Aller au contenu principal
Lenovo ThinkPad L440 CD Drive Replacement

Lenovo ThinkPad L440 CD Drive Replacement

Zachary Falcon

Zachary Falcon et 3 autres contributeurs

Dernière mise à jour le January 15, 2025

3 - 5 minutes
Facile
Tutoriel étudiant vedette

Use this guide to replace a faulty CD Drive in the Lenovo Thinkpad L440.

The CD Drive is responsible for allowing you to be able to watch CDs, and listen to music. You are also able to write back to a disc, i.e. transfer images and music to a disc, etc.

Before using this guide, check our troubleshooting page. In some cases, a faulty CD Drive can be caused by outdated software. In this case, the CD Drive will not have to be replaced.

Signs of a faulty CD Drive included a scratching noise or hum, error messages, inability to read discs, or an inability to eject discs.

Ce dont vous avez besoin

Outils

  1. Lenovo ThinkPad L440 CD Drive Replacement, Battery: étape 1, image 1 de 3 Lenovo ThinkPad L440 CD Drive Replacement, Battery: étape 1, image 2 de 3 Lenovo ThinkPad L440 CD Drive Replacement, Battery: étape 1, image 3 de 3
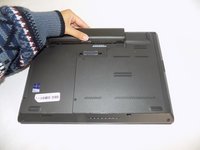
    • Open the laptop to access the power button.

    • Hold the power button in the top right until the computer powers off.

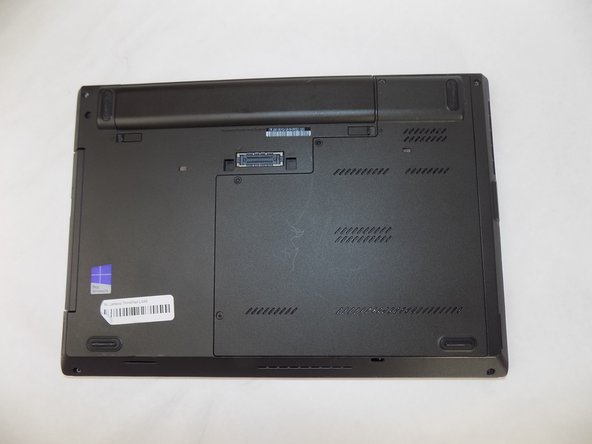
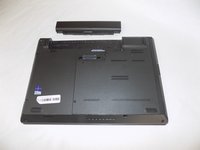
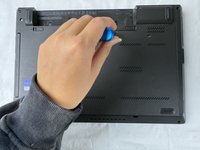
    • Turn the computer over so that the bottom of the computer is facing up

  2. Lenovo ThinkPad L440 CD Drive Replacement: étape 2, image 1 de 1
    • On the left side under the raised surface, move the tab to the left towards the unlocked symbol. Repeat this on the right side and move the tab to the right towards the unlocked symbol.

  3. Lenovo ThinkPad L440 CD Drive Replacement: étape 3, image 1 de 2 Lenovo ThinkPad L440 CD Drive Replacement: étape 3, image 2 de 2
    • From the top of the laptop, slide the raised surface away from the rest of the laptop and out of its slot to remove the battery from the computer.

  4. Lenovo ThinkPad L440 CD Drive Replacement, Back Panel: étape 4, image 1 de 2 Lenovo ThinkPad L440 CD Drive Replacement, Back Panel: étape 4, image 2 de 2
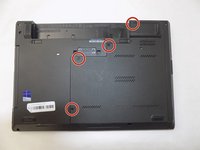
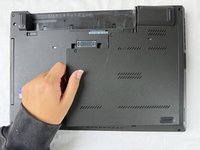
    • Loosen the four retainer screws on the bottom of the laptop using a Phillips #0 screwdriver.

    • These four screws are attached to the panel with washers, so they will spin freely when they are loose and will come off with the panel.

  5. Lenovo ThinkPad L440 CD Drive Replacement: étape 5, image 1 de 2 Lenovo ThinkPad L440 CD Drive Replacement: étape 5, image 2 de 2
    • With your fingers, lift up the back panel from the left side.

  6. Lenovo ThinkPad L440 CD Drive Replacement, CD Drive: étape 6, image 1 de 1
    • Remove the 6 mm CD drive set screw using a Phillips #00 screwdriver.

  7. Lenovo ThinkPad L440 CD Drive Replacement: étape 7, image 1 de 3 Lenovo ThinkPad L440 CD Drive Replacement: étape 7, image 2 de 3 Lenovo ThinkPad L440 CD Drive Replacement: étape 7, image 3 de 3
    • Rotate the laptop so that the CD drive is facing you.

    • Grasp the CD drive with your fingers and pull straight outwards.

Conclusion

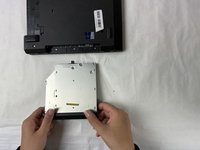
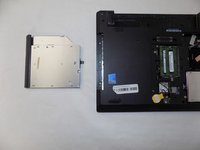
To reassemble your device, follow these instructions in reverse order. Test the new CD Drive by inserting a disc.

Zachary Falcon

Membre depuis le 10/18/24

109 Réputation

1 tutoriel rédigé

Équipe

UMass Dartmouth, Team 2-6, Konn Fall 2024 Membre de l'équipe UMass Dartmouth, Team 2-6, Konn Fall 2024

UMASSD-KONN-F24S2G6

4 membres

5 tutoriels rédigés

0 commentaires

Ajouter un commentaire

Nombre de vues :

Dernières 24 heures : 1

7 derniers jours : 17

30 derniers jours : 29

Total : 83