
Lenovo ThinkPad T480 SSD Replacement

10 - 15 minutes
Modérée
Tutoriel réalisé par la communauté
Introduction
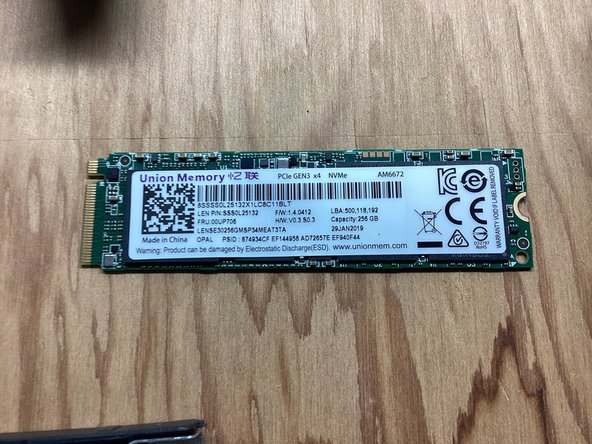
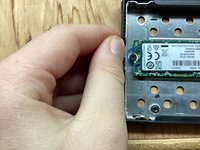
Passez à l'étape 1This guide will show you how to replace the SSD on your Lenovo Thinkpad T480 laptop. Backup your data before replacing if possible.


-
-
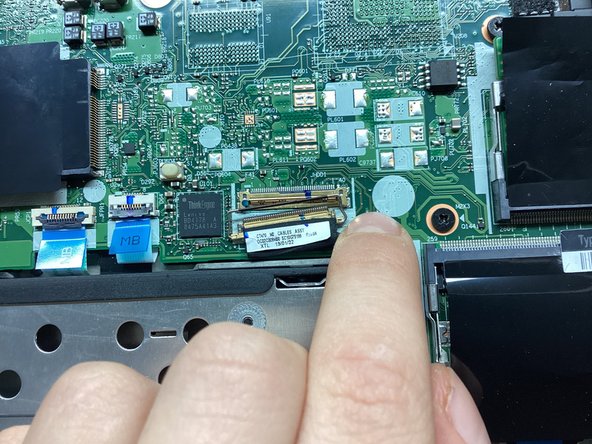
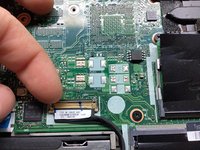
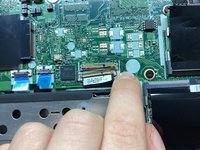
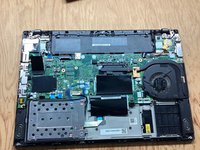
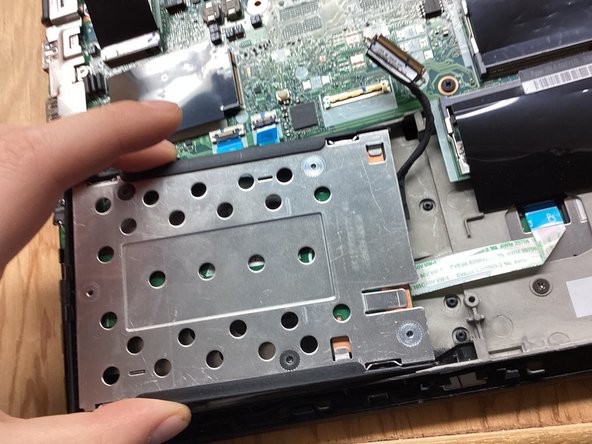
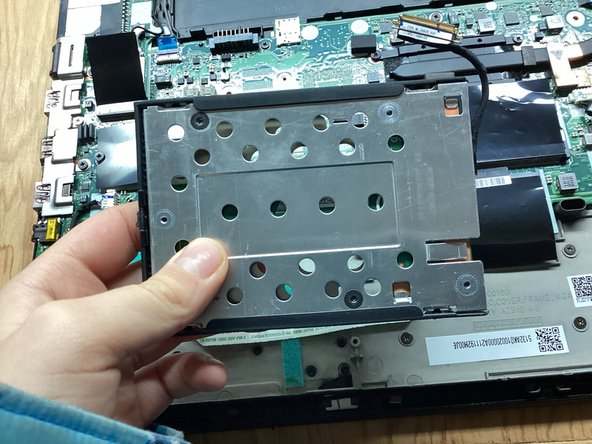
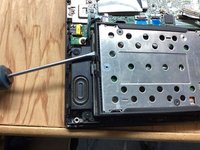
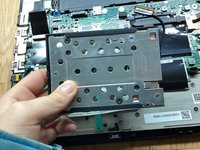
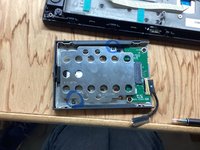
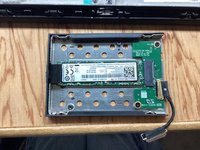
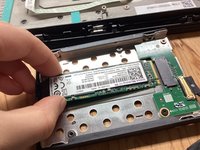
Disable the battery, and unplug your device before you begin. Flip laptop over on its back.
-
-


Presque terminé !
To reassemble your device, follow these instructions in reverse order.
Conclusion
To reassemble your device, follow these instructions in reverse order.
Annulation : je n'ai pas terminé ce tutoriel.
4 autres ont terminé cette réparation.
