
Lenovo ThinkPad X1 Carbon 7th Gen Lower Speakers Replacement
Introduction
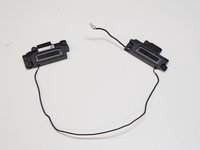
Passez à l'étape 1This guide will explain how to remove the speakers from the Lenovo ThinkPad X1 Carbon 7th Gen, the sound-producing component of the computer.
Often, damage to the computer in the form of drops or water exposure can cause the speakers to no longer produce clear audio, and in some cases stop working all together. This guide will teach you how to remove and replace your speakers.
Make sure you power down and unplug your device from any power source before attempting any repair.
Ce dont vous avez besoin


-
-
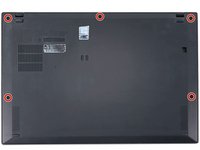
Use a Phillips #1 screwdriver to loosen the five captive screws securing the back cover.
-
-
-
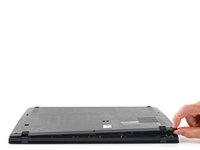
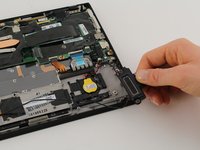
Insert an opening pick at a 45˚ angle between the back cover and frame near the rear middle screw.
-
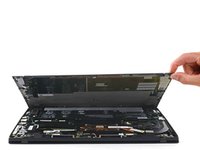
Pry up on the pick to release the clips securing the back cover to the frame.
-
-
-
Outil utilisé dans cette étape :Tweezers$4.99
-
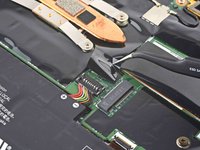
Use tweezers or your fingers to peel back the plastic shield covering the battery connector.
-
-
-
Use the flat end of a spudger to pry up on and disconnect the battery cable.
-
-
-
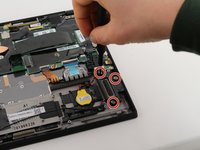
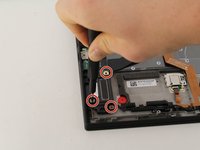
Remove three 8mm Phillips #0 screws from both the left and right side speakers.
-


To reassemble your device, follow these instructions in reverse order.
To reassemble your device, follow these instructions in reverse order.
Équipe

Cal Poly, Team S19-G2, White Winter 2020 Membre de l'équipe Cal Poly, Team S19-G2, White Winter 2020
CPSU-WHITE-W20S19G2
4 membres
20 tutoriels rédigés