
Lenovo ThinkPad X1 Yoga Motherboard Replacement

Introduction
Passez à l'étape 1The motherboard is the central hub of communication between all of the components in your device. If one or more components are failing in your device, it may be time to replace the motherboard. Use this guide to replace the motherboard in your laptop.
Ce dont vous avez besoin


-
-
Flip the computer over so the bottom is facing up.
-
Remove nine 4mm Phillips #1 screws from the bottom of the computer.
-
Use an iFixit opening tool to pry the back cover off of the laptop.
-
-
-
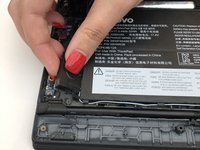
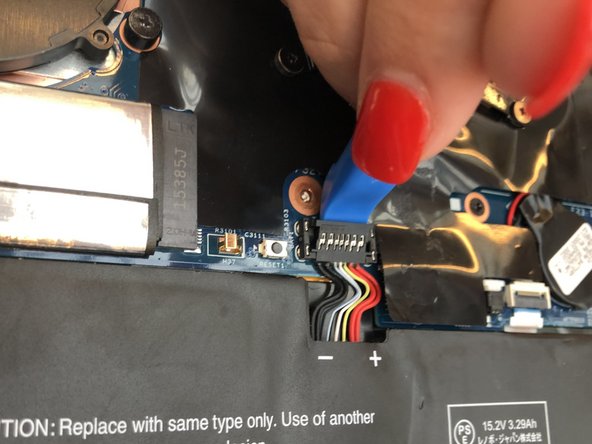
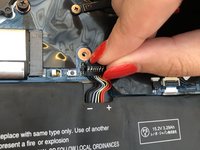
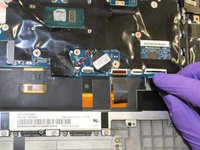
Lift the plastic black strip cover that's laying over the battery connector.
-
Use the iFixit opening tool to flip up and disconnect the black battery connector from its motherboard socket.
-
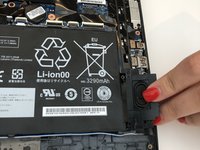
Gently pull the connector away from the battery to pull it out of the slot.
-
-
-
-
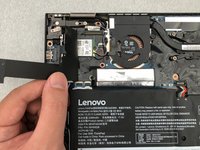
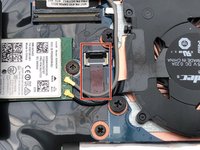
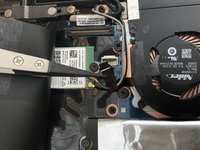
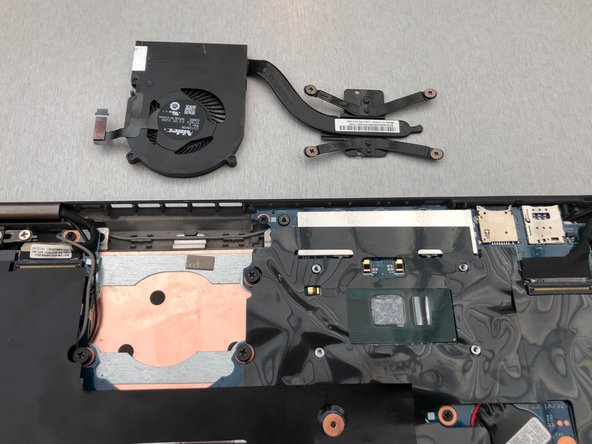
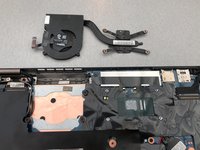
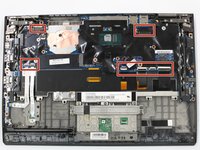
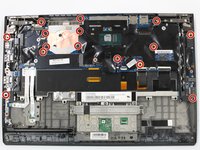
Remove four 4.5mm Phillips #1 screws from the corners of the heat sink.
-
-
-
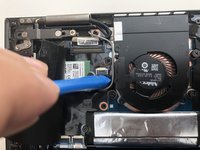
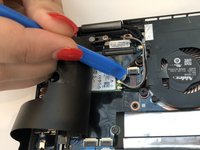
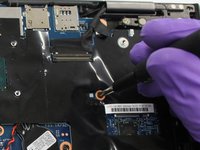
Gently peel back the black plastic covering.
-
Remove the single Phillips #1 screw securing the wireless chip in place.
-
-
-
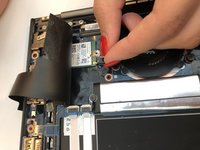
Gently peel back the black plastic covering.
-
Remove the single 2mm Phillips #1 screw from the hard drive's silver casing.
-
-
-
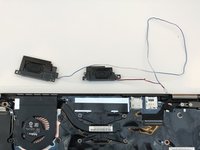
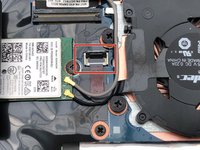
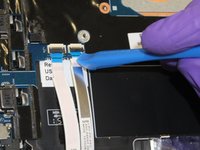
Using the iFixit opening tool, flip up the eight small covers from the cable connectors.
-
Gently pull the cables out of the slots.
-


To reassemble your device, follow these instructions in reverse order.
To reassemble your device, follow these instructions in reverse order.
Annulation : je n'ai pas terminé ce tutoriel.
Une autre personne a terminé cette réparation.

Équipe

The Citadel Military College of South Carolina, Team S3-G16, Eggleston Spring 2020 Membre de l'équipe The Citadel Military College of South Carolina, Team S3-G16, Eggleston Spring 2020
CMCSC-EGGLESTON-S20S3G16
3 membres
9 tutoriels rédigés
Un commentaire
Do you have closeup pictures of the 16Gb vs the 8Gb model? I am planning on upgrading the RAM and need to know the RAM IC chipnames and possible configuration resistors.
Help is much appreciated.