Aller au contenu principal
Lenovo ThinkPad Yoga 370 RAM Replacement

Lenovo ThinkPad Yoga 370 RAM Replacement

Cassandra Shedden

Cassandra Shedden et 3 autres contributeurs

Dernière mise à jour le March 20, 2024

5 - 10 minutes
Facile

For the Lenovo ThinkPad Yoga 370 (Model Number: 20JH002AUS), the Random Access Memory (RAM) is the memory module in the device that stores information. The RAM temporarily stores data and is the working memory of a computer. Oftentimes, the RAM can get overloaded and your device may experience various symptoms. These symptoms include but are not limited to: blue screen of death (BSoD), random freezing, slow performance, applications not loading, etc.

If you are looking to upgrade your RAM or replace faulty RAM sticks, this guide will show the process of replacing those components.

Ce dont vous avez besoin

Pièces

Outils

Afficher plus…

  1. Lenovo ThinkPad Yoga 370 RAM Replacement, RAM: étape 1, image 1 de 1
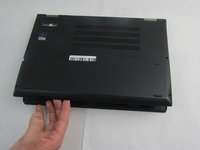
    • Device needs to be powered off and unplugged.

    • Remove the stylus from the device and set it aside.

  2. Lenovo ThinkPad Yoga 370 RAM Replacement: étape 2, image 1 de 2 Lenovo ThinkPad Yoga 370 RAM Replacement: étape 2, image 2 de 2
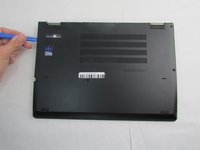
    • Using the Phillips #00 screwdriver, unscrew the eight circled 4mm screws until you hear a click.

    • The screws will remain attached to the back cover.

  3. Lenovo ThinkPad Yoga 370 RAM Replacement: étape 3, image 1 de 2 Lenovo ThinkPad Yoga 370 RAM Replacement: étape 3, image 2 de 2
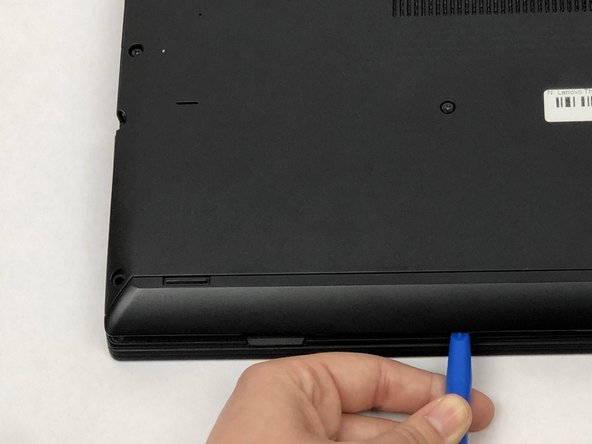
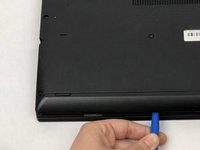
    • Note that while the screws are undone, the bottom cover is still attached by several plastic clips around the edges.

    • Using the plastic opening tool, work around the edges of the bottom cover to undo the plastic clips.

  4. Lenovo ThinkPad Yoga 370 RAM Replacement: étape 4, image 1 de 2 Lenovo ThinkPad Yoga 370 RAM Replacement: étape 4, image 2 de 2
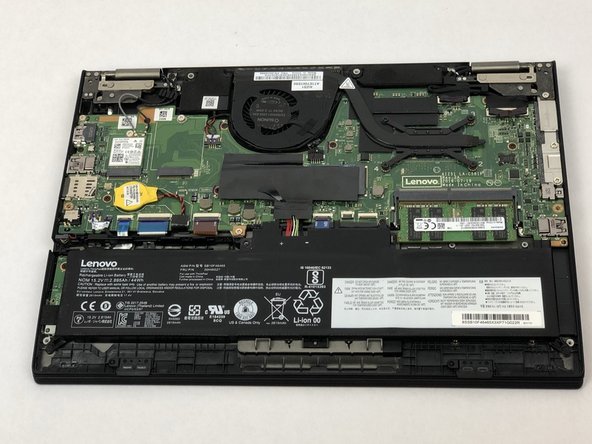
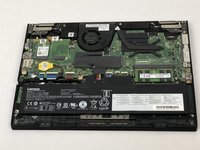
    • Gently remove the cover by placing your fingers around the edges.

  5. Lenovo ThinkPad Yoga 370 RAM Replacement: étape 5, image 1 de 2 Lenovo ThinkPad Yoga 370 RAM Replacement: étape 5, image 2 de 2
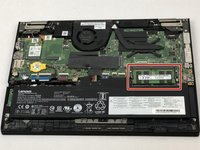
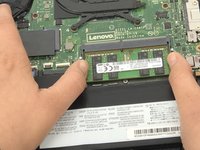
    • Using your thumbs, push the RAM's mounting clips outward.

    • The module will pop up on its own.

  6. Lenovo ThinkPad Yoga 370 RAM Replacement: étape 6, image 1 de 1
    • Gently remove the RAM from the mounting.

Conclusion

To reassemble your device, follow these instructions in reverse order.

Note: Due to the similarity of the devices, several of the pictures were used from the Lenovo ThinkPad Yoga 260 Battery Replacement Guide to show the specific components that were missing in the Yoga 370.

4 autres ont terminé cette réparation.

0 commentaires

Ajouter un commentaire

Nombre de vues :

Dernières 24 heures : 0

7 derniers jours : 13

30 derniers jours : 78

Total : 6,798