
Lenovo Yoga 710-11ISK Motherboard Replacement

25 - 35 minutes
Modérée
Meilleure introduction
Introduction
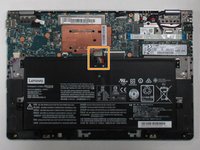
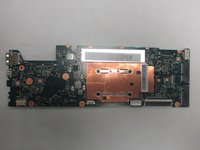
Passez à l'étape 1The Lenovo Yoga 710-11ISK’s motherboard is one of the most important components as it acts as a brain for all the internals. This guide shows how to disassemble the computer in order to access the motherboard and replace it.
Ce dont vous avez besoin


-
-
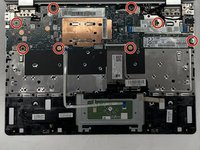
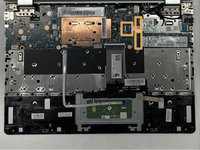
Remove the eleven screws that attach the back panel using a T5 Torx screwdriver.
-


Presque terminé !
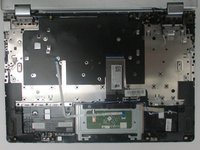
To reassemble your device, follow these instructions in reverse order.
Conclusion
To reassemble your device, follow these instructions in reverse order.

Équipe

The Citadel Military College of South Carolina, Team 1-6, Eggleston Spring 2022 Membre de l'équipe The Citadel Military College of South Carolina, Team 1-6, Eggleston Spring 2022
CMCSC-EGGLESTON-S22S1G6
3 membres
3 tutoriels rédigés