
Logitech G1 Optical Mouse Scroll Wheel Replacement

15 minutes
Facile
Introduction
Passez à l'étape 1Use this guide to replace the scroll wheel in a Logitech G1 optical mouse.
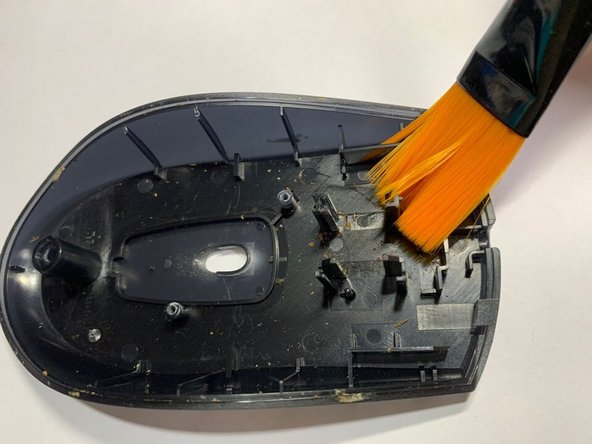
Sometimes the scroll wheel does not work when using the mouse. This guide not only shows you how to replace the mouse scroll wheel but also how to clean it.
Ce dont vous avez besoin
Pièces
Outils

Afficher plus…


Presque terminé !
Ligne d'arrivée
Annulation : je n'ai pas terminé ce tutoriel.
3 autres ont terminé cette réparation.

Équipe

York University, Team S1-G33, Woodhouse Winter 2021 Membre de l'équipe York University, Team S1-G33, Woodhouse Winter 2021
YORK-WOODHOUSE-W21S1G33
1 membre
2 tutoriels rédigés