Aller au contenu principal

Logitech Harmony 650 Battery Terminal Replacement

Ce dont vous avez besoin

  1. Logitech Harmony 650 Battery Terminal Replacement, Case: étape 1, image 1 de 2 Logitech Harmony 650 Battery Terminal Replacement, Case: étape 1, image 2 de 2
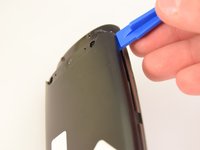
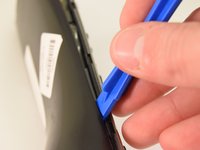
    • Remove the battery cover by applying pressure to the indented area and pushing the cover toward the rear of the device.

  2. Logitech Harmony 650 Battery Terminal Replacement: étape 2, image 1 de 1
    • Remove the batteries using the silver pull tab.

  3. Logitech Harmony 650 Battery Terminal Replacement: étape 3, image 1 de 1
    • Using a J000 Philips head screwdriver remove the four 5mm screws around the rim of the battery chamber.

  4. Logitech Harmony 650 Battery Terminal Replacement: étape 4, image 1 de 1
    Outil utilisé dans cette étape :
    Flathead 3/32" or 2.5 mm Screwdriver
    $5.49
    J'achète
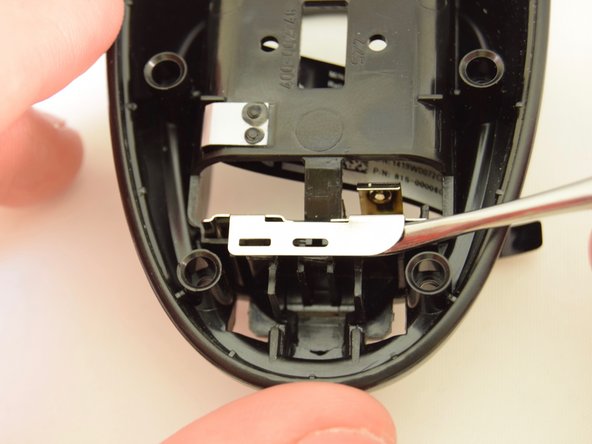
    • Remove the small plastic cover beneath the plastic LED housing by using a 3.0 flathead screwdriver and a spudger to pry it off. It is glued to the case. If you are having trouble removing it try applying some heat to loosen the glue.

  5. Logitech Harmony 650 Battery Terminal Replacement: étape 5, image 1 de 1
    • Remove the two 5mm screws located underneath the cover using a J000 Philips screwdriver bit.

  6. Logitech Harmony 650 Battery Terminal Replacement: étape 6, image 1 de 2 Logitech Harmony 650 Battery Terminal Replacement: étape 6, image 2 de 2
    • Using a plastic opening tool, pry the case off starting from the top of the device (nearest the transmitter). There are 3 tabs along the side of the case and one at the back.

    • The top led protector plastic cover will also be freed once back is removed.

  7. Logitech Harmony 650 Battery Terminal Replacement: étape 7, image 1 de 1
    • Remove the rear cover.

  8. Logitech Harmony 650 Battery Terminal Replacement, Battery Terminal: étape 8, image 1 de 2 Logitech Harmony 650 Battery Terminal Replacement, Battery Terminal: étape 8, image 2 de 2
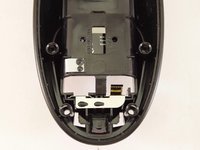
    • Using the small end of a spudger, pry out the terminal from the interior of the case.

  9. Logitech Harmony 650 Battery Terminal Replacement: étape 9, image 1 de 1
    • Start from one side and work your way to the other side using the spudger.

  10. Logitech Harmony 650 Battery Terminal Replacement: étape 10, image 1 de 1
    • Remove the terminal.

Conclusion

To reassemble your device, follow these instructions in reverse order.

2 autres ont terminé cette réparation.

Connor Gallagher

Membre depuis le 01/11/16

998 Réputation

5 tutoriels rédigés

0 commentaires

Ajouter un commentaire

Nombre de vues :

Dernières 24 heures : 0

7 derniers jours : 5

30 derniers jours : 13

Total : 3,425