Aller au contenu principal
Logitech K480 Flex Circuit Replacement

Logitech K480 Flex Circuit Replacement

Madison

Madison et 2 autres contributeurs

Dernière mise à jour le December 17, 2024

6 - 10 minutes
Modérée

This guide will show you how to replace the flex circuit in your Logitech K480 keyboard. A flex circuit is used as a connector between electrical components when saving space and flexibility are most important in a device. A flex circuit might need to be replaced if the components are not connecting properly or if the circuit is damaged. The circuit is fragile and easily torn or bent, so be gentle when handling it.

Ce dont vous avez besoin

Outils

Afficher plus…

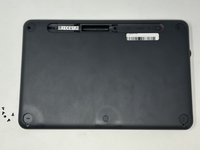
  1. Logitech K480 Flex Circuit Replacement, Back Cover: étape 1, image 1 de 1
    • Flip the keyboard over.

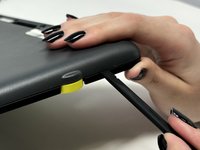
  2. Logitech K480 Flex Circuit Replacement: étape 2, image 1 de 3 Logitech K480 Flex Circuit Replacement: étape 2, image 2 de 3 Logitech K480 Flex Circuit Replacement: étape 2, image 3 de 3
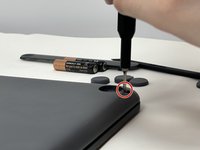
    • Remove the four rubber feet with a spudger.

  3. Logitech K480 Flex Circuit Replacement: étape 3, image 1 de 3 Logitech K480 Flex Circuit Replacement: étape 3, image 2 de 3 Logitech K480 Flex Circuit Replacement: étape 3, image 3 de 3
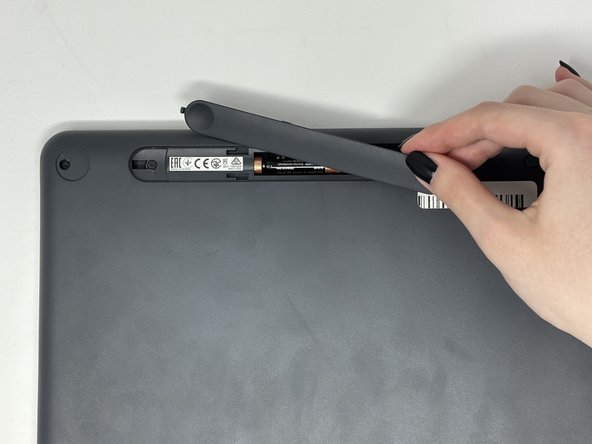
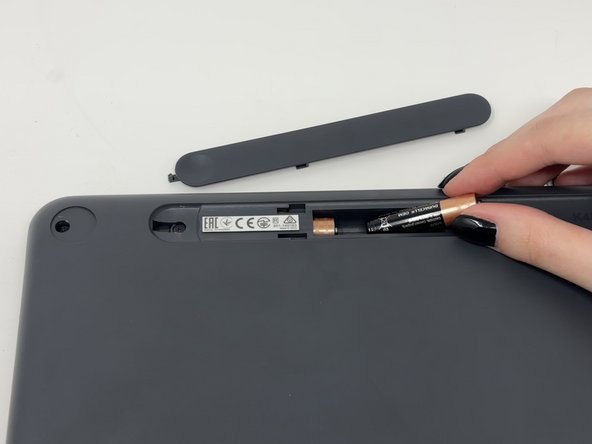
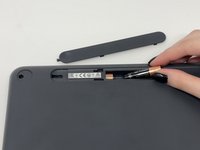
    • Slide open battery panel.

    • Remove the batteries.

  4. Logitech K480 Flex Circuit Replacement: étape 4, image 1 de 2 Logitech K480 Flex Circuit Replacement: étape 4, image 2 de 2
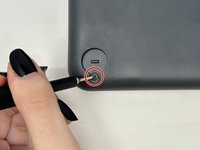
    • Remove the three 4 mm screws under the rubber feet using a Phillips #0 screwdriver.

  5. Logitech K480 Flex Circuit Replacement: étape 5, image 1 de 2 Logitech K480 Flex Circuit Replacement: étape 5, image 2 de 2
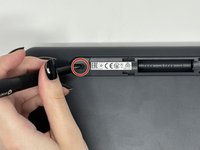
    • Remove the two 4 mm screws from beneath the battery cover using a Phillips #0 screwdriver.

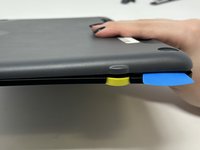
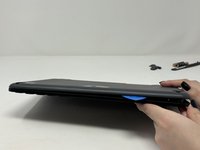
  6. Logitech K480 Flex Circuit Replacement: étape 6, image 1 de 3 Logitech K480 Flex Circuit Replacement: étape 6, image 2 de 3 Logitech K480 Flex Circuit Replacement: étape 6, image 3 de 3
    • Starting by the dial, slide the spudger between the front and back panels until it lifts and snaps.

    • Slide a blue pick in to keep the pieces apart while you work on other areas.

    • Continue prying along the edges until you have enough opened that you can pull both pieces apart gently with your hands.

    • The loud snaps are the clips that hold the pieces together. They're not breaking and you do not need to be alarmed.

  7. Logitech K480 Flex Circuit Replacement, Metal Plate: étape 7, image 1 de 3 Logitech K480 Flex Circuit Replacement, Metal Plate: étape 7, image 2 de 3 Logitech K480 Flex Circuit Replacement, Metal Plate: étape 7, image 3 de 3
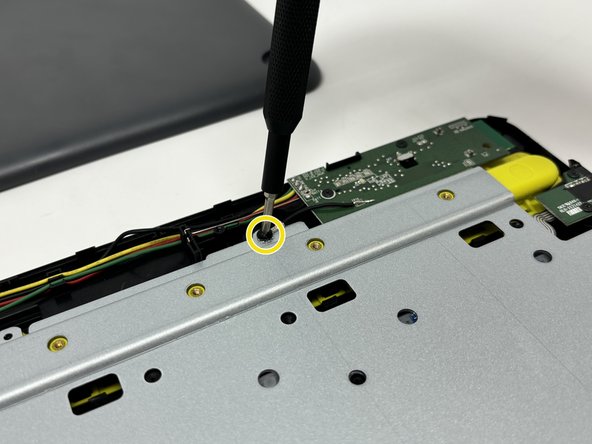
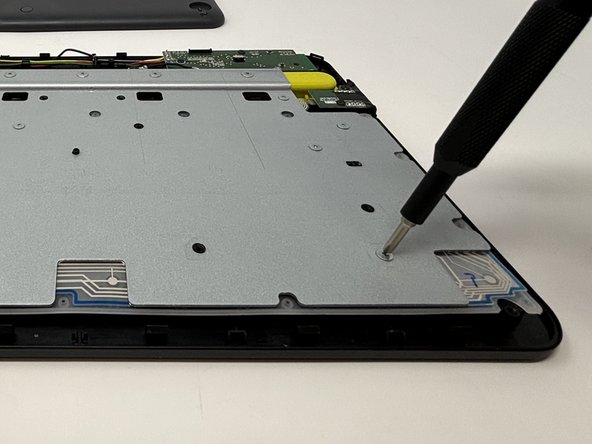
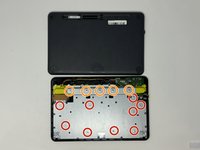
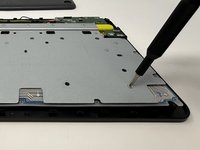
    • Remove the eight 3 mm screws using a Phillips #00 screwdriver

    • Remove the five 2 mm silver screws from the metal plate using a Phillips #00 screwdriver.

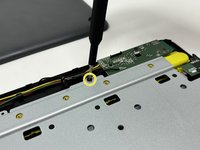
    • Remove the single 4 mm black screw by the motherboard using a Phillips #00 screwdriver.

  8. Logitech K480 Flex Circuit Replacement: étape 8, image 1 de 2 Logitech K480 Flex Circuit Replacement: étape 8, image 2 de 2
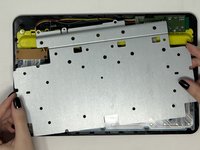
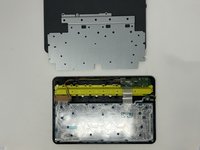
    • Lift up and remove the metal plate.

  9. Logitech K480 Flex Circuit Replacement, Flex Circuit: étape 9, image 1 de 2 Logitech K480 Flex Circuit Replacement, Flex Circuit: étape 9, image 2 de 2
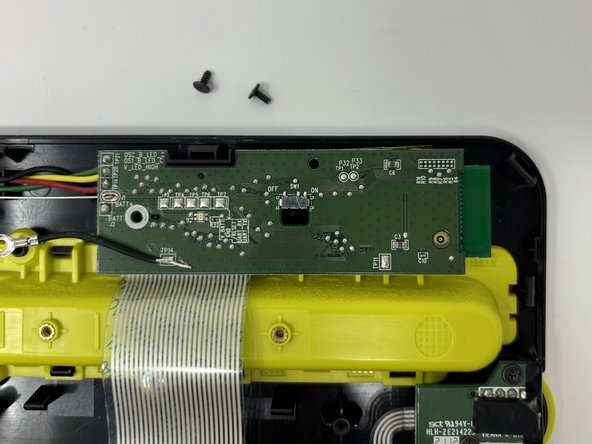
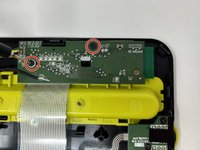
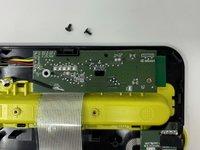
    • Remove the two black 4 mm screws from the motherboard with a Phillips #00 screwdriver.

  10. Logitech K480 Flex Circuit Replacement: étape 10, image 1 de 2 Logitech K480 Flex Circuit Replacement: étape 10, image 2 de 2
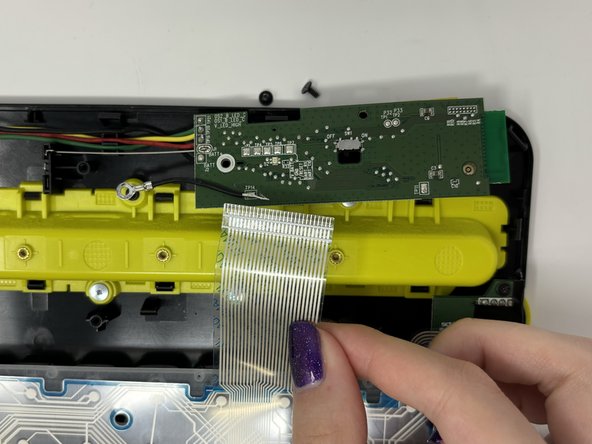
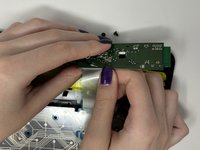
    • Gently pull the flex circuit from the back of the motherboard.

    • The flex circuit is fragile so be gentle when pulling it out.

  11. Logitech K480 Flex Circuit Replacement: étape 11, image 1 de 2 Logitech K480 Flex Circuit Replacement: étape 11, image 2 de 2
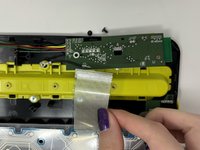
    • Remove the two black 4 mm screws from the dial motherboard below the regular motherboard with a Phillips #00 screwdriver.

  12. Logitech K480 Flex Circuit Replacement: étape 12, image 1 de 1
    • Gently pull the circuit sheet from behind the dial motherboard.

    • The flex circuit is fragile so be gentle when pulling it out.

  13. Logitech K480 Flex Circuit Replacement: étape 13, image 1 de 1
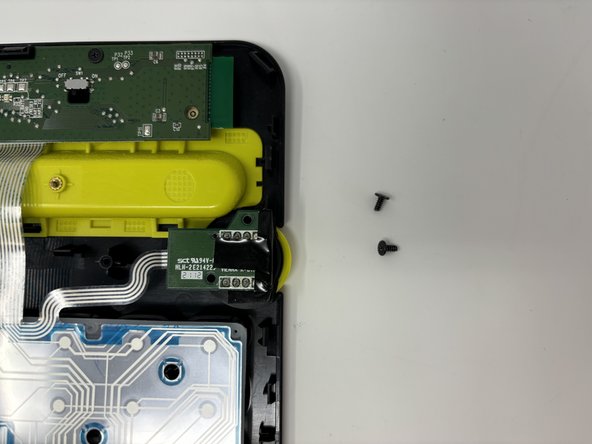
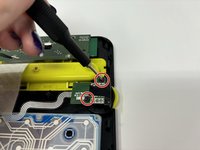
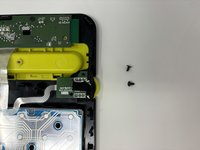
    • Remove the two black 4 mm screws holding the Bluetooth component on the left side using a Phillips #00 screwdriver.

  14. Logitech K480 Flex Circuit Replacement: étape 14, image 1 de 1
    • Lift the flex circuit and remove.

Conclusion

To reassemble your device, follow these instructions in reverse order.

Une autre personne a terminé cette réparation.

Madison

Membre depuis le 09/04/24

655 Réputation

4 tutoriels rédigés

Équipe

Utah Tech University, Team 1-8, Crenshaw Fall 2024 Membre de l'équipe Utah Tech University, Team 1-8, Crenshaw Fall 2024

UTAHTECH-CRENSHAW-F24S1G8

2 membres

6 tutoriels rédigés

0 commentaires de tutoriel

Ajouter un commentaire

Nombre de vues :

Dernières 24 heures : 2

7 derniers jours : 6

30 derniers jours : 39

Total : 106