
MacBook Unibody Model A1342 Left Clutch Hinge Replacement

Introduction
Passez à l'étape 1Keep your display opening smoothly by using this guide to replace a broken left clutch hinge.
Ce dont vous avez besoin


-
-
Remove the eight 4 mm Phillips screws securing the lower case to the MacBook.
-
-
-
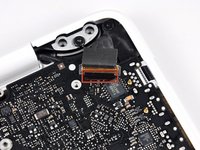
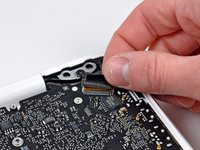
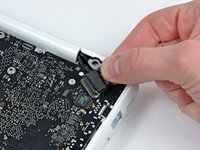
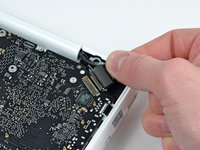
Use the flat end of a spudger to lift the battery connector up out of its socket on the logic board.
-
-
-
Remove the following screws from the optical drive side of the rear vent:
-
Two 10 mm T8 Torx
-
Two 5.2 mm Phillips
-
-
-
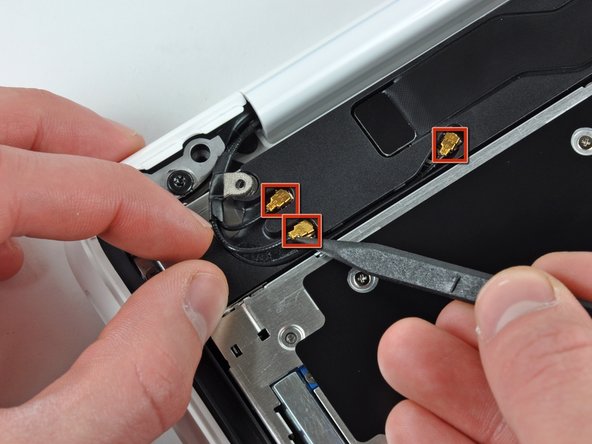
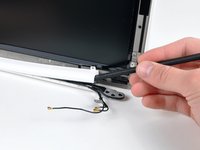
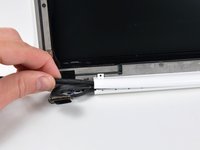
Remove the single 3 mm Phillips screw securing the AirPort/Bluetooth antenna ground strap to the rear speaker.
-
-
-
-
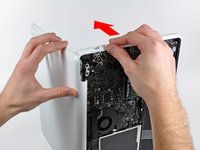
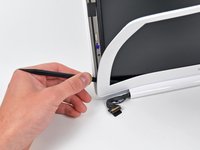
Insert the flat end of a spudger between the thin rubber strip surrounding the front display bezel and the rear display bezel.
-
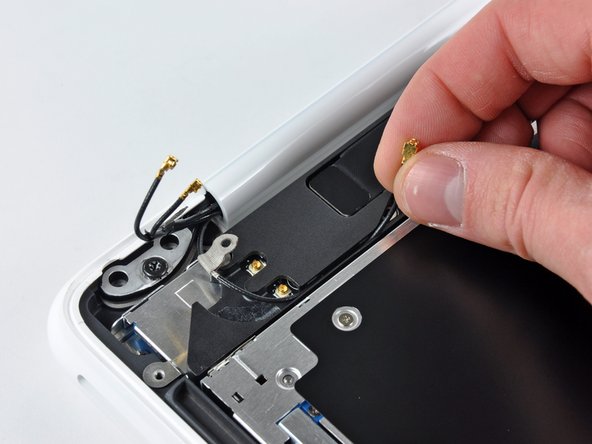
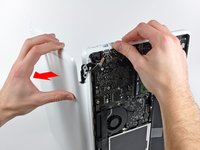
Use the flat end of your spudger to carefully pry the front display bezel away from the adhesive securing it to the rear display bezel.
-
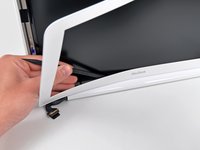
Continue prying until the front display bezel is free along the right side of the display and behind the right clutch hinge.
-
-
-
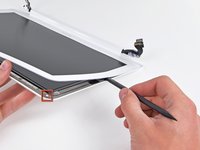
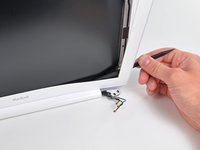
Remove the two 3 mm Phillips screws securing the clutch cover to the rear display bezel.
-
-
-
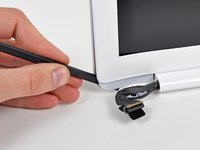
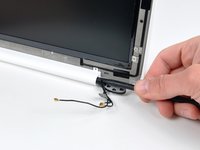
Remove the three 4.7 mm T6 Torx screws securing the left clutch hinge to the front display bezel.
-


To reassemble your device, follow these instructions in reverse order.
To reassemble your device, follow these instructions in reverse order.
Annulation : je n'ai pas terminé ce tutoriel.
6 autres ont terminé cette réparation.

Un commentaire
By the way, if like me, you're doing this because you need to tighten the internal hinge screws on the display, I found that pulling up the bottom portion of the screen bezel was enough to remove the clutch cover and get to the screws. Thank you IFIXIT!