Aller au contenu principal
Motorola V551 Screen Replacement

Motorola V551 Screen Replacement

gregatron

gregatron et 12 autres contributeurs

Dernière mise à jour le June 29, 2023

25 - 40 minutes
Modérée

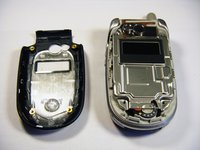
If your Motorola V551 Cellphone screen non-operational, it is likely that the screen is in need of repair. In order to remove and replace the screen, follow the steps in this guide.

The screen is the most important feature of a cell phone to the user. Without the ability to see the actions you are taking, a phone is meaningless. A faulty screen will not display anything on the phone.

Before using this guide, inspect the other components and their connections to the motherboard. The problem could be a component being unplugged from dropping the phone.

Ensure the cellphone is fully powered off and not plugged in before beginning the repair.

Ce dont vous avez besoin

Outils

Afficher plus…

  1. Motorola V551 Screen Replacement, Screen: étape 1, image 1 de 3 Motorola V551 Screen Replacement, Screen: étape 1, image 2 de 3 Motorola V551 Screen Replacement, Screen: étape 1, image 3 de 3
    Outil utilisé dans cette étape :
    Spudger
    $3.99
    • On the phone's face, remove the four rubber caps from the screw covers using a spudger.

  2. Motorola V551 Screen Replacement: étape 2, image 1 de 1
    • Unscrew the four cover screws using a T6 Torx screwdriver, turning counterclockwise.

  3. Motorola V551 Screen Replacement: étape 3, image 1 de 2 Motorola V551 Screen Replacement: étape 3, image 2 de 2
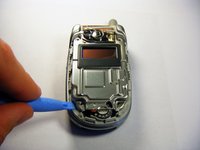
    • Loosen and remove the protective cover using a plastic opening tool.

  4. Motorola V551 Screen Replacement: étape 4, image 1 de 2 Motorola V551 Screen Replacement: étape 4, image 2 de 2
    • Gently loosen the second protective cover with the plastic opening tool.

  5. Motorola V551 Screen Replacement: étape 5, image 1 de 3 Motorola V551 Screen Replacement: étape 5, image 2 de 3 Motorola V551 Screen Replacement: étape 5, image 3 de 3
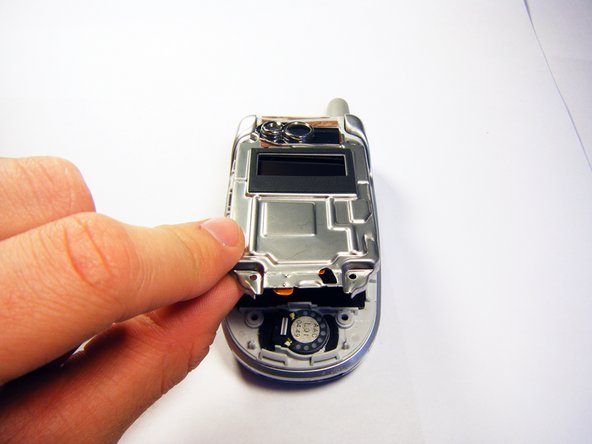
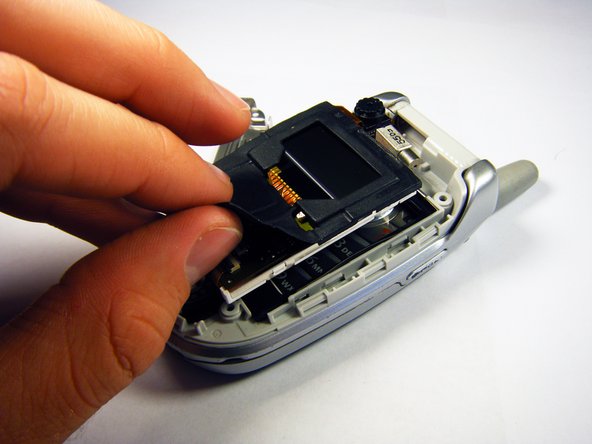
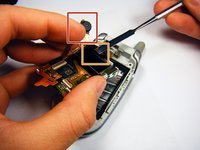
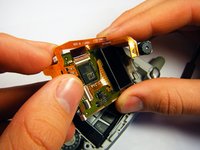
    • Carefully remove the protective cover from the circuitry.

    • Slowly peel the black rubber gasket off of the circuit board.

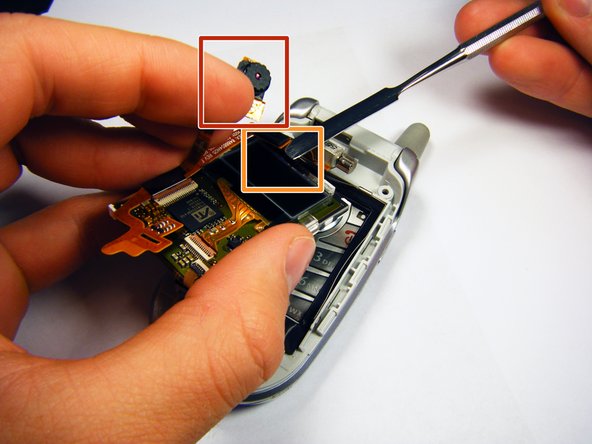
    • Carefully move the camera out of the way using your hand.

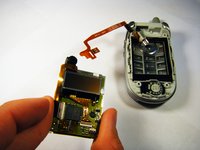
    • Use a flat tool to disconnect the upper and lower circuit boards.

  6. Motorola V551 Screen Replacement: étape 6, image 1 de 3 Motorola V551 Screen Replacement: étape 6, image 2 de 3 Motorola V551 Screen Replacement: étape 6, image 3 de 3
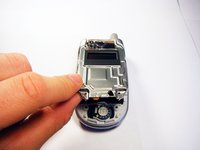
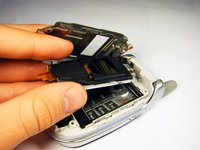
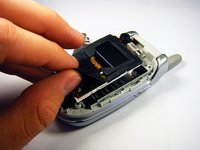
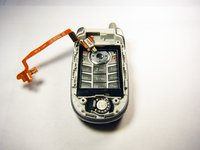
    • Gently slip the copper strip out from under the circuitry by using your hand.

Conclusion

To reassemble your device, follow these instructions in reverse order.

2 autres ont terminé cette réparation.

gregatron

Membre depuis le 10/29/09

105 Réputation

6 tutoriels rédigés

Équipe

Cal Poly, Team 6-6, Maness Fall 2009 Membre de l'équipe Cal Poly, Team 6-6, Maness Fall 2009

CPSU-MANESS-F09S6G6

4 membres

12 tutoriels rédigés

0 commentaires de tutoriel

Ajouter un commentaire

Nombre de vues :

Dernières 24 heures : 0

7 derniers jours : 7

30 derniers jours : 13

Total : 3,811