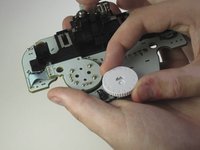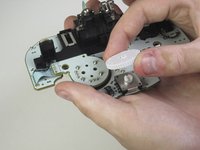
Nintendo WaveBird Wireless Controller Channel Wheel Replacement
Introduction
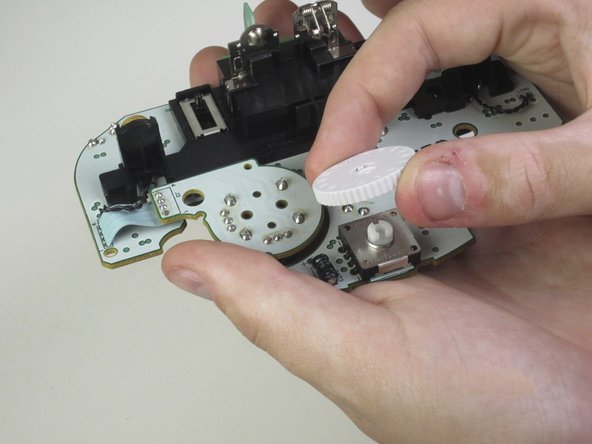
Passez à l'étape 1The Nintendo WaveBird wireless controller channel wheel guide will allow the user to change the channel wheel if it won’t turn. Prior to replacing the part, ensure that dirt clogging the wheel is not the cause of malfunctioning. If the wheel and controller is clean and the wheel still fails to turn, a faulty channel wheel is likely the issue.
While replacing the channel wheel, take care with removing the motherboard to avoid damaging the motherboard. In addition, check the condition of the AA batteries to ensure that they are not swollen or leaking.
Ce dont vous avez besoin
-
-
Pull down on the battery cover release lever and pull back to remove the cover.
-
-
-
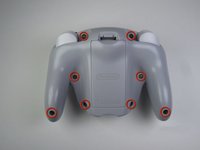
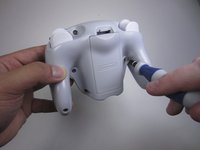
Remove the eight 9 mm screws from the back panel using the Tri-point Y1 screwdriver.
-
-
-
Outil utilisé dans cette étape :Tweezers$4.99
-
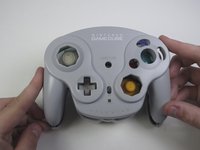
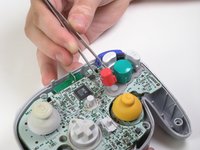
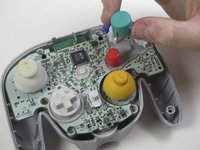
Use tweezers to remove the buttons.
-
-
Outil utilisé dans cette étape :Tweezers$4.99
-
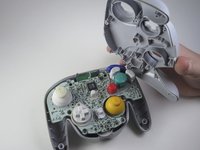
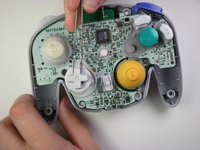
Using tweezers remove the three grey button pads from the motherboard.
-
To reassemble your device, follow these instructions in reverse order.
To reassemble your device, follow these instructions in reverse order.
Annulation : je n'ai pas terminé ce tutoriel.
Une autre personne a terminé cette réparation.


