Aller au contenu principal

Nokia 6590i Logic Board Replacement

Ce dont vous avez besoin
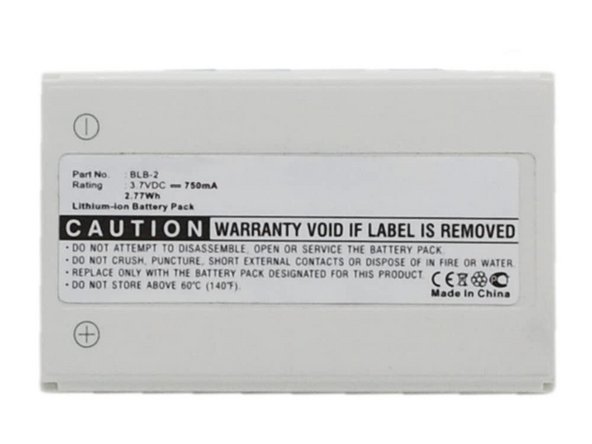
  1. Nokia 6590i Logic Board Replacement, Battery: étape 1, image 1 de 2 Nokia 6590i Logic Board Replacement, Battery: étape 1, image 2 de 2
    • Press the button on the bottom of the rear cover.

    • Keep the button pressed while pulling the cover downward to remove the back cover.

    • Lift the cover off.

  2. Nokia 6590i Logic Board Replacement: étape 2, image 1 de 1
    • To remove the battery, push it down from the top and pull it out.

  3. Nokia 6590i Logic Board Replacement, Disassembling Nokia 6590i Keypad, Speaker, and Screen Assembly: étape 3, image 1 de 1
    • Grip the front cover from the bottom.

  4. Nokia 6590i Logic Board Replacement: étape 4, image 1 de 1
    • Lift the front cover off.

  5. Nokia 6590i Logic Board Replacement: étape 5, image 1 de 1
    • Remove the six screws using a T6 torx screwdriver.

  6. Nokia 6590i Logic Board Replacement: étape 6, image 1 de 1
    • Insert spudger along edge of assembly and gently lift assembly away from case

  7. Nokia 6590i Logic Board Replacement: étape 7, image 1 de 1
    • Remove assembly from phone

  8. Nokia 6590i Logic Board Replacement, Logic Board: étape 8, image 1 de 1
    • The logic board now sits on top of the phone.

  9. Nokia 6590i Logic Board Replacement: étape 9, image 1 de 1
    • Lift the logic board out of the phone.

Conclusion

To reassemble your device, follow these instructions in reverse order.

Colby Leslie

Membre depuis le 10/05/10

1 Réputation

7 tutoriels rédigés

Équipe

Cal Poly, Team 22-3, Maness Fall 2010 Membre de l'équipe Cal Poly, Team 22-3, Maness Fall 2010

CPSU-MANESS-F10S22G3

4 membres

9 tutoriels rédigés

0 commentaires

Ajouter un commentaire

Nombre de vues :

Dernières 24 heures : 0

7 derniers jours : 0

30 derniers jours : 0

Total : 1,069