
Nokia Classic 2600c-2b Camera Replacement
Introduction
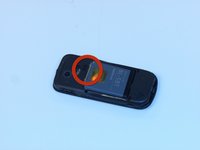
Passez à l'étape 1This guide will show how to replace the camera in a Nokia Classic 2600c-2b model phone. The camera of the phone allows the phone to take pictures. The phone camera is made out of glass and other fragile materials which can break easily so do make sure that you handle the camera component with care as to not break it. Also be careful when removing the battery as it does contain lithium ion, which can become flammable if punctured or if it is damaged in any way.
Ce dont vous avez besoin


-
-
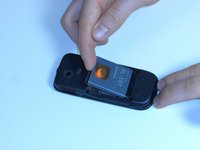
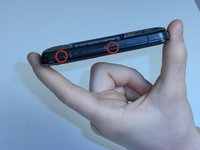
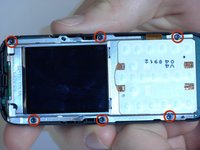
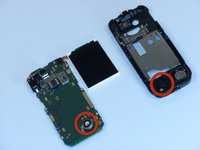
Press down on the button located at the bottom of the phone, using the center ridge as a guide.
-
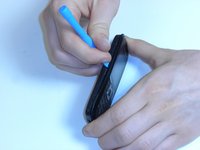
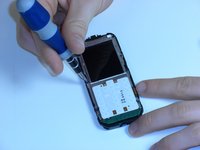
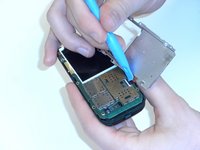
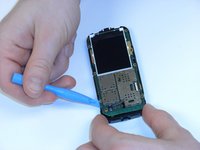
Pull the phone apart from the bottom, keeping the button pressed down.
-
-


To reassemble your device, follow these instructions in reverse order.
To reassemble your device, follow these instructions in reverse order.
Annulation : je n'ai pas terminé ce tutoriel.
2 autres ont terminé cette réparation.
Équipe

James Madison, Team 3-1, Klein Spring 2012 Membre de l'équipe James Madison, Team 3-1, Klein Spring 2012
JMU-KLEIN-S12S3G1
3 membres
9 tutoriels rédigés