
Nvidia Shield Controller Motherboard Replacement
Introduction
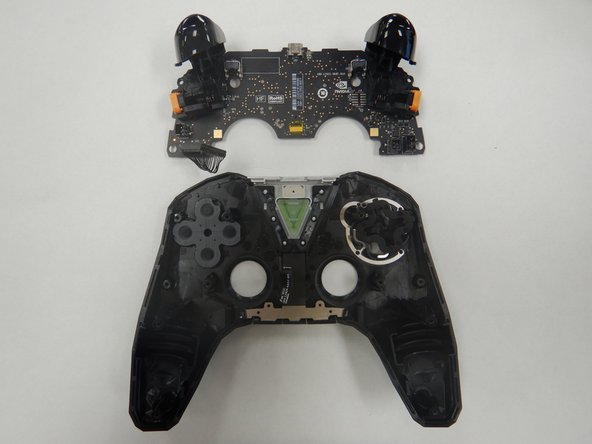
Passez à l'étape 1This repair guide shows how to replace the motherboard for a Nvidia Shield Controller Gen 2, manufactured by Nvidia, item model number: 945-12920-2500-000.
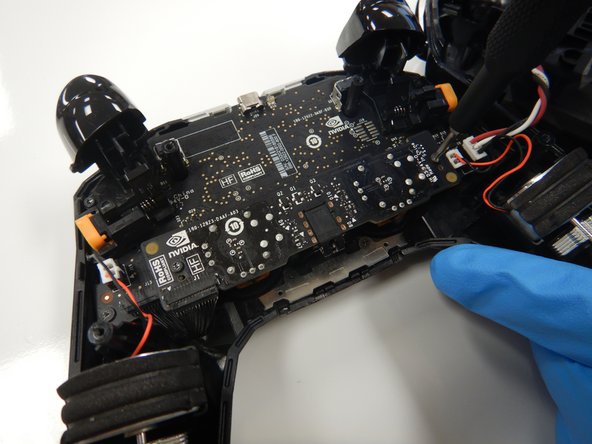
The motherboard is a circuit board which connects all the components within a device. If the motherboard is faulty, the controller may not turn on at all.
Ce dont vous avez besoin


-
-
Use a Torx TR6 screwdriver to remove the six 7mm screws from the back of the controller.
-
-


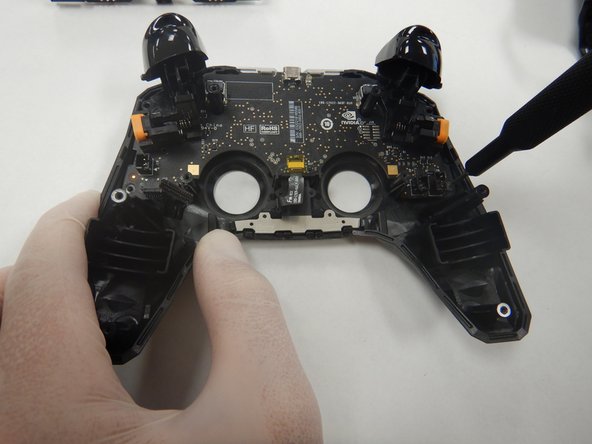


To reassemble your device, follow these instructions in reverse order.
To reassemble your device, follow these instructions in reverse order.
Annulation : je n'ai pas terminé ce tutoriel.
3 autres ont terminé cette réparation.
Équipe

The Citadel Military College of South Carolina, Team S2-G10, Eggleston Fall 2020 Membre de l'équipe The Citadel Military College of South Carolina, Team S2-G10, Eggleston Fall 2020
CMCSC-EGGLESTON-F20S2G10
3 membres
6 tutoriels rédigés