
Osram Lightify Disassembly

Aucune estimation
Facile
Tutoriel réalisé par la communauté
Introduction
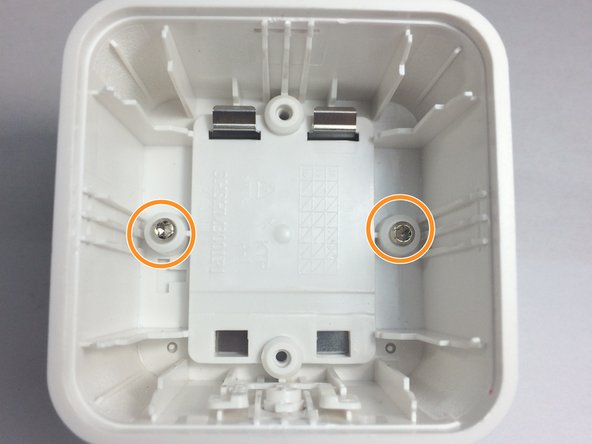
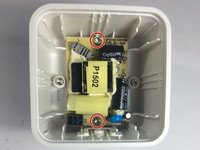
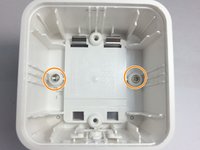
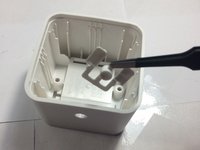
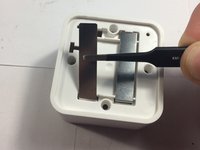
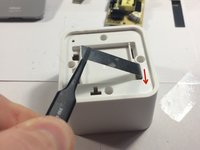
Passez à l'étape 1This guide shows how to disassemble the Osram Lightify gateway.
Ce dont vous avez besoin


Presque terminé !
To reassemble your device, follow these instructions in reverse order.
Conclusion
To reassemble your device, follow these instructions in reverse order.
Annulation : je n'ai pas terminé ce tutoriel.
Une autre personne a terminé cette réparation.
