Aller au contenu principal
Philips TAS7505 Battery Replacement

Philips TAS7505 Battery Replacement

Frederick Jimenez

Frederick Jimenez et 6 autres contributeurs

Dernière mise à jour le January 4, 2024

15 - 30 minutes
Modérée

This guide provides detailed instructions on how to remove and replace the battery from your Philips TAS7505 Speaker. It is vital to understand that this procedure requires you to detach the outside shell of the speaker, which may not reattach well. Proceed with caution.

Replacing worn-out batteries is crucial to maintaining the longevity of your speaker. By replacing the battery, you can ensure that the speaker continues to function optimally and extends its lifespan. If you do not mind minor cosmetic changes to your speaker, this procedure should not cause any issues.

Ce dont vous avez besoin

Pièces

Outils

Afficher plus…

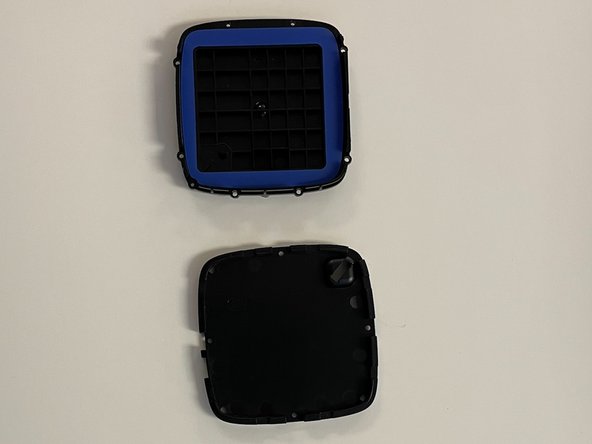
  1. Philips TAS7505 Battery Replacement, Battery: étape 1, image 1 de 3 Philips TAS7505 Battery Replacement, Battery: étape 1, image 2 de 3 Philips TAS7505 Battery Replacement, Battery: étape 1, image 3 de 3
    • Remove the rubber dampener from the bottom of the speaker using your opening tool.

    • However, this will make it harder to replace the rubber dampener, and it may not stick. It is not necessary to the speaker's function.

  2. Philips TAS7505 Battery Replacement: étape 2, image 1 de 3 Philips TAS7505 Battery Replacement: étape 2, image 2 de 3 Philips TAS7505 Battery Replacement: étape 2, image 3 de 3
    • Remove the four Phillips #0 screws attached to the cover and remove with the opening tool.

  3. Philips TAS7505 Battery Replacement: étape 3, image 1 de 2 Philips TAS7505 Battery Replacement: étape 3, image 2 de 2
    • Remove all Phillips #0 screws to remove the final layers to open the inside.

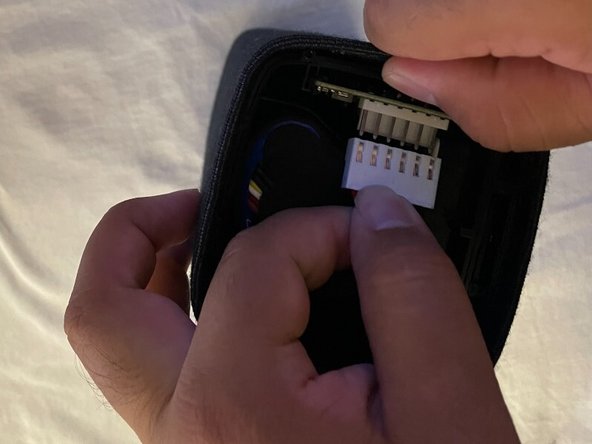
  4. Philips TAS7505 Battery Replacement: étape 4, image 1 de 2 Philips TAS7505 Battery Replacement: étape 4, image 2 de 2
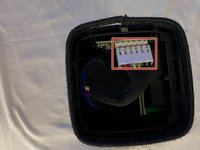
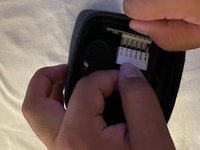
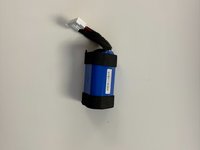
    • Remove the battery from the motherboard.

    • The cable that connects the battery to the speaker is attached to small pins. You can use your hands to wiggle the battery out.

  5. Philips TAS7505 Battery Replacement: étape 5, image 1 de 2 Philips TAS7505 Battery Replacement: étape 5, image 2 de 2
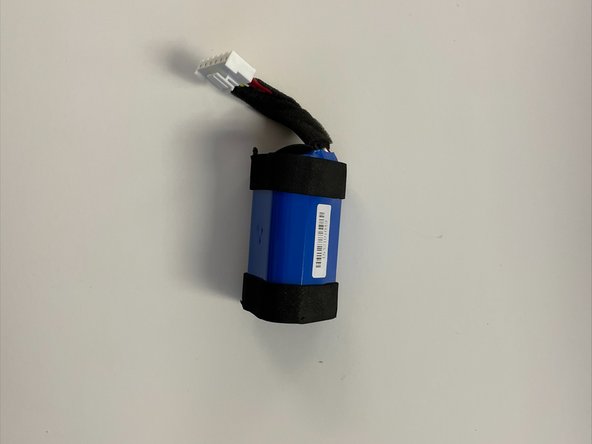
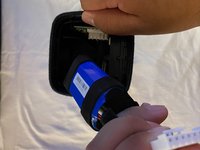
    • After removing the battery, insert the replacement battery.

Conclusion

To reassemble your device, follow these instructions in reverse order.

Une autre personne a terminé cette réparation.

Frederick Jimenez

Membre depuis le 09/26/22

277 Réputation

2 tutoriels rédigés

Équipe

CSU Los Angeles, Team 5-2, Adachi Fall 2022 Membre de l'équipe CSU Los Angeles, Team 5-2, Adachi Fall 2022

CSULA-ADACHI-F22S5G2

5 membres

5 tutoriels rédigés

0 commentaires

Ajouter un commentaire

Nombre de vues :

Dernières 24 heures : 0

7 derniers jours : 5

30 derniers jours : 27

Total : 836