Aller au contenu principal
Philips razor shaving head replacement

Philips razor shaving head replacement

Ernst

Ernst et 3 autres contributeurs

Dernière mise à jour le September 3, 2024

50 minutes
Facile
Tutoriel réalisé par la communauté
Meilleure introduction
  1. Philips razor shaving head replacement, Shaver head: étape 1, image 1 de 1
    • Remove shaver head - clean it

  2. Philips razor shaving head replacement: étape 2, image 1 de 2 Philips razor shaving head replacement: étape 2, image 2 de 2
    • Use a small cell phone screwdriver to carefully pry off the lower cap on one side and pull it off over the other side. Then the shaving head can be removed completely.

  3. Philips razor shaving head replacement: étape 3, image 1 de 2 Philips razor shaving head replacement: étape 3, image 2 de 2
    • Then carefully push one side of the top black cap inward with the screwdriver and carefully pry it off the pin on one side. Then pull out the second side and remove the top.

  4. Philips razor shaving head replacement: étape 4, image 1 de 3 Philips razor shaving head replacement: étape 4, image 2 de 3 Philips razor shaving head replacement: étape 4, image 3 de 3
    • Then carefully lever out the metal ring (note top/bottom) by the two metal hooks and pull out the opposite side. Then carefully straighten the metal tab again to have enough tension when re-inserting.

  5. Philips razor shaving head replacement: étape 5, image 1 de 1
    • Then remove and replace the shaving head and thoroughly clean the rest.

  6. Philips razor shaving head replacement: étape 6, image 1 de 1
    • The assembly is done in reverse order. It should fit almost any older Philips shaver blade.

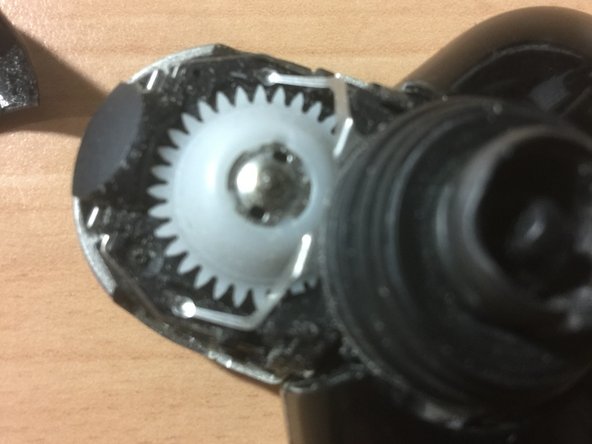
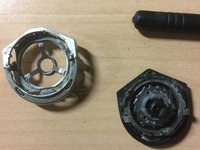
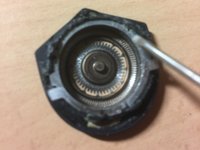
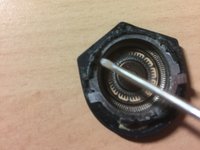
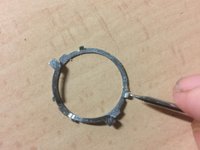
    • Short version: Insert the shaving head, insert the metal ring with one pin into a groove and press the second metal pin into the groove with the screwdriver. Then insert black head with one side into the recess of the silver metal holder and carefully press the opposite button into the second button by squeezing.

    • Then put the complete head right side up on the carrier and starting with the bottom on the head / pin !!! press the part back together. E voila a NEW shear head 🙋‍♂️

Conclusion

Work through the steps in reverse order to reassemble your device.

Une autre personne a terminé cette réparation.

Merci à ces traducteurs :

de en

100%

oldturkey03 nous aide à réparer le monde ! Vous voulez contribuer ?
Commencez à traduire ›

Ernst

Membre depuis le 09/01/22

184 Réputation

1 tutoriel rédigé

0 commentaires

Ajouter un commentaire

Nombre de vues :

Dernières 24 heures : 2

7 derniers jours : 12

30 derniers jours : 46

Total : 859