Aller au contenu principal
Roborock Q5 Pro: Laser Distance Sensor Replacement

Roborock Q5 Pro: Laser Distance Sensor Replacement

DegenFixer

DegenFixer et un autre contributeur

Dernière mise à jour le October 29, 2024

45 minutes - 1 heure
Modérée
Tutoriel réalisé par la communauté

This guide will show you how to replace the Laser Distance Sensor (LDS or LiDAR) of Roborock's robotic vacuum Q5 Pro.

You may want to do so if your robot reports "Error 1: Laser Distance Sensor blocked."

Within the guide I will also outline how to replace just the motor that spins the LDS, as well as how to clean it properly.

I recommend reading the entire guide before starting the disassembly, then following steps as needed during.

If you already know how to disassemble it or have followed my teardown guide, skip to step 11.

Ce dont vous avez besoin

Outils

Afficher plus…

iFixit touche une commission lorsque vous achetez par l'intermédiaire de ces liens.
  1. Roborock Q5 Pro: Laser Distance Sensor Replacement, Remove the dustbin.: étape 1, image 1 de 3 Roborock Q5 Pro: Laser Distance Sensor Replacement, Remove the dustbin.: étape 1, image 2 de 3 Roborock Q5 Pro: Laser Distance Sensor Replacement, Remove the dustbin.: étape 1, image 3 de 3
    • Flip it on its head, then remove the dustbin.

  2. Roborock Q5 Pro: Laser Distance Sensor Replacement, Remove the bottom cover.: étape 2, image 1 de 2 Roborock Q5 Pro: Laser Distance Sensor Replacement, Remove the bottom cover.: étape 2, image 2 de 2
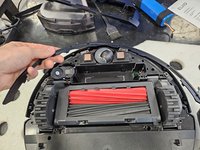
    • Remove the side brush using a PH2 screwdriver.

    • Remove the screws using a PH2 screwdriver.

    • Then, pull the bottom cover off.

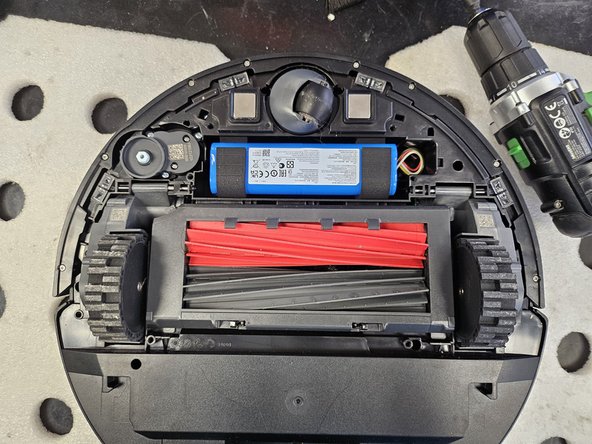
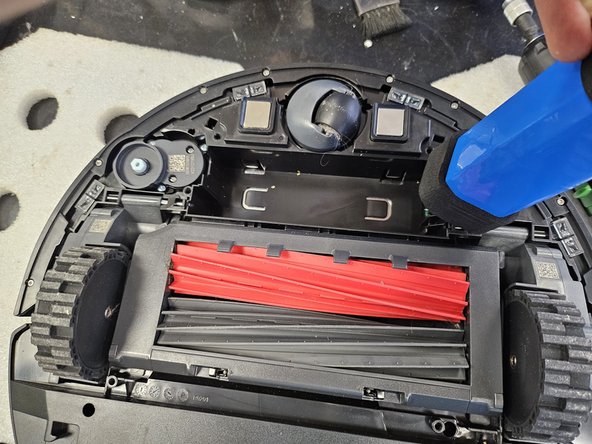
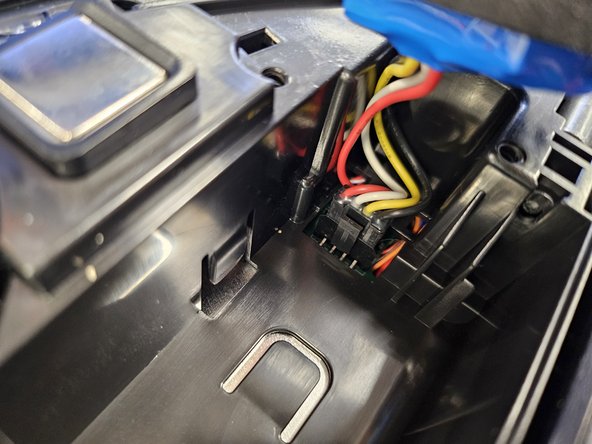
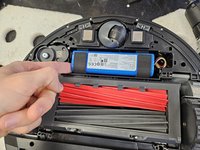
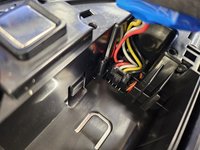
  3. Roborock Q5 Pro: Laser Distance Sensor Replacement, Remove the battery.: étape 3, image 1 de 3 Roborock Q5 Pro: Laser Distance Sensor Replacement, Remove the battery.: étape 3, image 2 de 3 Roborock Q5 Pro: Laser Distance Sensor Replacement, Remove the battery.: étape 3, image 3 de 3
    • Lift it up on the left.

    • Detach the connector by squeezing the release tab, then pull it out.

    • Do not simply yank the battery out. You will tear the connector off the motherboard.

  4. Roborock Q5 Pro: Laser Distance Sensor Replacement, Remove the bumper's lid.: étape 4, image 1 de 2 Roborock Q5 Pro: Laser Distance Sensor Replacement, Remove the bumper's lid.: étape 4, image 2 de 2
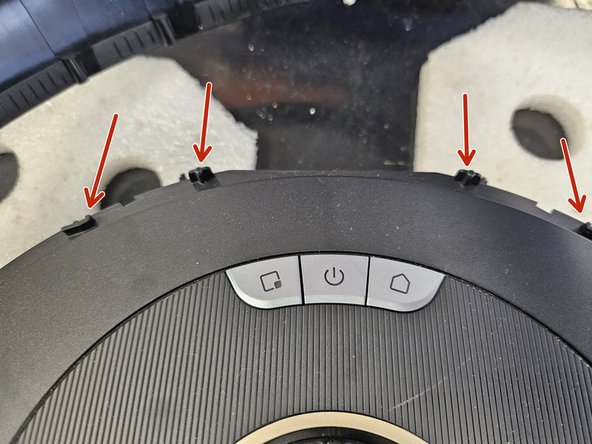
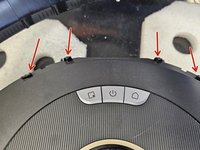
    • Remove the marked screws using a PH1 screwdriver.

    • Then simply lift the lid off.

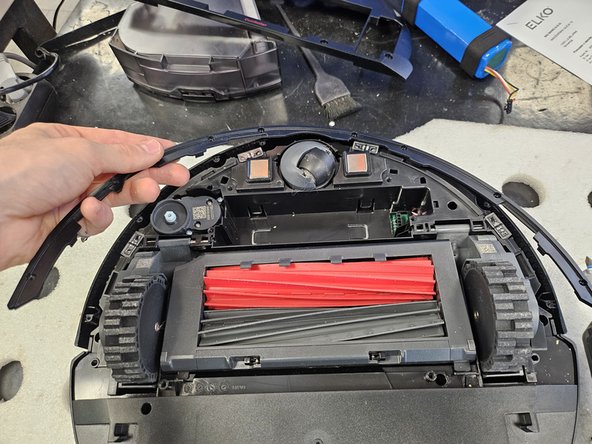
  5. Roborock Q5 Pro: Laser Distance Sensor Replacement, Remove the bumper.: étape 5, image 1 de 2 Roborock Q5 Pro: Laser Distance Sensor Replacement, Remove the bumper.: étape 5, image 2 de 2
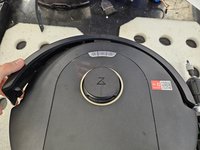
    • Flip the robot over.

    • Tilt the bumper forwards and move it upwards to remove it.

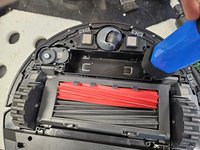
  6. Roborock Q5 Pro: Laser Distance Sensor Replacement, Remove the side brush motor.: étape 6, image 1 de 1
    • Flip it back over.

    • Remove the screws using a PH2 screwdriver.

    • Simply lift it out.

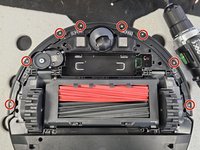
  7. Roborock Q5 Pro: Laser Distance Sensor Replacement, Remove the chassis screws.: étape 7, image 1 de 1
    • Remove the marked screws using a PH2 screwdriver.

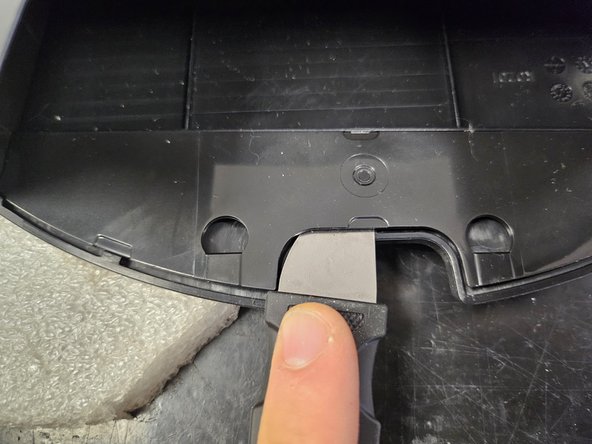
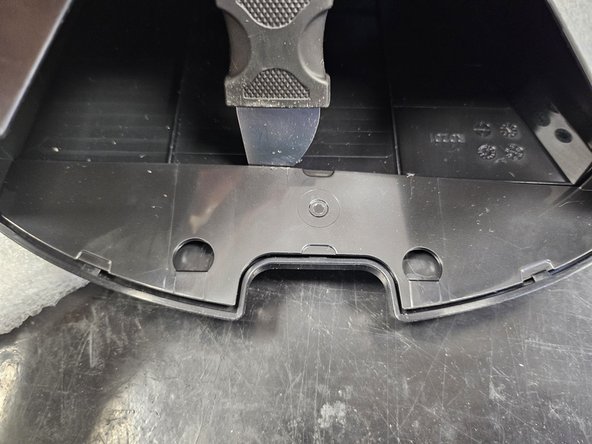
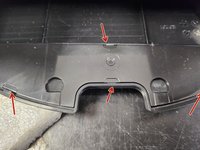
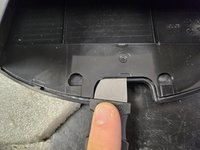
  8. Roborock Q5 Pro: Laser Distance Sensor Replacement, Latches.: étape 8, image 1 de 3 Roborock Q5 Pro: Laser Distance Sensor Replacement, Latches.: étape 8, image 2 de 3 Roborock Q5 Pro: Laser Distance Sensor Replacement, Latches.: étape 8, image 3 de 3
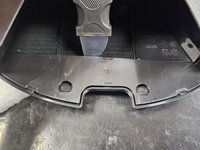
    • The chassis will still be held together by a couple latches on the back.

    • Use a prying tool to get these apart before taking it apart.

  9. Roborock Q5 Pro: Laser Distance Sensor Replacement, Take it apart!: étape 9, image 1 de 2 Roborock Q5 Pro: Laser Distance Sensor Replacement, Take it apart!: étape 9, image 2 de 2
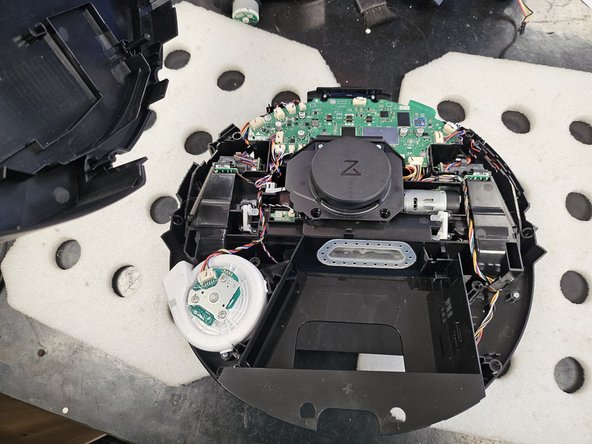
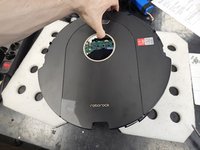
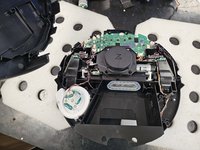
    • Flip it over and simply pull the chassis halves apart.

  10. Roborock Q5 Pro: Laser Distance Sensor Replacement, Screeeeeeews.: étape 10, image 1 de 1
    • Here are the screws organised by steps and type.

    • Use this if needed as a reference during reassembly.

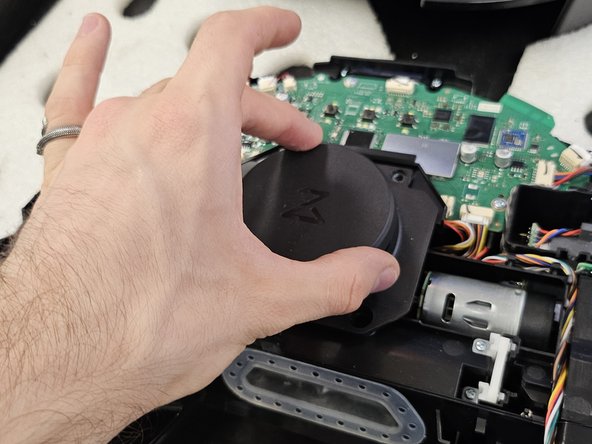
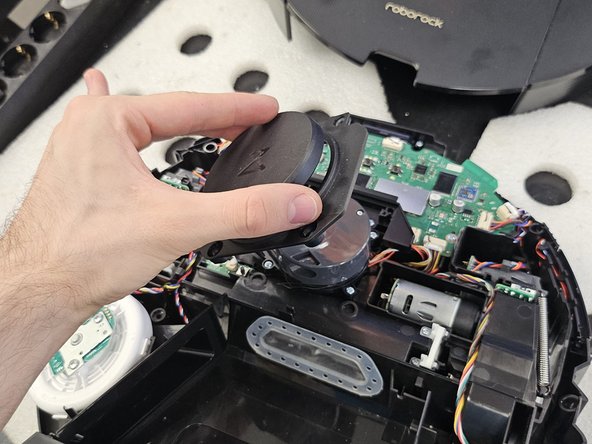
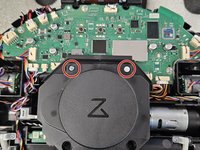
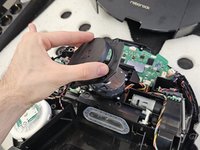
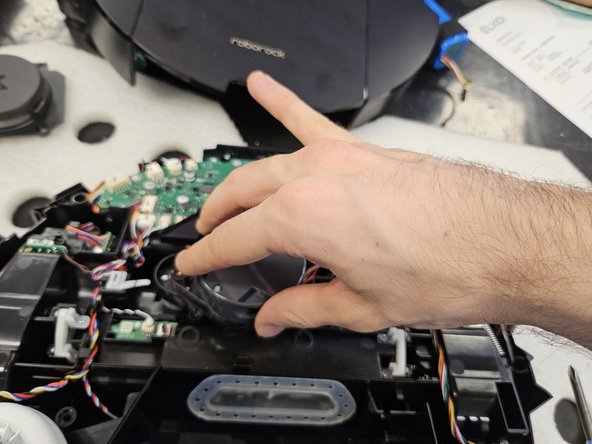
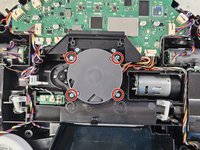
  11. Roborock Q5 Pro: Laser Distance Sensor Replacement, Remove the LDS cage.: étape 11, image 1 de 3 Roborock Q5 Pro: Laser Distance Sensor Replacement, Remove the LDS cage.: étape 11, image 2 de 3 Roborock Q5 Pro: Laser Distance Sensor Replacement, Remove the LDS cage.: étape 11, image 3 de 3
    • Remove the marked screws using a PH2 screwdriver.

    • Then, remove it.

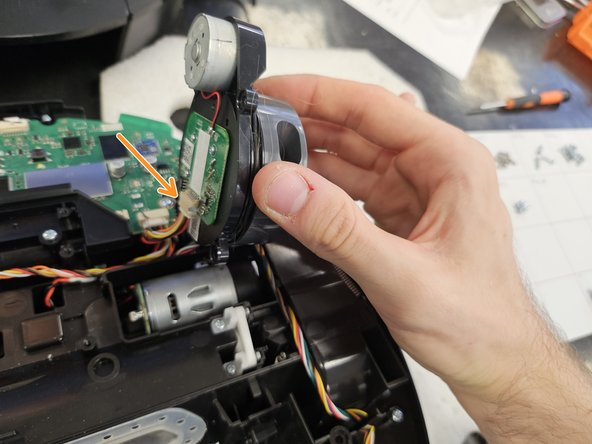
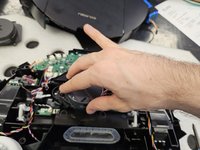
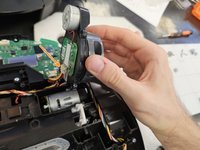
  12. Roborock Q5 Pro: Laser Distance Sensor Replacement, Remove the LDS.: étape 12, image 1 de 3 Roborock Q5 Pro: Laser Distance Sensor Replacement, Remove the LDS.: étape 12, image 2 de 3 Roborock Q5 Pro: Laser Distance Sensor Replacement, Remove the LDS.: étape 12, image 3 de 3
    • Remove the marked screws using a PH2 screwdriver.

    • Lift the LDS towards the right, then disconnect the connector.

    • If you're replacing the LDS, simply insert the new one and reassemble your device.

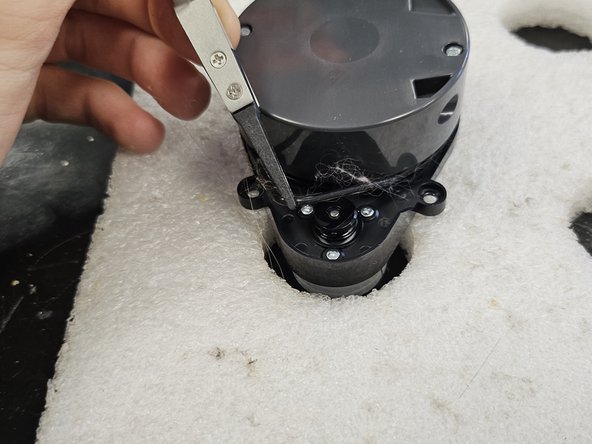
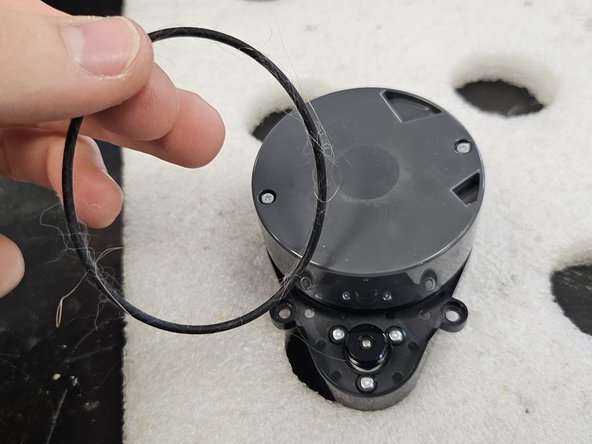
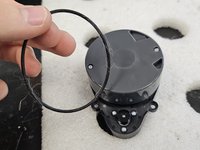
  13. Roborock Q5 Pro: Laser Distance Sensor Replacement, Remove the rubber band.: étape 13, image 1 de 3 Roborock Q5 Pro: Laser Distance Sensor Replacement, Remove the rubber band.: étape 13, image 2 de 3 Roborock Q5 Pro: Laser Distance Sensor Replacement, Remove the rubber band.: étape 13, image 3 de 3
    • Remove the rubber band using some tweezers, forceps or your fingers.

    • Make sure to clean it. This one was quite dirty, which was causing the motor to seize.

    • Your robot may have a different iteration of the LDS, which has a cover over the rubber band section. In that case, please check: Roborock Q Revo: Laser Distance Sensor Replacement and skip to step 12.

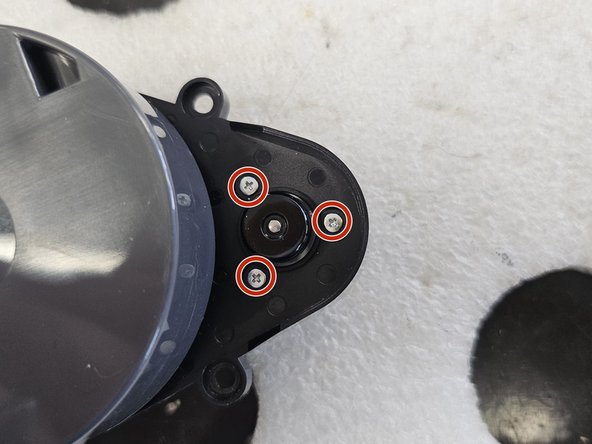
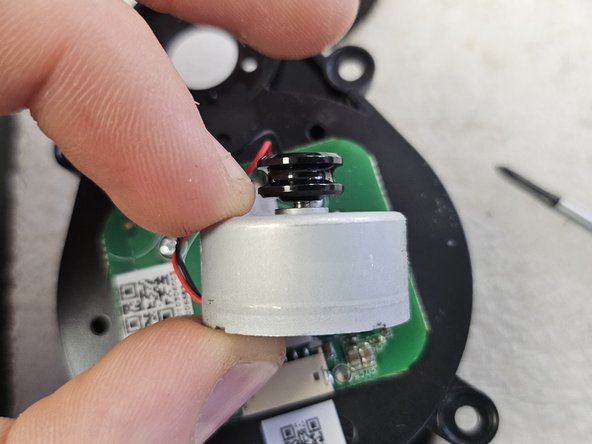
  14. Roborock Q5 Pro: Laser Distance Sensor Replacement, Remove the motor.: étape 14, image 1 de 3 Roborock Q5 Pro: Laser Distance Sensor Replacement, Remove the motor.: étape 14, image 2 de 3 Roborock Q5 Pro: Laser Distance Sensor Replacement, Remove the motor.: étape 14, image 3 de 3
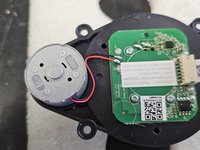
    • Before removing the motor, flip it over and check whether it has a connector or is soldered directly onto the PCBA.

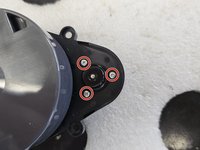
    • Remove the screws.

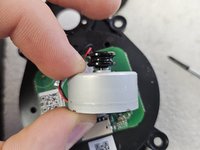
    • Now you can remove and replace the motor.

    • Your robot may have a different iteration of the LDS, which needs it's driving wheel removed before you can remove the screws. In that case, please check: Roborock Q Revo: Laser Distance Sensor Replacement and skip to step 12.

Conclusion

To reassemble your device, follow these instructions in reverse order.

DegenFixer

Membre depuis le 09/18/24

4 579 Réputation

24 tutoriels rédigés

0 commentaires de tutoriel

Ajouter un commentaire

Nombre de vues :

Dernières 24 heures : 4

7 derniers jours : 46

30 derniers jours : 266

Total : 1,338