Aller au contenu principal
Roborock S7: Laser Distance Sensor Replacement

Roborock S7: Laser Distance Sensor Replacement

DegenFixer

DegenFixer et un autre contributeur

Dernière mise à jour le January 19, 2025

15 - 30 minutes
Modérée
Tutoriel réalisé par la communauté

This guide will show you how to replace the Laser Distance Sensor (LDS or LiDAR) of Roborock's robotic vacuum S7.

You may want to do so if your robot reports "Error 1: Laser Distance Sensor blocked."

Within the guide I will also outline how to replace just the motor that spins the LDS, as well as how to clean it properly.

I recommend reading the entire guide before starting the disassembly, then following steps as needed during.

Ce dont vous avez besoin

Outils

Afficher plus…

iFixit touche une commission lorsque vous achetez par l'intermédiaire de ces liens.
  1. Roborock S7: Laser Distance Sensor Replacement, Remove the front half of the top cover: étape 1, image 1 de 3 Roborock S7: Laser Distance Sensor Replacement, Remove the front half of the top cover: étape 1, image 2 de 3 Roborock S7: Laser Distance Sensor Replacement, Remove the front half of the top cover: étape 1, image 3 de 3
    • It is only held on by latches.

    • Give the cover a firm tug.

  2. Roborock S7: Laser Distance Sensor Replacement, Remove the back half of the top cover.: étape 2, image 1 de 2 Roborock S7: Laser Distance Sensor Replacement, Remove the back half of the top cover.: étape 2, image 2 de 2
    • Remove the screws.

    • Remove the plastic tabs, then remove the back half of the top cover.

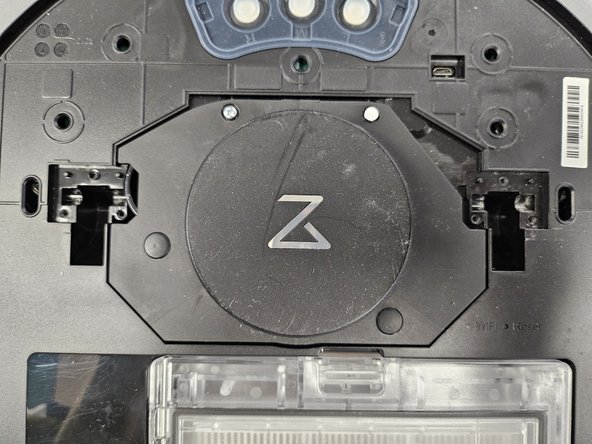
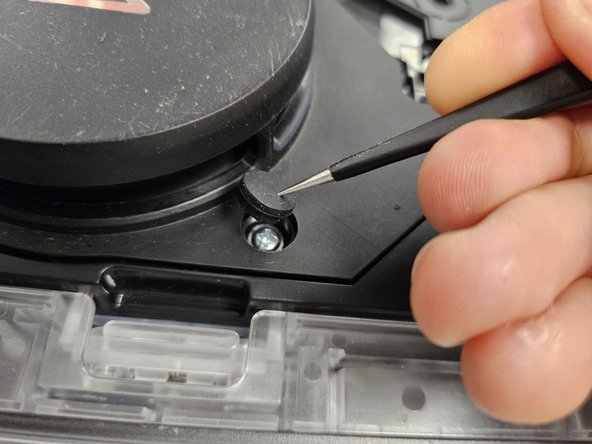
  3. Roborock S7: Laser Distance Sensor Replacement, Removing the rubber caps.: étape 3, image 1 de 2 Roborock S7: Laser Distance Sensor Replacement, Removing the rubber caps.: étape 3, image 2 de 2
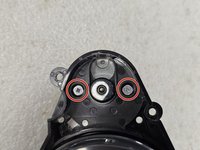
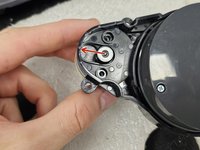
    • Remove the rubber caps covering the 2 screws.

    • There are multiple techniques to do this, but I usually just stab them with sharp tipped tweezers. You could slip them in between the housing and the rubber cap as well.

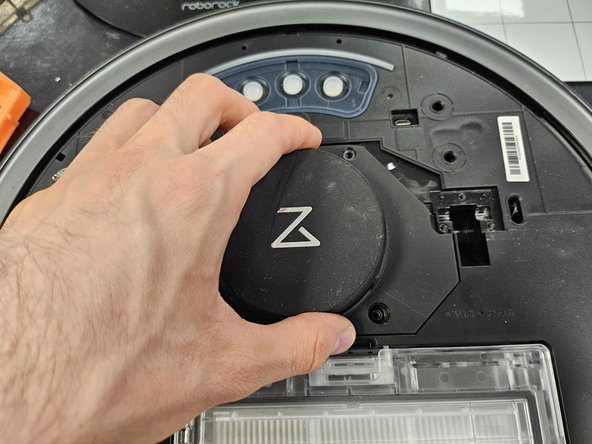
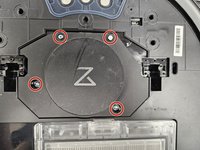
  4. Roborock S7: Laser Distance Sensor Replacement, Remove the screws holding the LDS cage.: étape 4, image 1 de 3 Roborock S7: Laser Distance Sensor Replacement, Remove the screws holding the LDS cage.: étape 4, image 2 de 3 Roborock S7: Laser Distance Sensor Replacement, Remove the screws holding the LDS cage.: étape 4, image 3 de 3
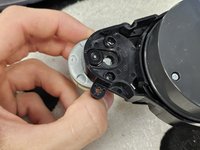
    • Remove the screws.

    • Then simply grab and lift the LDS cage off.

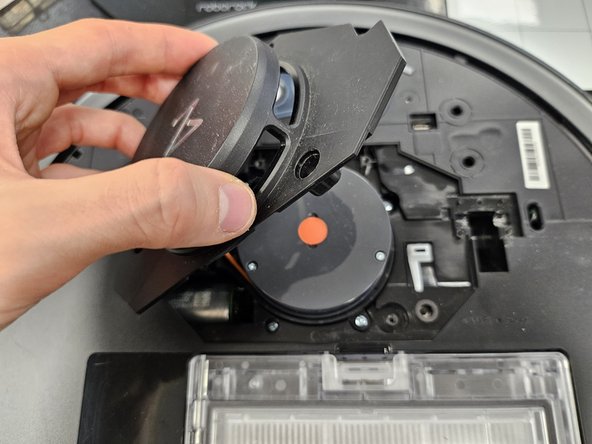
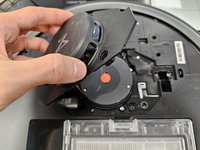
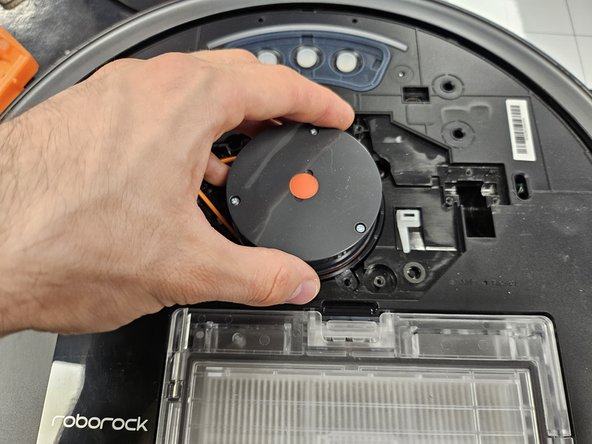
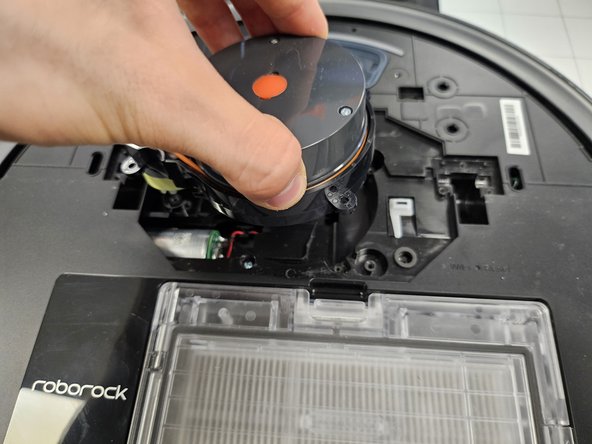
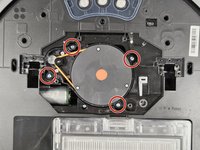
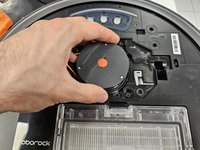
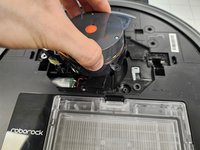
  5. Roborock S7: Laser Distance Sensor Replacement, Removing the LDS.: étape 5, image 1 de 3 Roborock S7: Laser Distance Sensor Replacement, Removing the LDS.: étape 5, image 2 de 3 Roborock S7: Laser Distance Sensor Replacement, Removing the LDS.: étape 5, image 3 de 3
    • Remove the four marked screws.

    • Then, much like the cage, simply lift the LDS out of the slot.

    • One iteration of the LDS is smaller in size and is connected to the motherboard via cable connector. You will also see 8 screws, simply unscrew the inner 4, then lift it slowly, until you can flip it over and detach the connector.

    • If you have an LDS replacement, simply insert your new LDS and close the device up.

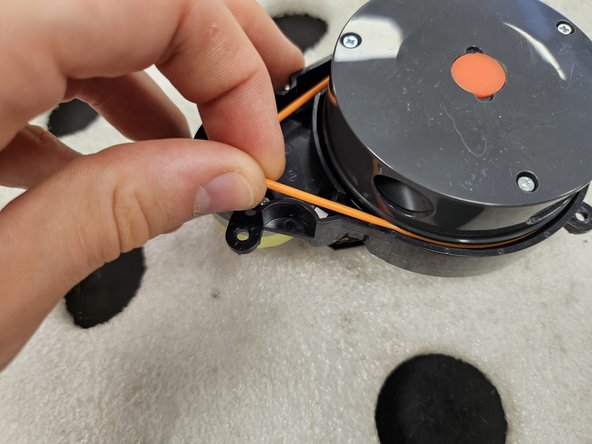
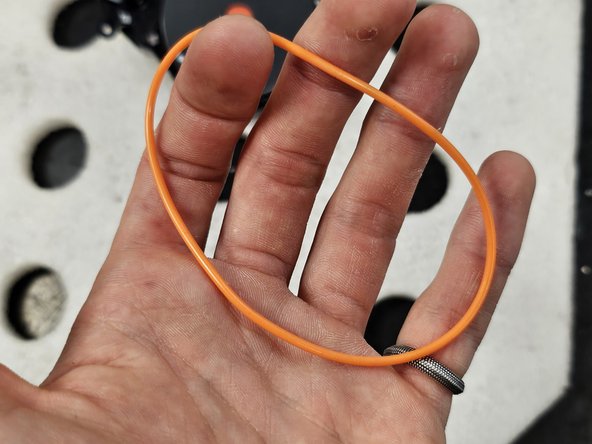
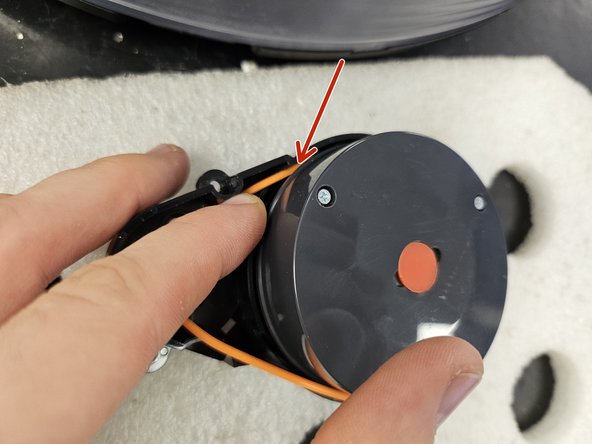
  6. Roborock S7: Laser Distance Sensor Replacement, Removing the rubber band between the motor and the LDS: étape 6, image 1 de 3 Roborock S7: Laser Distance Sensor Replacement, Removing the rubber band between the motor and the LDS: étape 6, image 2 de 3 Roborock S7: Laser Distance Sensor Replacement, Removing the rubber band between the motor and the LDS: étape 6, image 3 de 3
    • If you're planning on replacing or cleaning the LDS' motor, follow the following steps.

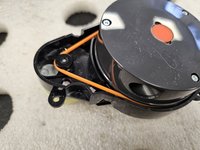
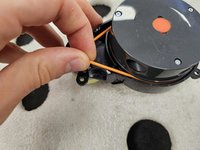
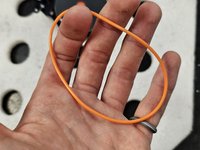
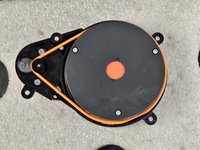
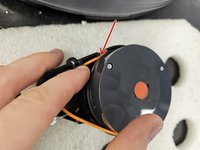
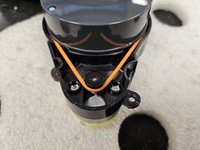
    • Simply remove the rubber band connecting the LDS and the motor.

    • Do not stretch it out. It is flexible, but if you leave it stretched out, it will permanently deform.

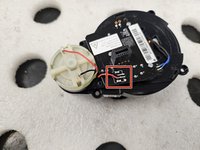
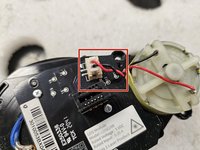
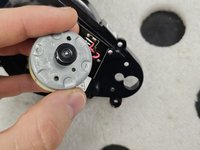
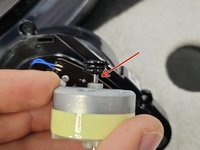
  7. Roborock S7: Laser Distance Sensor Replacement, Check whether the motor is soldered or connected onto LDS' PCBA.: étape 7, image 1 de 2 Roborock S7: Laser Distance Sensor Replacement, Check whether the motor is soldered or connected onto LDS' PCBA.: étape 7, image 2 de 2
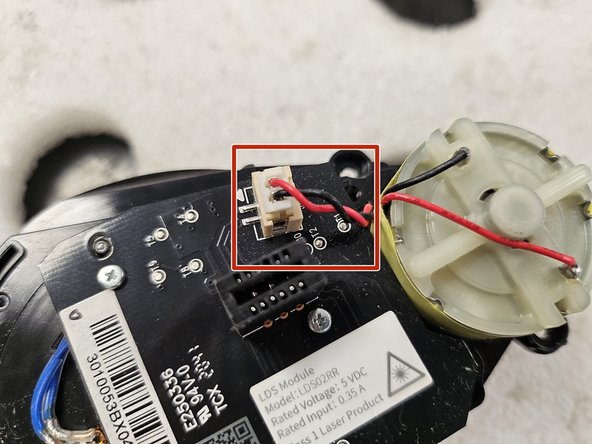
    • Again, multiple iterations of LDS are different. Some have connectors for the motor, some are soldered.

    • Depending on what you have, you might have to solder a new motor on.

    • If it has a connector, disconnect it now.

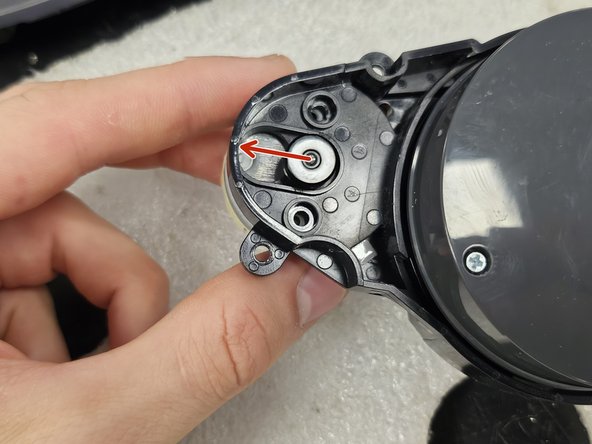
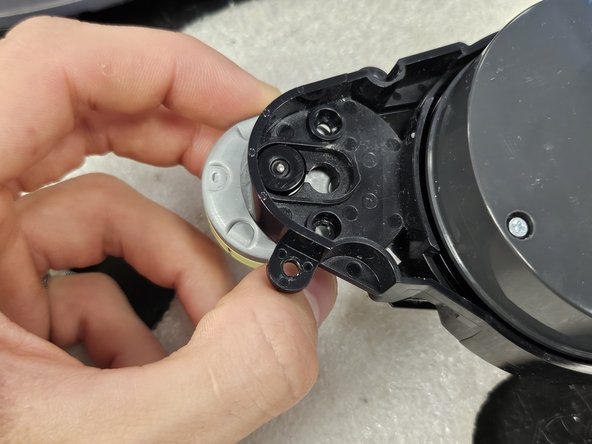
  8. Roborock S7: Laser Distance Sensor Replacement, Remove the motor.: étape 8, image 1 de 3 Roborock S7: Laser Distance Sensor Replacement, Remove the motor.: étape 8, image 2 de 3 Roborock S7: Laser Distance Sensor Replacement, Remove the motor.: étape 8, image 3 de 3
    • These screws are very easy to strip. Maintain good downward pressure and turn slowly.

    • Remove the screws. Use a PH #00 precision screwdriver.

    • If your motor is soldered onto LDS PCBA and you haven't de-soldered it, slowly and carefully, slide it out.

  9. Roborock S7: Laser Distance Sensor Replacement, Check and clean the motor.: étape 9, image 1 de 2 Roborock S7: Laser Distance Sensor Replacement, Check and clean the motor.: étape 9, image 2 de 2
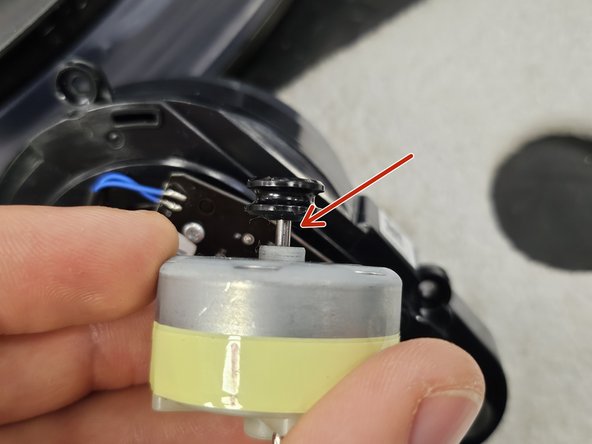
    • Once you have the motor out, check if the driving rod is clean. If not, clean it, then test if that resolves your Error 1.

    • In many cases, the driving rod is chockful of hair, dust and grime, which causes the motor to seize and be unable to spin the LDS (especially on newer iterations, which use the smaller LDS).

    • You can test the motor by connecting it to a 5V battery. You can test it with even a 12V battery, but you risk damaging it by running it for an extended period of time.

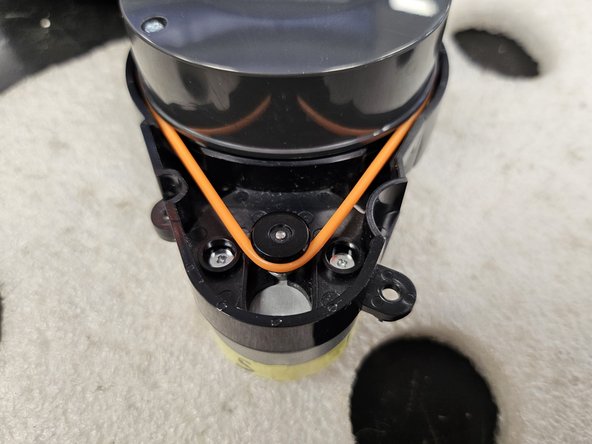
  10. Roborock S7: Laser Distance Sensor Replacement, Tips on the rubber band: étape 10, image 1 de 3 Roborock S7: Laser Distance Sensor Replacement, Tips on the rubber band: étape 10, image 2 de 3 Roborock S7: Laser Distance Sensor Replacement, Tips on the rubber band: étape 10, image 3 de 3
    • Fit the rubber band into the groove on the motor, and above the groove around the LDS.

    • Push the rubber band down, then rotate the LDS to drive the rubber band into the groove.

    • Do a full rotation and seat the entire rubber band.

    • Give the LDS a test spin. If it spins freely and comes to a slow stop, it's good. If it stops abruptly, you applied it wrong or something else is seizing the motor.

  11. Roborock S7: Laser Distance Sensor Replacement, Screeeeews!: étape 11, image 1 de 1
    • Here are the screws organised by steps and size.

    • Use this if needed as a reference during reassembly.

Conclusion

To reassemble your device, follow these instructions in reverse order.

DegenFixer

Membre depuis le 09/18/24

4 579 Réputation

24 tutoriels rédigés

0 commentaires de tutoriel

Ajouter un commentaire

Nombre de vues :

Dernières 24 heures : 10

7 derniers jours : 65

30 derniers jours : 288

Total : 1,196