
Remplacement de la carte mère du Shark IONFlex 2X

Introduction
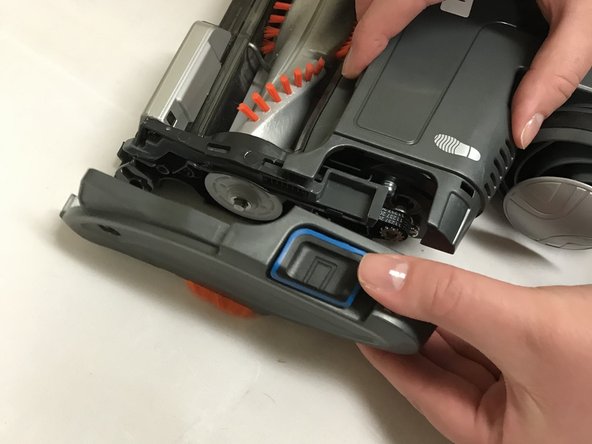
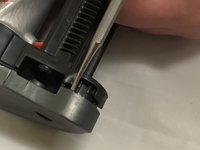
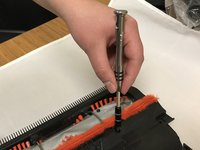
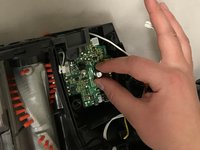
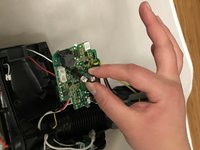
Passez à l'étape 1Ce guide de remplacement utilise un spudger en métal, un tournevis Torx T20 et un grand outil d'ouverture en plastique. Ce guide montrera à l'utilisateur comment ouvrir le boîtier de l'appareil, accéder à la carte mère et remplacer la carte mère.
ATTENTION : Soyez prudent lorsque vous utilisez le spudger en métal, car les bords de l'outil sont tranchants et peuvent vous couper si vous ne faites pas attention.
Ce dont vous avez besoin


-
-
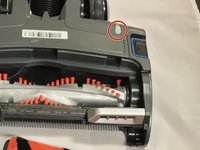
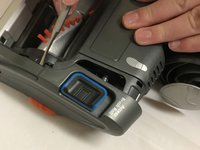
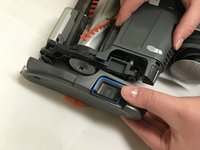
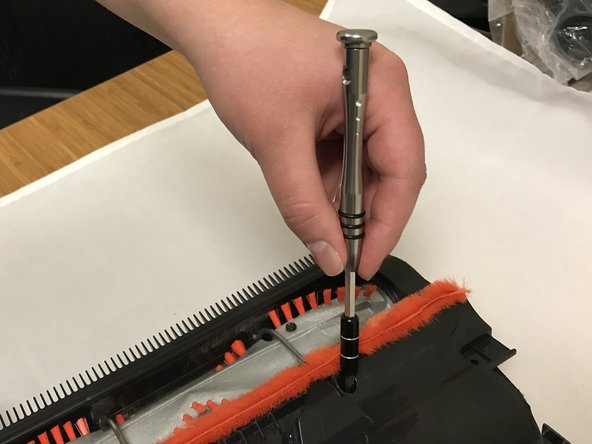
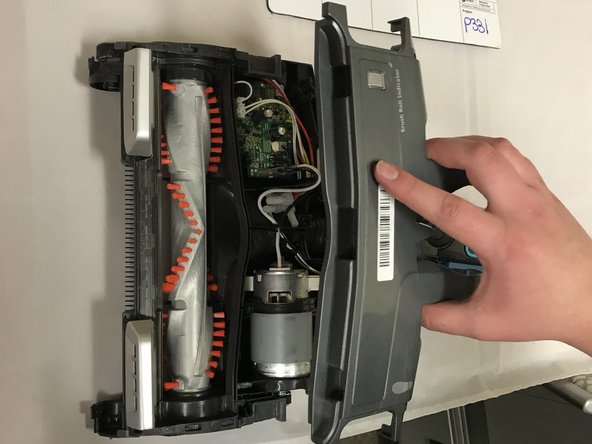
Appuyez et faites glisser les boutons "access brush roll" vers le texte et soulevez le couvercle en plastique du rouleau de brosse.
-
-
-
-
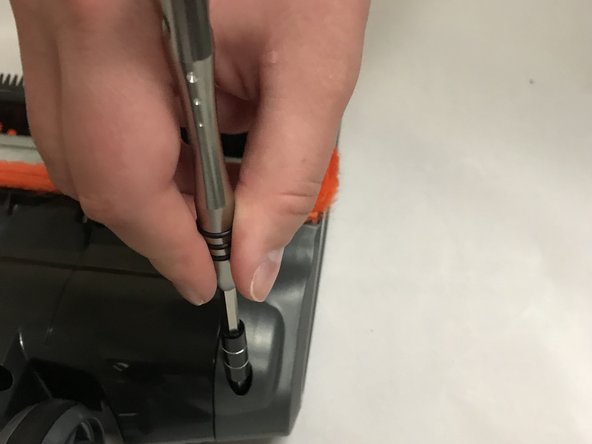
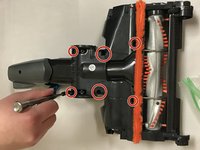
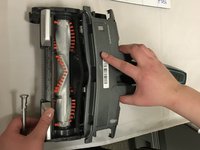
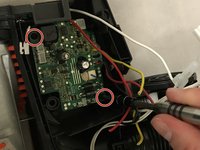
Dévissez les six vis de 18,7 mm du boîtier inférieur à l'aide d'un tournevis T20.
-


Pour remonter votre appareil, suivez ces instructions dans l'ordre inverse.
Pour remonter votre appareil, suivez ces instructions dans l'ordre inverse.
Annulation : je n'ai pas terminé ce tutoriel.
3 autres ont terminé cette réparation.
Merci à ces traducteurs :
100%
[deleted] nous aide à réparer le monde ! Vous voulez contribuer ?
Commencez à traduire ›

Équipe

Eastern Washington University, Team S4-G1, Crane Fall 2018 Membre de l'équipe Eastern Washington University, Team S4-G1, Crane Fall 2018
EWU-CRANE-F18S4G1
2 membres
15 tutoriels rédigés
2Commentaires sur le guide
Thanks for the guide. I had an issue where the lights would switch on but the roller would not spin. After taking it apart I found the issue. When putting the cover on the plastic tab that needs to engage the roller switch slides behind the ‘button’ for the switch.
hard to explain but if you take off the side where the motherboard is you will see the green micro switch follow the spring loaded button to the front of the unit. The plastic tab on the cover slides in besides it causing it not to engage the switch
This guide is for removal of the brush roller motherboard, yet is labelled as the IONFlex 2X motherboard which happens to be a number of PCBs in the hand held part of this unit.
Mis-leading title.