
Sony Cyber-Shot DSC-W830 Flash Capacitor Replacement
Introduction
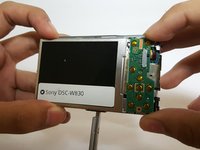
Passez à l'étape 1In order to reach the flash capacitor, you have to remove the front and back panel, the button board and the top cover of the device. Be very careful when you remove these parts.
Ce dont vous avez besoin


-
-
-
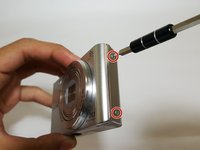
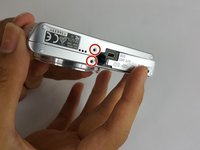
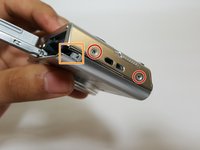
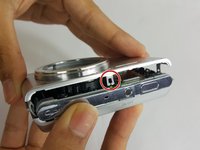
Remove the six 3.5mm Phillips #000 screws.
-
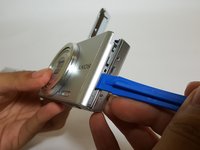
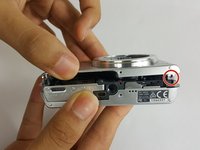
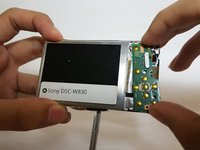
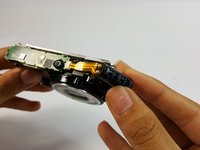
Rotate the lock away from the camera.
-
-
-
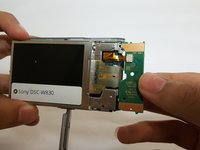
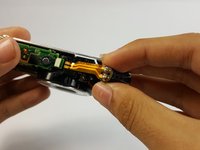
Lift the capacitor from the assembly.
-
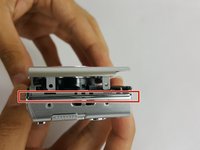
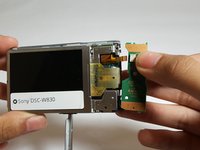
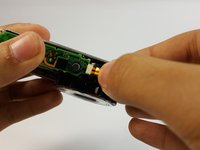
Disconnect the no-fuss ribbon cable by gently pulling it out of the flash board.
-


To reassemble your device, follow these instructions in reverse order.
To reassemble your device, follow these instructions in reverse order.
Équipe

USF Tampa, Team 17-1, Blackwell Fall 2016 Membre de l'équipe USF Tampa, Team 17-1, Blackwell Fall 2016
USFT-BLACKWELL-F16S17G1
4 membres
6 tutoriels rédigés