
SteelSeries Arctis Pro Microphone Cable Replacement

Introduction
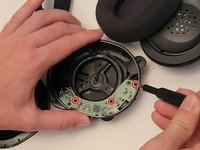
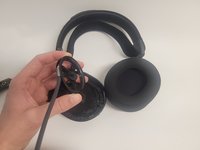
Passez à l'étape 1Caution: Ensure hands are dry. Moisture could mess up the wiring. Be gentle and careful pulling the wires out of the microphone as they could easily break.
Ce dont vous avez besoin


-
-
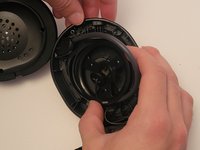
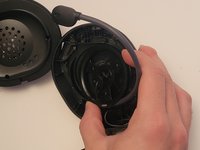
Remove ear cushion by pulling the cushion up and towards yourself.
-
Repeat this motion around the cushion until it comes free.
-
-


To reassemble your device, follow these instructions in reverse order.
To reassemble your device, follow these instructions in reverse order.
Annulation : je n'ai pas terminé ce tutoriel.
Une autre personne a terminé cette réparation.

Équipe

Western Carolina University, Team 1-1, Virtue Fall 2022 Membre de l'équipe Western Carolina University, Team 1-1, Virtue Fall 2022
WCU-VIRTUE-F22S1G1
4 membres
5 tutoriels rédigés