
Toshiba Satellite C855D-S5109 Keyboard Replacement
Introduction
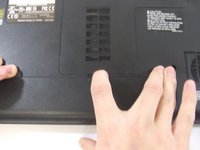
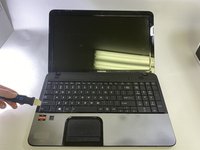
Passez à l'étape 1This is a replacement guide for the keyboard on the Toshiba Satellite C855D-S5109. Replacing the keyboard might be a good option if it is worn and over-used or even if it is too sticky to fully clean. Sonetimes the letters on keyboard keys rub off with time, so it might be a good idea to replace the keyboard when this happens. The guide takes you through the steps to remove and replace the keyboard, such as; removing the battery, carefully prying the keyboard up, and disconnecting the keyboard ribbon cable. When replacing the keyboard it is imperative to exercise caution and practice patience. Be sure the laptop is disconnected from any power source and the battery is removed before attempting to replace the keyboard.
Ce dont vous avez besoin


-
-
-
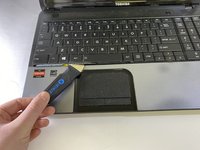
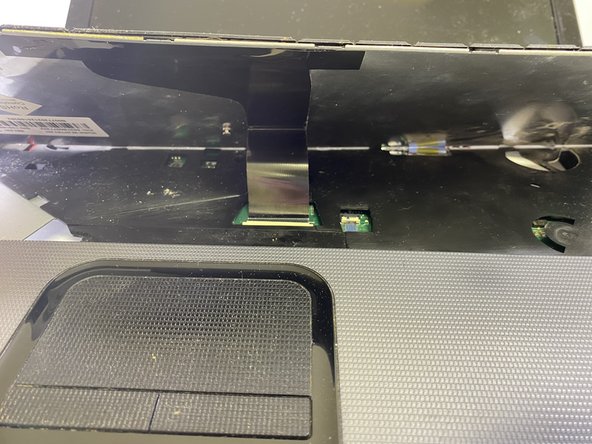
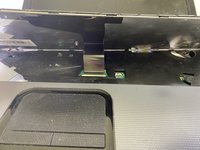
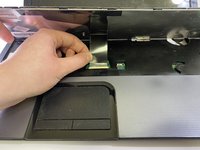
Using a Jimmy, slowly lift the keyboard up and away from the palm-rest. Slowly work around the edges, pushing the clips back, prying the keyboard up with minimal force.
-


To reassemble your device, follow these instructions in reverse order.
To reassemble your device, follow these instructions in reverse order.
Annulation : je n'ai pas terminé ce tutoriel.
Une autre personne a terminé cette réparation.
Équipe

Casper College, Team 1-3, Lareau Fall 2021 Membre de l'équipe Casper College, Team 1-3, Lareau Fall 2021
CASC-LAREAU-F21S1G3
3 membres
8 tutoriels rédigés