
Toshiba Satellite E105-S1602 Charging Port Replacement
Introduction
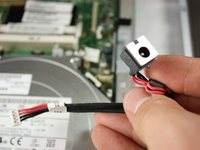
Passez à l'étape 1The charging port is where the charging cord connects into the device. If your device will not charge with the cord plugged in, it may need a new charging port.
Ce dont vous avez besoin


-
-
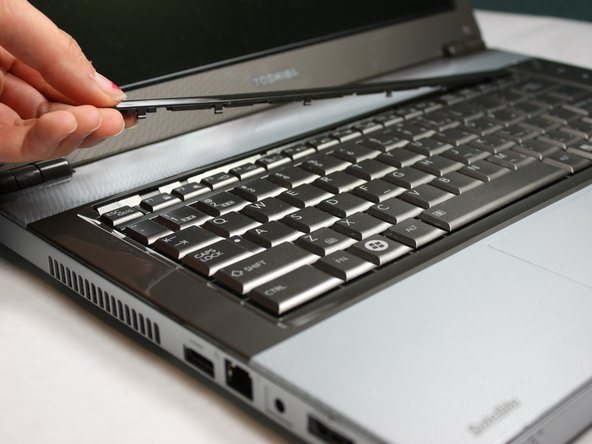
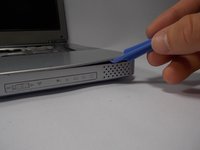
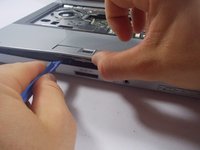
Flip the computer over and insert the plastic opening tool under the plastic strip at the top of the keyboard.
-
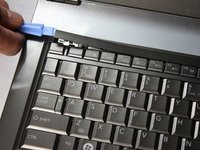
Pry the top plastic strip from the top of the keyboard.
-
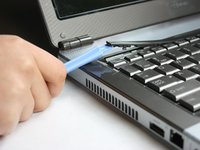
Peel the strip completely away from the keyboard.
-
-
-
-
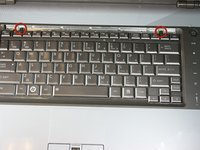
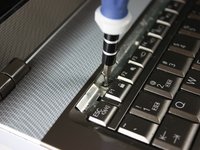
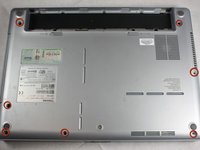
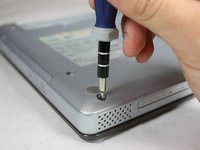
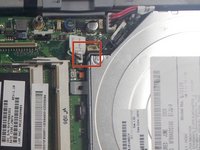
Locate the four silver screws on the front panel.
-
Using the Phillips #0, unscrew to remove all four 2.95mm silver screws.
-
-
-
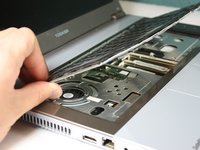
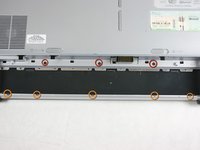
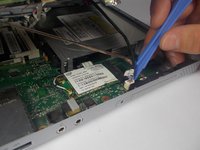
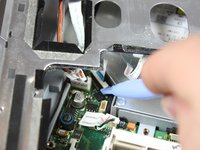
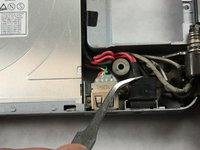
Use the plastic opening tool to pry the top panel up from the base of the computer.
-
Slowly work your way around the computer with the plastic removing tool to make it easier to lift the top panel away from the base.
-
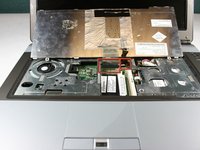
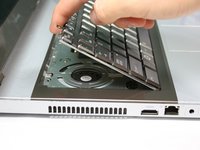
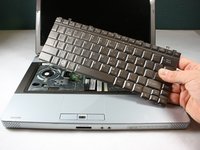
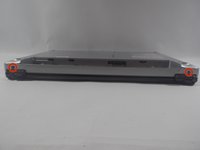
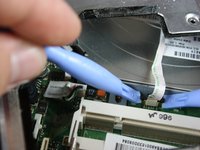
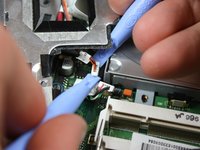
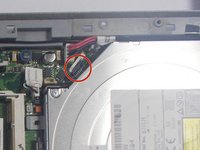
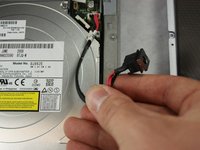
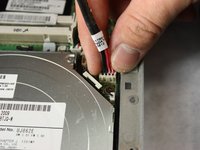
Disconnect ribbons, and slowly lift the top panel up, away from the base.
-


To reassemble your device, follow these instructions in reverse order.
To reassemble your device, follow these instructions in reverse order.
Annulation : je n'ai pas terminé ce tutoriel.
2 autres ont terminé cette réparation.
Équipe

Cal Poly, Team 17-21, Forte Winter 2013 Membre de l'équipe Cal Poly, Team 17-21, Forte Winter 2013
CPSU-FORTE-W13S17G21
5 membres
14 tutoriels rédigés