
Toshiba Satellite L305D-S5950 LCD Screen Replacement
Introduction
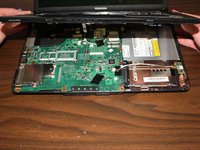
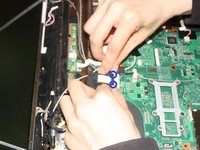
Passez à l'étape 1In order to replace the LCD screen on your device the keyboard and motherboard cover need to be removed.
The keyboard needs to be removed due to the cable connecting it to the motherboard interfering with the removal of the top part of the motherboard case.
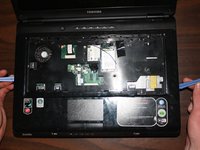
The top part of the motherboard case needs to be removed due to it being in the way of the removal of the front part of the LCD case.
Ce dont vous avez besoin


-
-
Locate the plastic strip at the top of the keyboard.
-
Use a pry tool to remove the plastic strip.
-
Using your hands pull out the rest of the plastic strip.
-
-
-
-
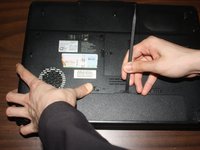
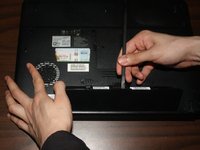
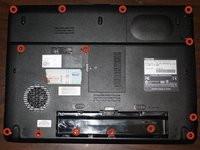
Remove all 6.75mm screws from the bottom of the laptop. The 3 screws under the battery are 3.75mm.
-
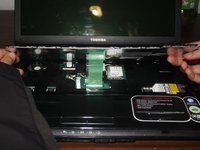
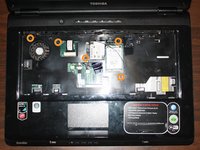
Remove all 5.25mm screws from the top of the laptop.
-
-
-
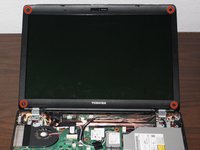
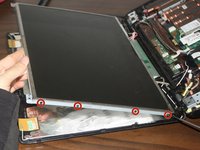
Located and unscrew the four 5.25mm screws located on the four corners of the LCD screen.
-
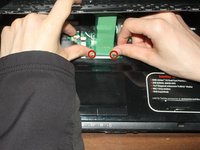
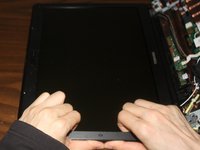
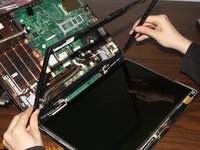
Use your hands to pry off the frame around the LCD screen.
-
Remove the frame from the LCD screen.
-


To reassemble your device, follow these instructions in reverse order.
To reassemble your device, follow these instructions in reverse order.
Annulation : je n'ai pas terminé ce tutoriel.
Une autre personne a terminé cette réparation.
Équipe

Clemson, Team 1-2, Benson Spring 2014 Membre de l'équipe Clemson, Team 1-2, Benson Spring 2014
CLEM-BENSON-S14S1G2
3 membres
10 tutoriels rédigés